Two easy tips for helping with your lighting for food photography.

When you hear the term 'high-res' thrown about with such abandon when it comes to images for web use, have you ever stopped to think just how big or how high quality and image meant for the web needs to be?
There's an assumption that high-contrast images are more dynamic, more compelling, more inviting. Have a go at some low-contrast photography. You might surprise yourself with the results.
Balance doesn't mean symmetry; it means an internal consistency and tension within your photos. And it's a vital element of composition.
Great photos might be down to a little bit of luck, but most of that 'luck' you make yourself. Don't believe us? Read on...
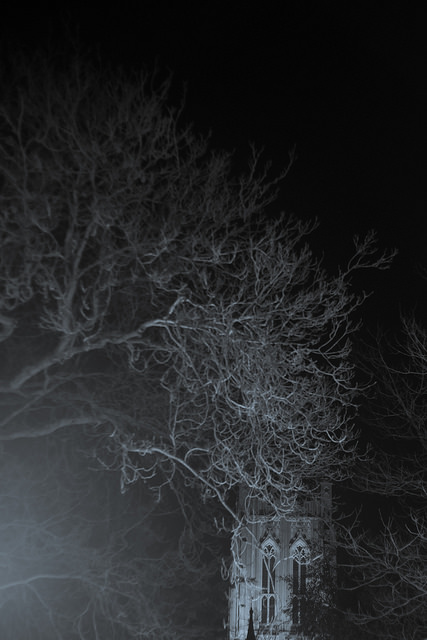
If you've ever noticed how beautiful lights can look when they are out of focus, you'll probably already have realised that we're about to enter the high season of everything that's awesome in the field of bokeh-liciousness. That's right - Christmas lights are pretty much the holy grail for gorgeous out of focus light effects. But how do you create the effect?
One of the most important things you're going to need to capture good bokeh, is that you need some great out-of-focus areas to begin with. So: Grab your lens that has the widest aperture (so, the smallest f-stop number). If you've got a prime lens, that's probably your best bet, but it's also possible to use a long zoom lens.
If you're shooting with a zoom lens, you'll want to zoom in, and focus on something close to you to get the maximum depth of field effect you're looking for in this particular case.

The next step is aperture. If I'm shooting exclusively for depth of field, I'll be shooting in Aperture Priority. Start in the biggest aperture you have (the smallest number, remember? If that doesn't make sense, quickly brush up on your skills with our Why is the F-stop scale so weird article).
Don't blindly go for the largest aperture though - it's a good starting point, but I often find that on some of my lenses, that means the foreground is a bit much - experiment to find the best settings!

A big blurry mess can be abstract and interesting, but let's be honest: It isn't storytelling, which - as we know - is one of the most important things about photography. So: In addition to the beautiful blurry mess, you also need to think about what the story is that you're trying to convey. If it's Christmas, it shouldn't be hard - get baubles, presents, kids, or food into the photo as well, and you're probably half-way there.

The world of bokeh is lots of fun - so keep that lens stopped wide open and start pointing it at light sources. Busy cities, gorgeous christmas trees, and even the TV can be a great source of beauty. Have fun, explore, and do share some of your best results in the comments!
Finally, don't forget that bokeh isn't just for the background - if you're feeling brave and adventurous, switch things around and get your background in focus instead - like in this great example from Mikko.
In the run-up to the festive season, it's possible that people will be taking more photos than usual. Parties, pretty lights, and present-opening, afford ample opportunity to take photos and share them on social media. However, research recently commissioned by the online learning company lynda.com revealed some interesting facts about people's photo-taking habits. Aside from the fact that 64% of Brits now use smartphones or tablets to take photos, it would also seem that quite a few people are also too intimidated by the process, or by technology, to have a go themselves. Based on the figures that came out of the survey, we've put together five tips to help anyone who might feel a bit afraid of photography to start taking better photos without too much fuss.
60% of the people questioned spent fewer than 30 minutes learning how to use their cameras properly. Whether you use a smartphone, a point-and-shoot, or an interchangeable lens camera, read the manual. Or the destructions, as we call them. Understanding the capabilities of your picture-taking device will have a noticeable impact on what you can achieve with it.

Apparently, only about 45% of the sample made any attempt to improve the composition of their photos. Our top tip: get closer. And if you're working with a smartphone, get closer physically; don't rely on digital zoom.

Of those surveyed, 71% responded that they relied on the law of averages to return a decent photo. They work on the principle that if they take lots of shots, at least one should work out. Our advice? Slow down and think about what you're doing. What story are you trying to tell? A little contemplation should bring you better results than aerosol clicking.

Almost everyone who responded to the survey stated that they wanted to be able to make their photos look better, but the majority didn't feel that they have the skills to do so. While you can't turn a sow's ear into a silk purse, it is possible to make a few fundamental edits to a photo and elevate it from ordinary to much better looking.
There are three simple adjustments that you should make to every photo you take: to the crop, the colour, and the contrast. They're not time-consuming or complicated and can be accomplished with a basic editing package. You don't need to master Photoshop—or fork out for it—to make them.
As few as one-in-fifty of the survey group made use of any training to help them improve their photography. Seeing as the photographer is the most significant element in creating a great photo, doing a little learning will help enormously in the quest for better images. The good news is that by reading this, you've made a start. To help you even more, you can try a book or two or sign-up to any number of courses. There are hundreds, maybe even thousands out there. Obviously lynda.com, which commissioned the research would like you to look there, but may we suggest that you take a look at the Photocritic Photography School. It's free!
If you want to check out the findings from the survey, click and explore!
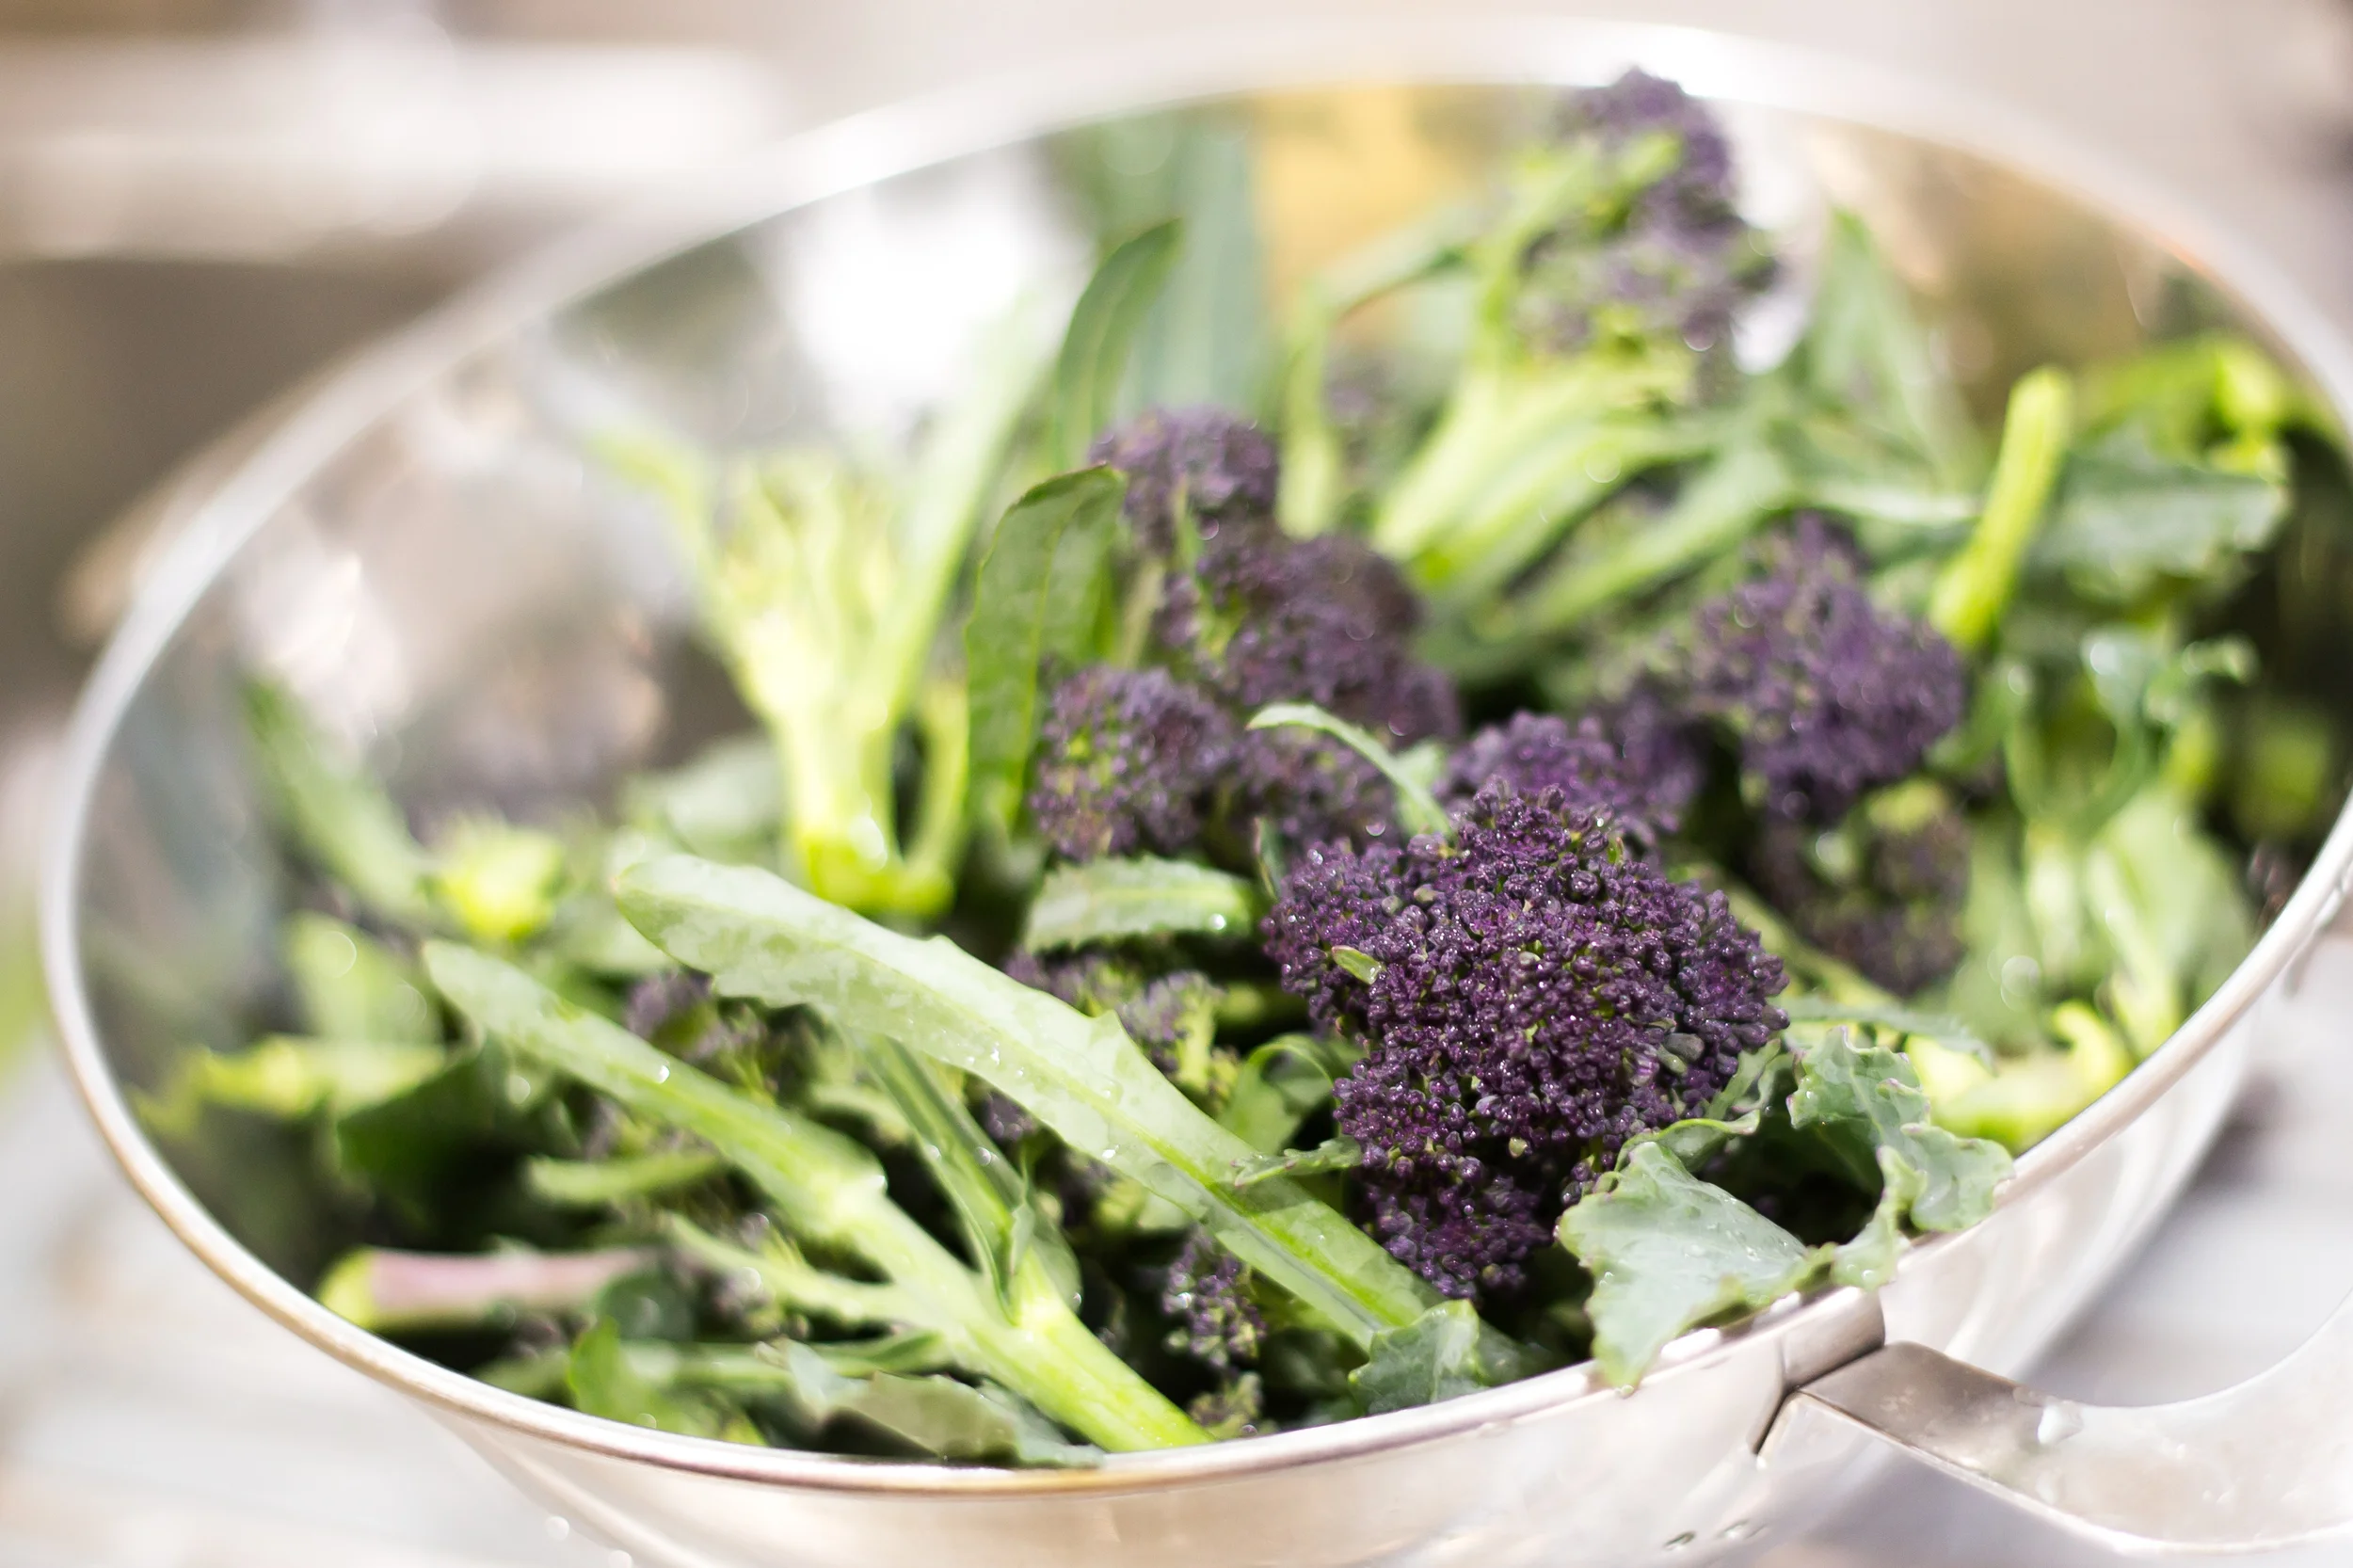
Here in the northern hemisphere, the shortest day is fast approaching and whether we like it or not, much of our photography will be of the low-light variety. We've put together some suggestions for coping as best you can when things are a little dim and the light with wish you wish to draw is a scarce commodity.
This might sound terribly obvious, but it's a fundamental of photography: look for the light in your scene and use it to your advantage. Use the light from streetlamps, from candles, from the moon to illuminate your subject—even be the subject—and create interesting shadows in your photos.

While a too-high ISO can be responsible for noisy, grainy photos, advancements in sensor technology mean that it's possible to push ISO much higher than was previously acceptable to get the shot you want. Remember: a little grain can be better than motion blur; if you shoot in Raw, images can be cleaned up; a black and white conversion can produce noise-negating miracles.
The wider the aperture you select, the more light you'll let onto the sensor and the faster shutter speed and lower ISO you'll be able to use. This will of course come with the caveat of a shallower depth-of-field, but that can be applied creatively.
A slower shutter speed will permit more light to reach the sensor, but it also has the potential to introduce motion blur if it isn't sufficiently fast to freeze the action in your scene, as well as camera shake if you're hand-holding your camera. Sometimes, however, motion blur contributes to the story that you wish to tell, so don't dismiss it entirely.
The general rule for hand-holding a camera is that you shouldn't do it if your shutter speed dips below the inverse of the focal length of the lens you're using. Thus, for a 50mm lens, you shouldn't attempt to hand-hold your camera using a shutter speed slower than about 1/60 second. If you find that you need to go slower, you might wish to bring out your tripod. Think about a remote shutter release, too.

If you adhere to matrix or multi-segment metering, your camera will attempt to adequately expose the entire scene. That might not be what you want if you're looking to play with light and shadow. For dramatically lit shots, switch to spot metering and meter from the illuminated area that you wish to be in focus. This will maintain dark shadows while correctly exposing the point-of-focus.

Spot-metering might not be appropriate for your scene, but at the same time, matrix or multi-segmented could render it over-exposed. If that's the case, try dialling in a stop or two of negative exposure compensation.
Auto-focus can struggle to hit its mark in low-light situations, in which case manual focus might render better results if you're both confident enough using it and the scene isn't changing so fast that you miss the photo opportunity. Should auto-focus be the better option, ensure that you're using one-shot auto-focus. Try, too, shining a light where you wish your camera to focus. The illumination will assist it in locking-on to the point-of-focus.
Whether it's reflection off of pale clothing, off of glass, polished metal, or liquid, or from a reflector, keep an eye out for reflected light and put it to use in your shots. That might be making reflections on water the focus of your photo, but it can also be bouncing back reflected light to illuminate shadows.

If you're not already shooting in Raw, switch now. Not only will help you to tidy up any noise in your shots, or even to adjust the exposure a little if necessary, but it will allow you to adjust the white balance of your photos more effectively. Accurately white balancing low-light shots can be tricky; the more flexibility that you have, the better.
How warm or cool is your light source? Or are you working with mixed light sources? If you're shooting by candle light, you can set the light temperature on your camera to more accurately render colours in your photos. For mixed-light sources, remember to white balance according to the light falling on your subject. If you're shooting in Raw, you might find that adjusting the white balance in post-processing will give you the most accurate result.

Finally, have fun with the darkness and put it to creative use. Let reflections dance or shadows draw you in to moody scenes. Low-light might force you to think for a moment, but remember that you often have longer than you think you do, and experimenting is half the fun.
A digital camera sees more infrared than we do, and all you need to do to capture it, is to block out all the visible (non-infrared) light. You can buy filters that do this, but they can be ridiculously expensive – and buying stuff removes all the fun of creating stuff, n’est-ce pas? The trick? In order to be able to withstand the heat on projectors, slide film will be created so it lets through infrared light, even past the portions of the slide that are completely black. In other words: Unexposed, developed slide film can be used as an IR filter!
Top tip: If your camera lens is bigger than 35mm film, why not just buy a roll of 120 slide film? It’s bigger :-)
More information about the hows, the whys, and the wherefores can be found on Wim Wiskerke’s website.
 1) Go into a camera store, buy a roll of slide film. (120 film is great, because it has larger surface area and no sprocket holes). If you can get film that is out of date, it’s cheaper. They may even give you a roll or two for free.
2) Hand the newly acquired roll of film back to the salesperson behind the counter, and tell them to get it developed. If they look at you in a confused way, explain why. Tell them to add a note on the film that yes, you know it is unexposed, and yes, you want it developing anyway.
3) Go back to the store 48 hours later, pick up your now-developed, still-underexposed slide film, which now is ready to be used as IR filter. The whole thing should cost you a fraction of the price of an IR filter!
In the run-up to Christmas, the guys from Just Go Do It have a great project lined up: 30 challenges for 30 different days, ranging from self portraits, nature photographs, candid photographs, photographs starting with B... All manner of awesome challenges. Best of all? The challenge is so simple: If you are given 24 hours to photograph Happiness, could you? How about Play? How about 'This Year'? Each of the individual challenges are so eminently... Reachable! So - grab the list, and get snapping.
I'll be giving it a shot (or 30) this year. Keep an eye on my Flickr stream to see how I'm getting on!. Join in the fun!

Oh, and of course, give them some love on Facebook and Twitter, too.
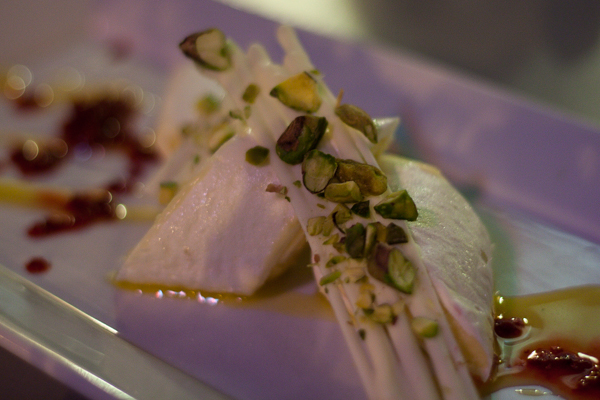
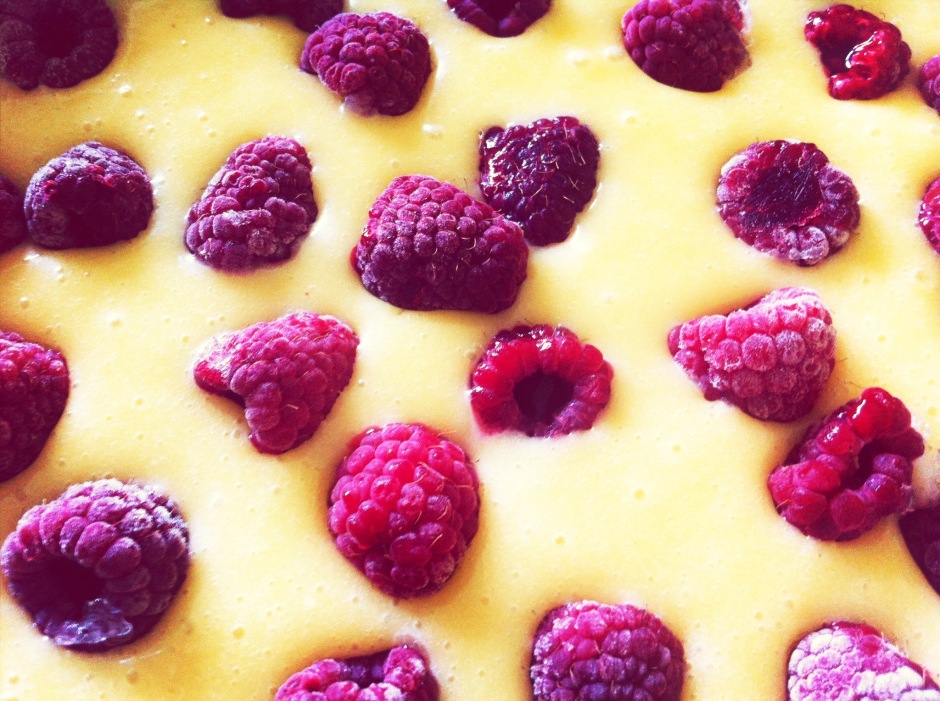
A bird has just tweeted in my ear that today is International Food Photography Day. We've already quite a few articles here on Photocritic that delve into the mystery of making brown gack look tasty and cold chicken appear hot. But seeing as most people aren't going to be pulling out their dSLRs in Le Gavroche or the French Laundry to take photos of their dinner (or at least, I hope not), we thought that we'd focus on smartphone food photography today, for when you don't have a controllable aperture or variable shutter speeds at your disposal.
We probably sound like a broken record here at Photocritic, urging people to get closer, but we really do mean it. And we definitely mean it for food photography. Lean in.

Use natural light, and lots of it, to photograph food. Avoid flash wherever possible, especially smartphone flash. It's rarely a good look.

Experiment with different angles when it comes to food photography. Up high, down low, looking across your food. Give it a whirl!

You really do not want clutter distracting from your food. So check for spills, crumbs, and cruet sets in the background. Think about using this tip in conjunction with getting closer and altering your angles for maximum impact.

Wobbly white balance can manage to make even the most delicious, fragrant, and beautiful dish look unappetising. Whites need to look white and not tinged with mouldy greens or unnatural blues. Fire-up Snapseed, load up your image, and push that 'Warmth' slider around until the colours look right.

As well as adjusting the white balance of your food photos, don't forget to give them a quick crop if they need it—especially to slice away anything extraneous or distracting in the background—and to increase the brightness and contrast a smidge. That will give your image a bolder and more appealing feel.
I don't tend to add filters to my food photos, but if that's your thing, Mayfair gives reliably good results in Instagram, I like Vanilla in EyeEm, and ColorVibe is good in Flickr. But it doesn't hurt to play around yourself!
It doesn't matter how tasty your chickpea curry actually is, making it look appealing can be very difficult without some serious styling. The colours are dull and the textures uninteresting. The best photos of food make you want to reach into the image and snatch the cherry off of the top of the cake. They tend to be bright and full of feeling. So be selective in what you photograph. Think about colour, texture, and pattern.

And now you can put your new-found skills to use by entering the Fujifilm and Pink Lady Snap the Rainbow competition!
Autofocus is such a wonder-tool in our cameras that I'm sure quite a few of us have no idea how we ever managed to take tack-sharp photos without it. But how many of us actually use it to its full potential? There's a bit more to auto-focus than the single or one shot default. Without further ado, here's a quick primer into the different auto-focusing modes you're likely to find on your camera, and when best to make use of them.
This is probably what you think of as 'auto-focus'. You point your camera at your subject, you line up your auto-focusing points over it, you half-depress the shutter button, and the camera attempts to focus on the subject. When it finds focus, it 'locks' onto it until you complete the depression of the shutter button or release it and re-focus your shot. This mode is great for most subjects that don’t move a lot.
Canon calls this mode 'One shot'; you'll see it marked as 'AF-S' on Nikon, Fujifilm, and Sony cameras; Olympus refers to it as S-AF and Pentax as AF.S.
When you're shooting fast-moving subjects and want to keep them in focus, try using continuous or servo mode. While you half-depress the shutter release button, the camera will repeat the auto-focusing operation in order to keep your subject sharp as it moves across the frame.
Canon reckons its servo mode can track subjects approaching or receding at upto 50 kilometres per hour, making it good for capturing plenty of sports.
Nikon, Fujifilm, and Sony refer to this mode as AF-C; it's marked as AI Servo on Canon cameras; on a Pentax you'll see it as AF.C; and it's C-AF on an Olympus camera.
'Intelligent' focus is a half-way house between single shot and continuous auto-focus. When you half-depress the shutter button, the camera is set to recognise movement in the subject. For subjects that don't move, the camera will use one shot auto-focusing. Should it detect movement from the subject, it will automatically switch to continuous auto-focus and start to track the subject.

While this mode might seem like the best of both worlds, and it can be very handy particularly if you're photographing children or animals, it can sometimes be a bit of a let-down and isn't quite fast enough to deliver the results you want.
Canon calls this mode AI Focus AF. It's AF-A on Nikon and Sony cameras, while Pentax refers to it as AF.A.
It was learning to align the focusing markers in an SLR that first got me hooked on photography, almost 30 years ago. Back in the early 80s, auto-focus was only just beginning to make its way into cameras. Now we often wonder how we cope without it. But still, there are times when auto-focus simply won't do and you need to switch to manual focus, maybe for macro shots or some landscapes. If there's no obvious manual focus option on your camera, try looking on your lens: there's likely a switch to be flicked there.
Often, but not always, your camera will help you by beeping or flashing when it thinks that you might have achieved focus on your subject. If you're using live view rather than through the lens, try using the manual focus assist option that lots of cameras have now. Rather than displaying the full frame, it zooms in on the area where you've focused, making it easier to hone in with precision on your subject. It's a useful tool to demonstrate just how big a difference a small adjustment can make to your focusing, too.
Your camera is gifted with heaps of different tools to help you get the shots that you envisage; there's more to it than exposure and metering. Don't forget to make use of them - that's why they're there!
I recently saw an article that listed sound advice when it comes to saving money when purchasing new camera gear. Amongst other suggestions, it mentioned part-exchanging your gear, buying at demo days, and waiting for manufacturers' seasonal cashback offers. What it didn't suggest was to buy second-hand, however. Someone did point out to me that then the gear wouldn't be 'new' in its strictest sense, but I take a slightly less stringent view of the word 'new' in this respect. It's still new to the buyer, after all. I'm a huge fan of buying camera gear second-hand. Some of the lenses that I've picked up have been practically box-fresh, but bought at a half or two-thirds of the retail price. And it's a small step towards reducing waste and the use of valuable resources. But buying second-hand does require you to put some trust in the seller as well use some of your nous and common sense. So what should you do? This guide has been put together using my own experiences together with advice from Campkins Cameras in Cambridge (where I buy lots of my kit) and Adorama, who sell used as well as new gear. It is of course advice, and while it's as thorough as I can make it, it probably falls short of comprehensive somewhere.
My own preference is for new bodies but second-hand glass, still there are great deals to be had on very well kept camera bodies. Used accessories can be picked up on the cheap, too. Almost anything that you'd like to establish or augment your photographic arsenal can be purchased second-hand, from vintage kit to barely used up-to-date digital gear.
Given that there are so many places to look for used photographic equipment, it's advisable to begin your search with a clear idea of what you want and how much you have to spend. You might not get very far with 'I want a new lens!'
How long is a piece of string? There are so many places offering second-hand sales it might feel a little overwhelming. The first places that might spring to mind are eBay, Craigslist, and Gumtree. Then there are major retailers who offer second hand sales in addition to their new business: Adorama, KEH, Wex Photographic, Wilkinson Cameras, for example. Your local independent camera dealer probably has a second-hand range, too. It's also worth watching Twitter as well. I quite often see people offering their kit for sale there before taking it to a dealers or trying eBay.

All of these come with their advantages and disadvantages. Online auction sites offer you the opportunity for great deals on price, but you have to place your trust in the seller that they're honest and reliable and that their descriptions are accurate. What you might think of as mint condition could be different to someone else's idea; and heaven forfend that someone takes your money and doesn't deliver the goods, or fences stolen property. The aftersales care and protections, for example returns and warranties, are less straightforward than with established traders, too.
Purchases made through established companies might be a bit more expensive than what you'll manage on eBay or similar, but most of them have a clear returns policy and even offer a warranty on goods. These companies' ratings systems usually afford you a clearer indication of the condition of the product you're looking to purchase, so you shouldn't receive any nasty surprises when it arrives. But, if you're buying over the Intergoogles, you don't have the opportunity to hold the product in your hand and test it out for yourself. This is perhaps the biggest advantage of local traders. I pop down and test out lenses before spending money on them and ask about a gazillion questions as well. Where I shop offer me a six month warranty on second-hand purchases, which is a great benefit.
It all depends on how confident you are buying over the Internet and how comfortable you feel spending money on goods sight unseen.
If you're in the market for a particular camera or lens, it's worth keeping an eye on manufacturers' release cycles. When new models in the line that you're interested in go on sale, you're likely to find a bump in people selling their older versions when they upgrade. For example, Nikon announced its D810 today; as a consequence, people wishing to upgrade from their D7100 or even their D800 or D800E will probably start thinking about selling them on soon.

Taking a look at the second-hand market just after Christmas is a good idea, too. People receive gifts, they're given money to put towards new gear, and they resell their old equipment as a consequence.
Or you can do what I do. Decide on the specifics of your next purchase, but not restrict yourself to a timescale and ring up your local dealers every week to ask if they've anything that fits your requirements.
You might not have the opportunity to ask questions of goods being sold online by major retailers, but you can ask questions of sellers on auction sites and in bricks-and-mortar shops. The first question I always ask is 'Why is it being sold?' If the seller can't give you an answer that sounds reasonable, you might want to reconsider the purchase. I ask about the original paperwork for the product, too. And I always double-check on the returns policy and the warranty.
If you're buying via an auction site, don't be afraid to ask the seller to clarify anything mentioned in the description, for more images of the product, or anything you'd like to know but hasn't been covered, for example where and when it was purchased originally.
Should you be buying via a site that uses a grading system for second-hand goods, read their ratings descriptions carefully to understand the condition of the product you're looking to purchase. Some sites won't sell goods that don't function normally but others will, indicating that they're good for parts. Make sure you know the code!
If you're looking at goods graded N or D on Adorama, these are just about as good as new and it's unlikely that there will be much difference in the price from a brand new product. You're likely to get a better deal on something that Adorama grades as E or OB. OB means 'Open Box' and it's the equivalent of a demonstrator car: it's been used as a display model or for training purposes.
Here are some of the things to look for, but remember it isn't an exhaustive list by any means.

Finally, remember the adage: if it seems too good to be true, it probably is. Now: happy shopping!
One photo, so many options. Where on this huge web of interconnected social media outlets are we best sharing our quick snaps, our painstakingly created works of art, and our selfies? Really, it all comes down to whom you want to see them. The chances are that different people follow you in different social media spaces, and if Twitter's mostly a work thing for you, selfies on the beach aren't all that appropriate a posting there. You're probably best putting those on your friends- and family-only Facebook account. It only takes a few moments of thought, really, but if you're new to the social media fandango, seeing all those apps lined up on your phone can be a little overwhelming. For a bit of fun, I drew up (quite literally, it involved an enormous sheet of paper and felt-tipped pens) this handy-dandy guide to sharing your photos via social media. Of course it isn't meant to be taken deadly seriously, but it's a pretty useful starting point all the same.

You can find it looking even more beautiful in print in the delicious-looking Social Photography, which is available now, either in print or to download!