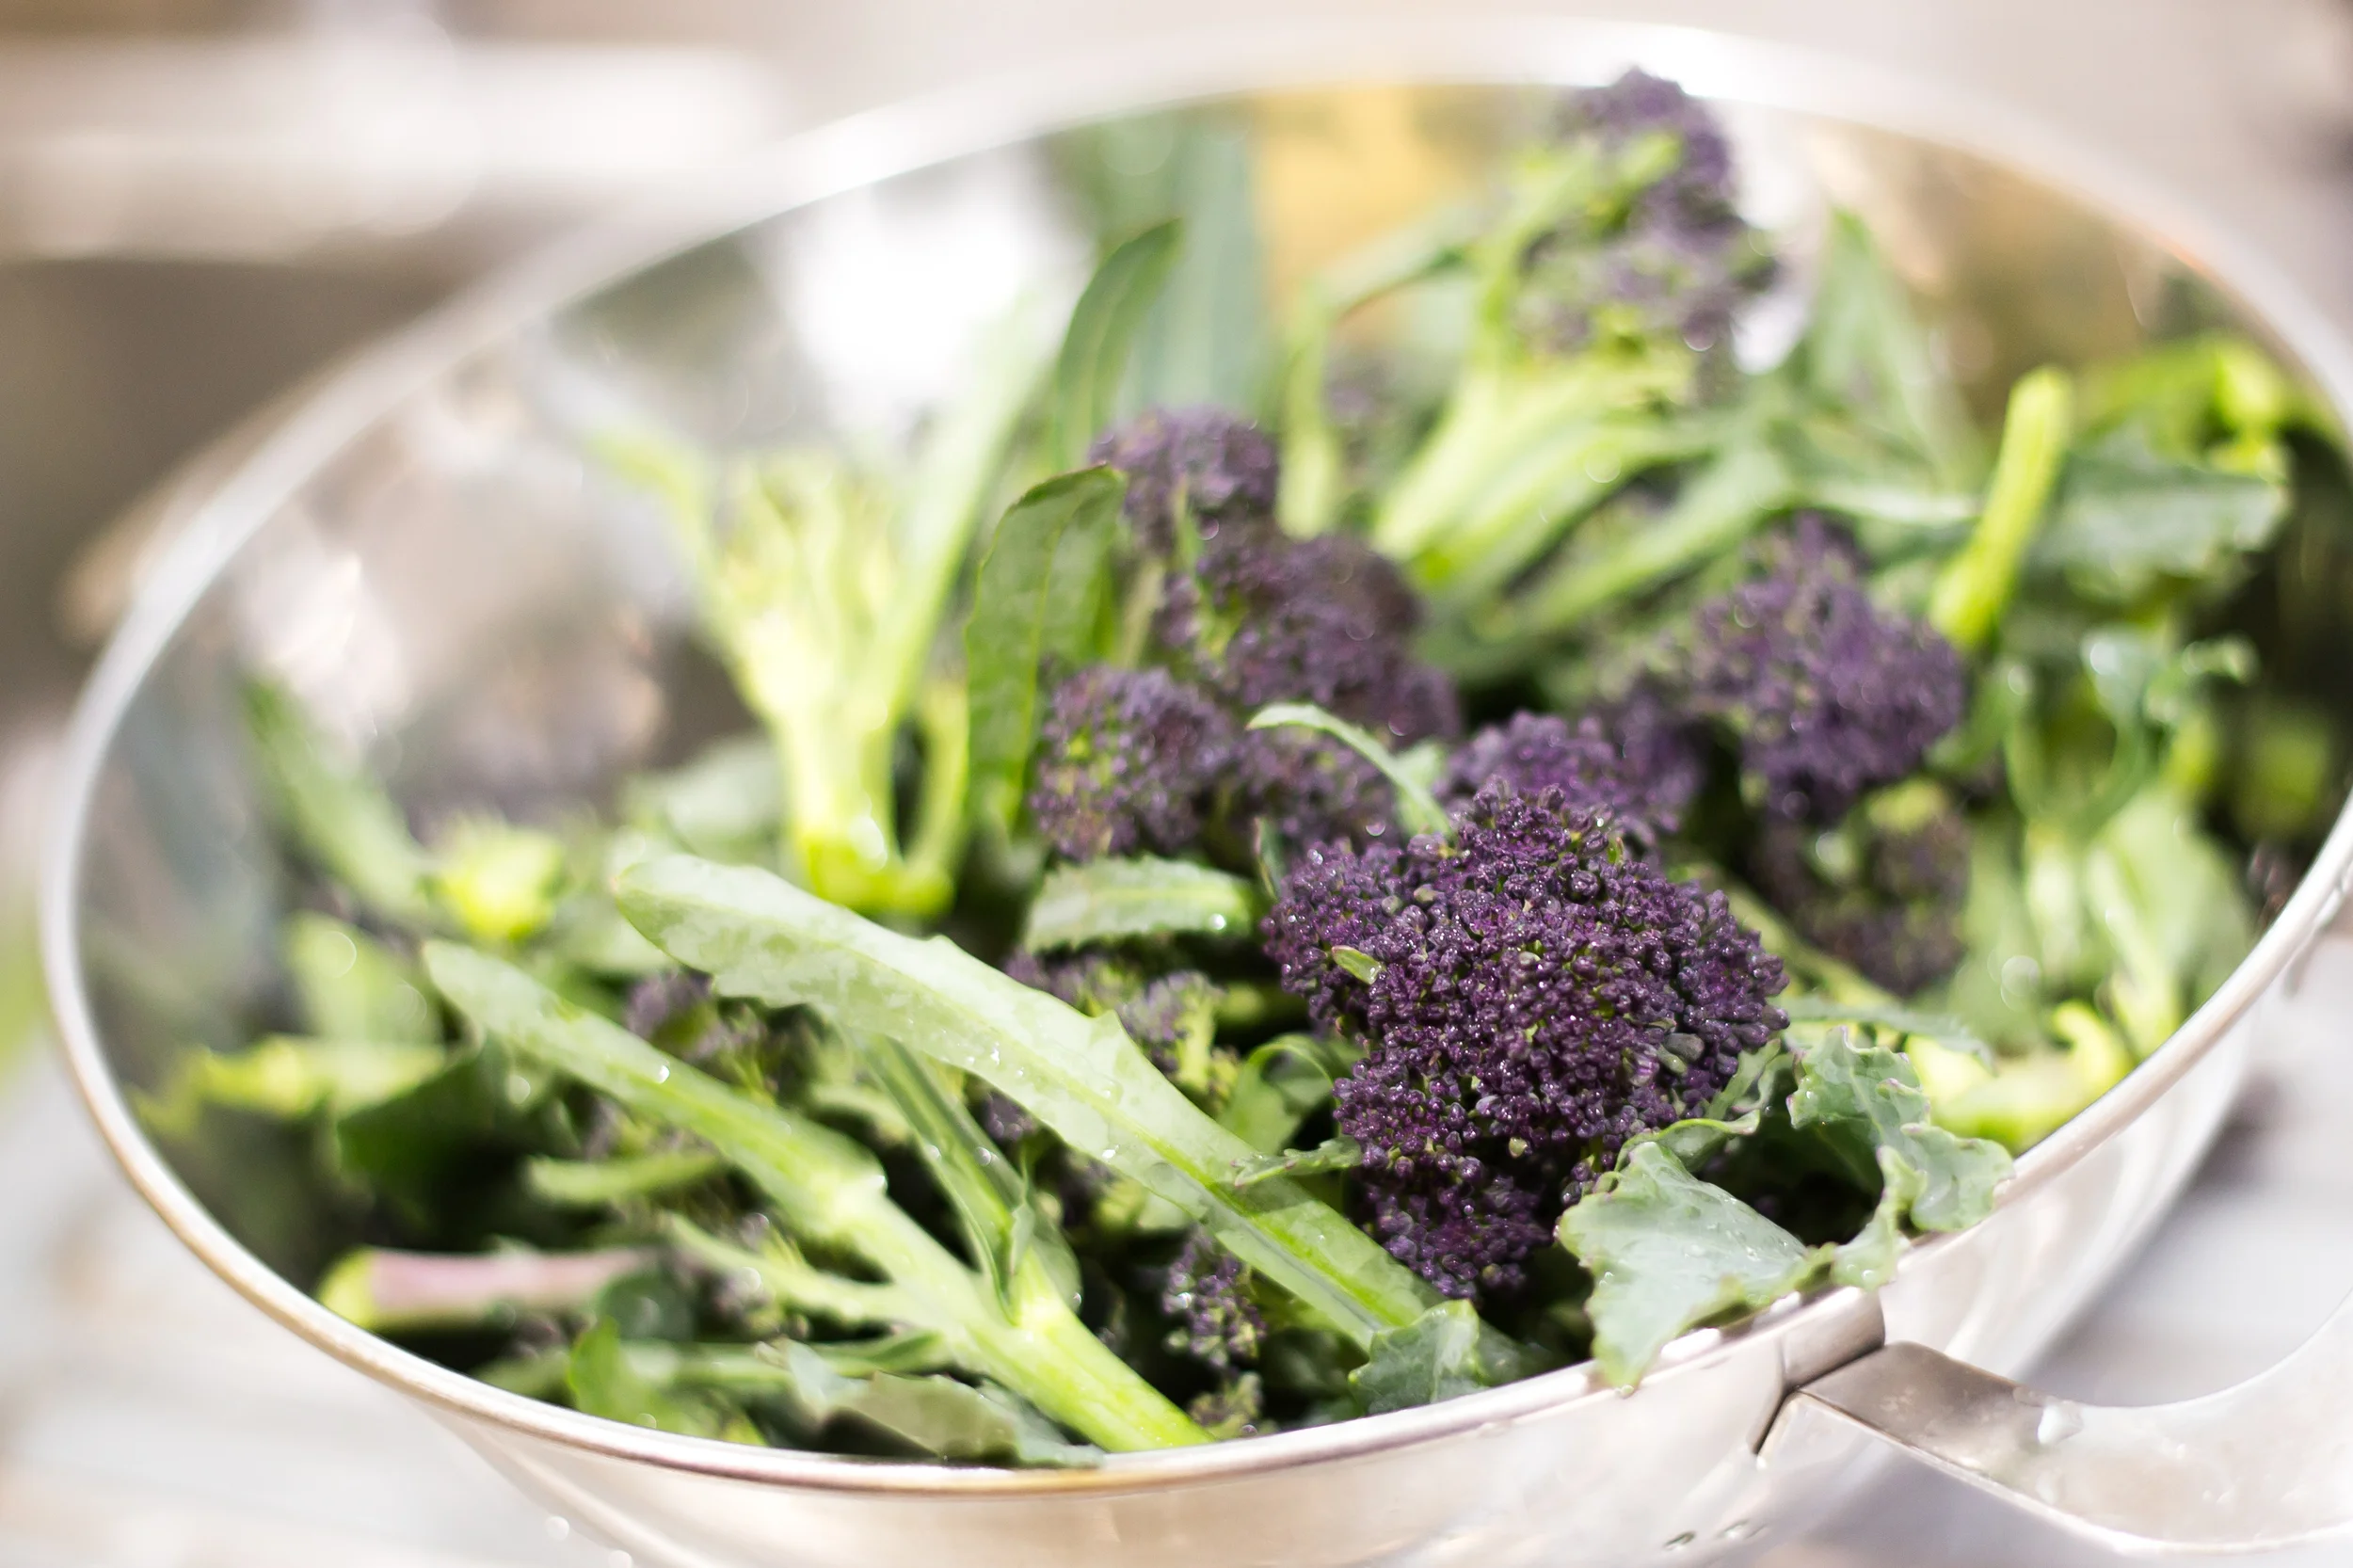
Two easy tips for helping with your lighting for food photography.

When you hear the term 'high-res' thrown about with such abandon when it comes to images for web use, have you ever stopped to think just how big or how high quality and image meant for the web needs to be?
There's an assumption that high-contrast images are more dynamic, more compelling, more inviting. Have a go at some low-contrast photography. You might surprise yourself with the results.
Balance doesn't mean symmetry; it means an internal consistency and tension within your photos. And it's a vital element of composition.
Great photos might be down to a little bit of luck, but most of that 'luck' you make yourself. Don't believe us? Read on...
As a photographer one of the first things that you need to understand is exposure, or how to control light to create an image. If you're new to photography or have just picked up a camera with manual control for the first time, we suggest that you start here. Learning how to manipulate light to achieve the shots that you want is a life-long project, but these are the foundations.
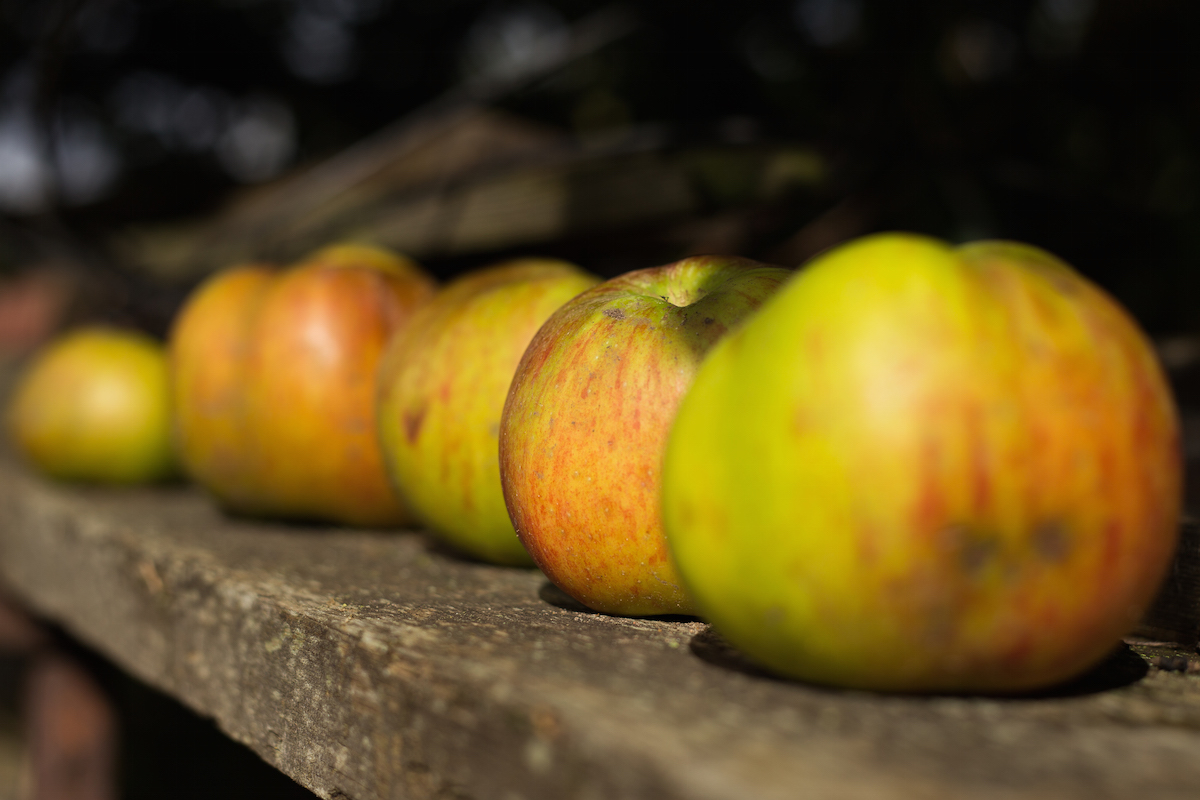
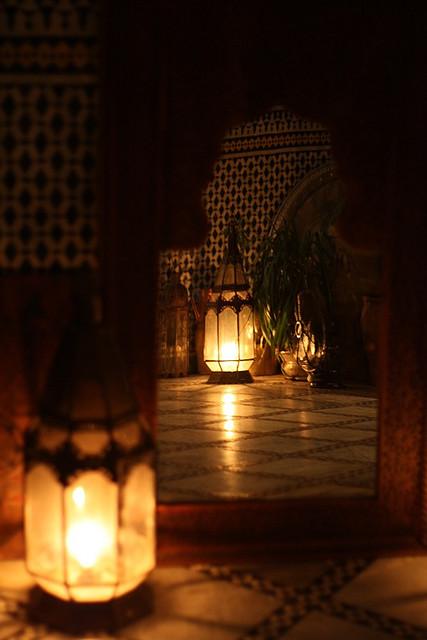
Here in the northern hemisphere, the shortest day is fast approaching and whether we like it or not, much of our photography will be of the low-light variety. We've put together some suggestions for coping as best you can when things are a little dim and the light with wish you wish to draw is a scarce commodity.
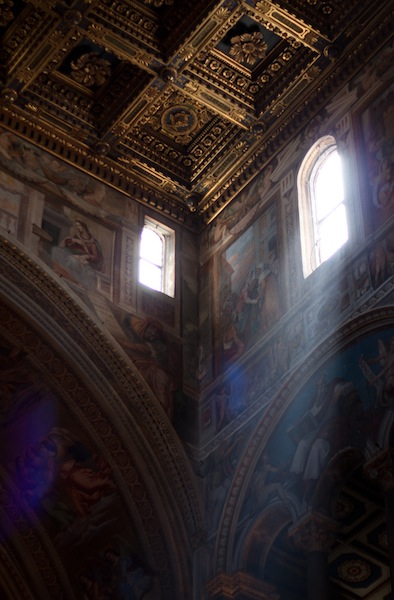
This might sound terribly obvious, but it's a fundamental of photography: look for the light in your scene and use it to your advantage. Use the light from streetlamps, from candles, from the moon to illuminate your subject—even be the subject—and create interesting shadows in your photos.

While a too-high ISO can be responsible for noisy, grainy photos, advancements in sensor technology mean that it's possible to push ISO much higher than was previously acceptable to get the shot you want. Remember: a little grain can be better than motion blur; if you shoot in Raw, images can be cleaned up; a black and white conversion can produce noise-negating miracles.
The wider the aperture you select, the more light you'll let onto the sensor and the faster shutter speed and lower ISO you'll be able to use. This will of course come with the caveat of a shallower depth-of-field, but that can be applied creatively.
A slower shutter speed will permit more light to reach the sensor, but it also has the potential to introduce motion blur if it isn't sufficiently fast to freeze the action in your scene, as well as camera shake if you're hand-holding your camera. Sometimes, however, motion blur contributes to the story that you wish to tell, so don't dismiss it entirely.
The general rule for hand-holding a camera is that you shouldn't do it if your shutter speed dips below the inverse of the focal length of the lens you're using. Thus, for a 50mm lens, you shouldn't attempt to hand-hold your camera using a shutter speed slower than about 1/60 second. If you find that you need to go slower, you might wish to bring out your tripod. Think about a remote shutter release, too.
If you adhere to matrix or multi-segment metering, your camera will attempt to adequately expose the entire scene. That might not be what you want if you're looking to play with light and shadow. For dramatically lit shots, switch to spot metering and meter from the illuminated area that you wish to be in focus. This will maintain dark shadows while correctly exposing the point-of-focus.
Spot-metering might not be appropriate for your scene, but at the same time, matrix or multi-segmented could render it over-exposed. If that's the case, try dialling in a stop or two of negative exposure compensation.
Auto-focus can struggle to hit its mark in low-light situations, in which case manual focus might render better results if you're both confident enough using it and the scene isn't changing so fast that you miss the photo opportunity. Should auto-focus be the better option, ensure that you're using one-shot auto-focus. Try, too, shining a light where you wish your camera to focus. The illumination will assist it in locking-on to the point-of-focus.
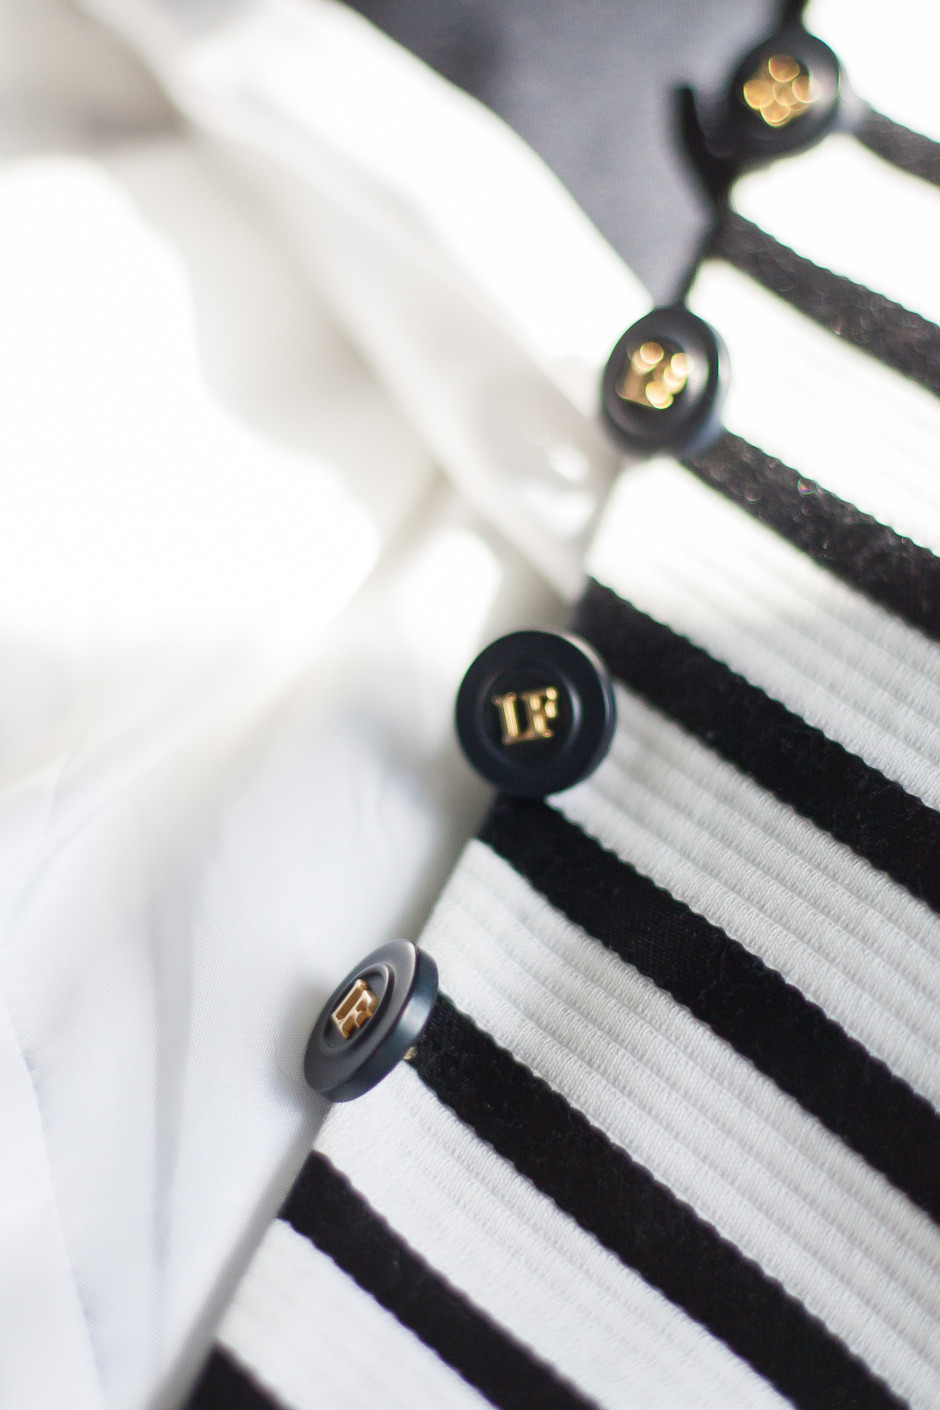
Whether it's reflection off of pale clothing, off of glass, polished metal, or liquid, or from a reflector, keep an eye out for reflected light and put it to use in your shots. That might be making reflections on water the focus of your photo, but it can also be bouncing back reflected light to illuminate shadows.
If you're not already shooting in Raw, switch now. Not only will help you to tidy up any noise in your shots, or even to adjust the exposure a little if necessary, but it will allow you to adjust the white balance of your photos more effectively. Accurately white balancing low-light shots can be tricky; the more flexibility that you have, the better.
How warm or cool is your light source? Or are you working with mixed light sources? If you're shooting by candle light, you can set the light temperature on your camera to more accurately render colours in your photos. For mixed-light sources, remember to white balance according to the light falling on your subject. If you're shooting in Raw, you might find that adjusting the white balance in post-processing will give you the most accurate result.

Finally, have fun with the darkness and put it to creative use. Let reflections dance or shadows draw you in to moody scenes. Low-light might force you to think for a moment, but remember that you often have longer than you think you do, and experimenting is half the fun.
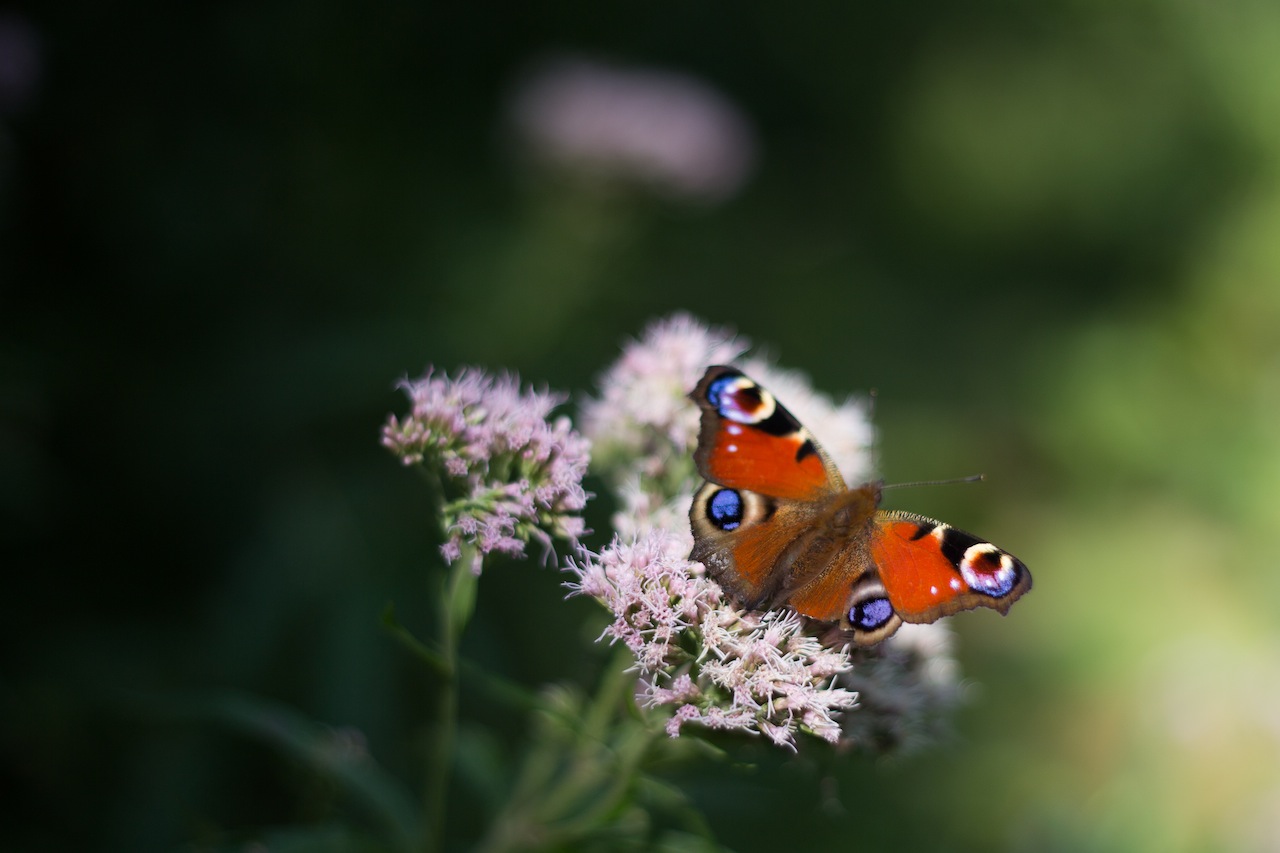
When you've been shooting for a while, you might start to notice that as well as being able to handle your camera more deftly, you're also pressing the shutter more instinctively and with a greater degree of conviction that you'll create a good image. Indeed, you are producing a greater number of better photos. While this might seem to be some form of photographic clairvoyance, it's actually rather more prosaic than that. You've actually grown more observant as a photographer and instead of developing some kind of sixth sense, you're learning to look.
First and foremost, and maybe without even realising it, you're becoming more attuned to light, to its quality, to its direction, to its temperature, and to its quantity. You're getting a feel for the type of light that makes for great photography and you're growing a better understanding of where to stand to make the most of it.
If you're still learning about light, start by thinking about from where the light is coming and how it's falling on your subject. Consider what's illuminated, what's in shade, and how where you're positioned will have an imapct on that.
When you understand how a game is played or the schedule of an event, it makes it easy to anticipate how things might go or what should happen next. For example, a tennis player about to receive a serve is likely to stand on the appropriate side of the court; a religious marriage ceremony usually follows a particular format. These are illustrative examples of 'domain knowledge.' By knowing how tennis is played and religious weddings are conducted, it gives you a fighting chance of predicting what’s going to happen next.
That sort of 'domain knowledge' is vital in many aspects of life, but it's also darned useful when it comes to photography, whether it’s nature, landscape, portrait, wedding, or even street photography.
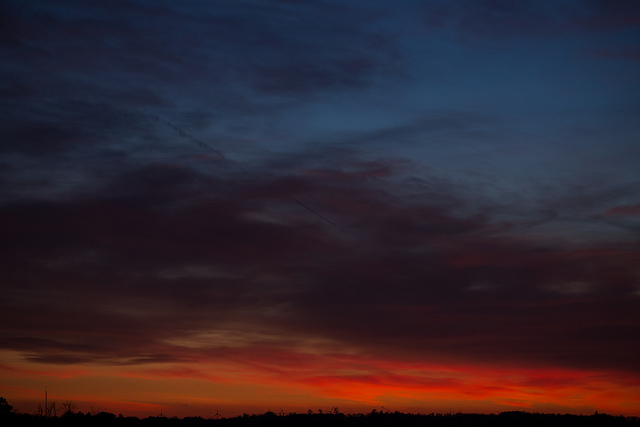
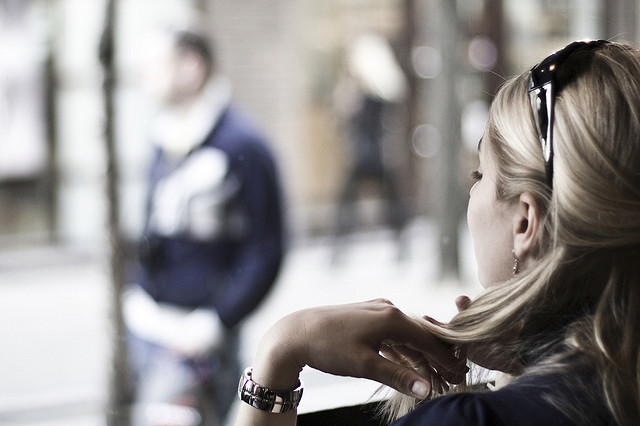
The more familiar we are with our subject matter, the better we become at anticipating its 'movement': its pace, nuance, and rhythm. If you photograph enough sunrises and sunsets, you'll develop an intimate knowledge of how the light changes as the sun sinks beneath the horizon or the impact of clouds on colour. Similarly, if you spend enough time observing people in a particular public place, you’ll become more familiar with the way they interact with one another within that space. Complete enough portrait sessions and you’ll become quicker at noticing how comfortable or otherwise your subjects are in front of the camera, and interact with them so that you are able to capture their essence.
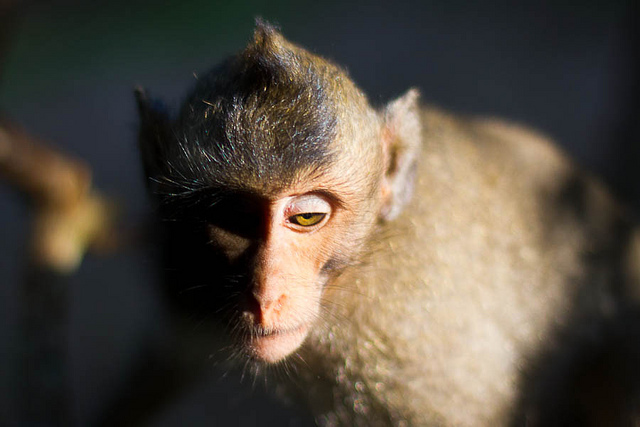
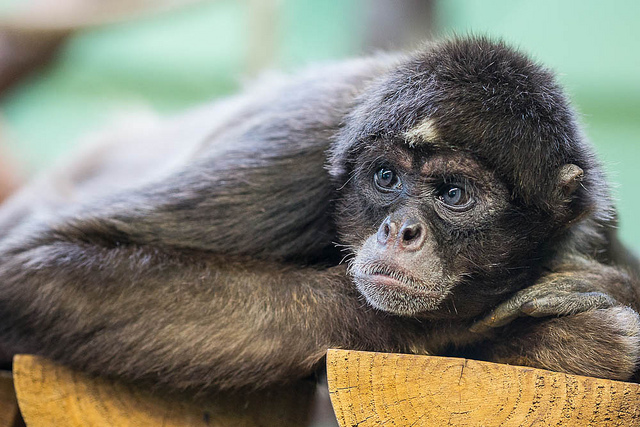
When it comes to sports photography, knowing how the game works and what to expect is a vital element in ensuring that you can get a shot. Understanding the idiosyncracies and routines of animals will help you with your wildlife and your pet photography.
This increased observance, whether of people, environment, or structure, increases your chances of capturing a precise moment because you know what to expect.
It helps then, to be prepared for whatever it is that you're planning on photographing. As well as doing some research, make an effort to actively think about what you see. Even when you're out and about and not especially in a position to be taking photos, train your eye to look for 'moments': for shafts of light, for interactions and reactions, for interesting backgrounds or subjects. Being able to anticipate what comes next will help you to get the shots you want.
Perhaps the most common mistake anyone who's new to photography makes is adopting a 'scatter-gun' approach. All too often when confronted with a scene worthy of photographing, the temptation is to fire away without really thinking about the images we’re capturing. This is partly because it costs nothing to take a photo these days, and partly because we feel that if we take enough shots we’re bound to stumble across the image we want to capture.
This is something that we've covered in depth of Photocritic before now, but it bears repeating. It is much better though to slow down and spend some time observing the subject. This isn’t always possible if you’re photographing a short-lived or unexpected event, but in most cases you do usually have time to consider your subject and assess it for its specific qualities. You can explore a variety of shooting angles, change your point of focus or depth of field, or wait for a change in the light, even shift your subject’s position or posture. You should learn to visualise the image you want to capture and actively seek out that image, rather than reacting to images you’ve shot in the hope that one of them fits the bill.
One of the first compositional rules that we learn is the rule of thirds. It's relatively simple but definitely effective: divide the frame into three, horizontally and vertically, and use the divisions to place your subject. But rules are made to be broken—once you understand them properly, that is—or at least adapted and challenged. If you're looking to leave behind the rule of thirds but still want place your faith in geometrically validated subject-placement, try the golden triangle.
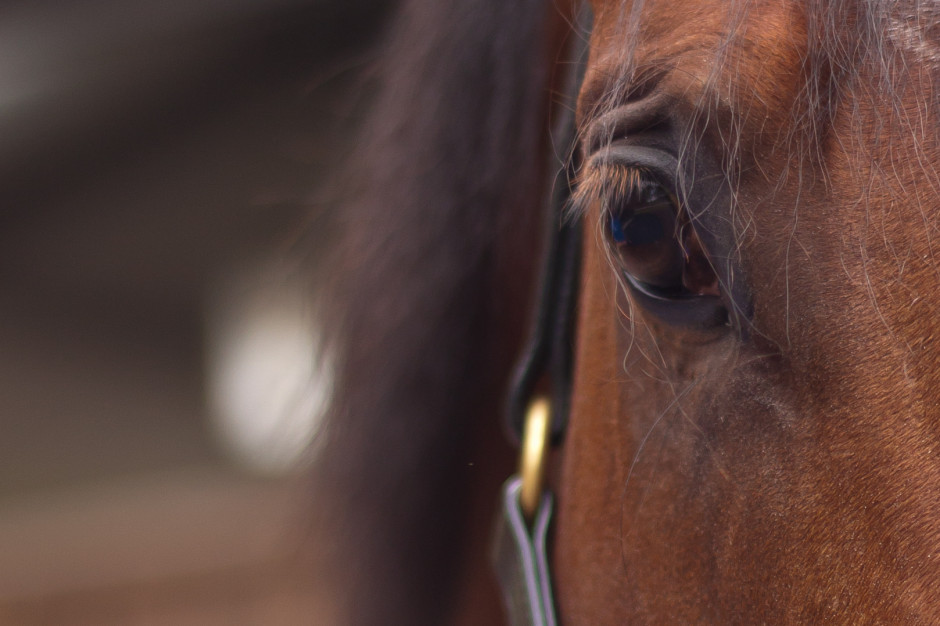
Draw an imaginary diagonal line across your frame. Now draw imaginary lines from the other two corners, which each meet the long line at right angles. It should look something like this:

Your points-of-interest are where the lines meet. Use them to place your focal point, for example the eyes in portraits, and use the lines to divide your frame and draw the eye to the focal point to help create dynamic images.
On a mundane and practical level, it's easier for some people to visualise the triangle than it is the rule of thirds. Moving towards a more creative purpose, by using triangles to compose your frame you're introducing a strong compositional shape to it with a great sense of balance pitted against a precarious point. And triangles have a nifty way of retaining the attention of the eye within the frame: the eye moves from one point to another in a continuous loop.
[gallery ids="6953,6954,6955"]
Quite specifically with the golden triangle, you give yourself a means of dividing the frame in a way that is frequently more pleasing to the eye than a horizontal or vertical split. As well as using the lines to draw the eye to focal points, the use of triangles in the frame brings balance to the image. Think of one half as blue and the other as yellow. Or shadow versus light.
By counter-poising the two points-of-interest against each other, you can enhance the sense of balance in the frame. You get dynamism and balance in one go: brilliant.

It's all very well knowing the theory - what about the practice? Try portraits with your subject leaning into the frame and the eyes on a point-of-interest. Use the rule to place bridges in your frame, and have the eye travel along them to a focal point. Just give it a try - you never know!

Once you've got a proper handle on your camera and what it's capable of, and you've built up an understanding of your lenses, you might find that you want to extend your photographic experimentations to flash so that you can create alien space lemons and bright and breezy high-key portraits. It's probably easiest to start out using through-the-lens (TTL; iTTL; or eTTL) metering, but much the same as you progress and take more control over your camera, there will probably come a point when you need to exert more control over your flashes and have to change the mode to manual. Adding a new variable into any mix can be a daunting prospect, but don't let it put you off. It's another skill to master and put to use.
TTL stands for through the lens metering. Rather than you dictating how much power your flash puts out, your camera and your flash will combine to make the calculation. It does this by emitting a small pre-flash to determine how much light is required for the scene and your camera settings.
The primary advantage of TTL metering is that you don't need to think too hard, so when you're photographing an event or something fast-moving, you won't miss your shot for need of fiddling.
But if you need consistency in your exposure between shots, then TTL isn't very useful. You'll have to switch to manual mode.

Much like using manual mode on your camera gives you complete control over your exposure, manual mode on your flash gives you complete control over the power it emits. Between them, they will provide you with consistency.
The power out-put on a flash is typically displayed as fractions. Full power is 1/1; the least powerful setting is usually 1/128.
Don't forget that if you set your flash to full power, it'll be working at its hardest and will take longer to refresh in between shots.
When you're experimenting with your flash, you might want to set the power to 1/16, which is roughly half-power. You won't have too far to move in either direction if you need to make adjustments.
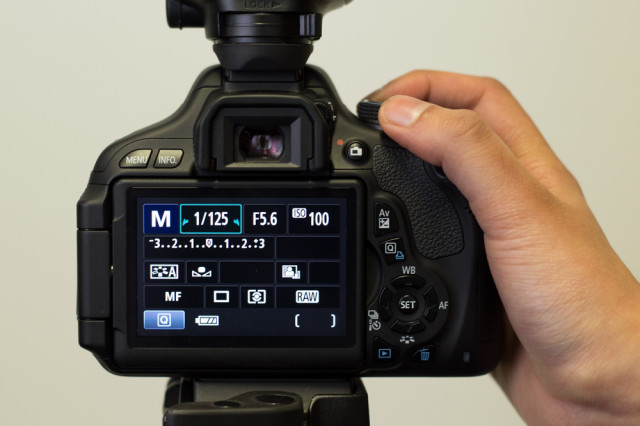
Your camera and flash need to synchronise in order for the sensor to be able to detect the flash. Open the shutter for too short a period of time and it won't be able to catch the flash, rendering the entire process futile. Cameras, therefore, have a maximum shutter speed that can be used in conjunction with an off-camera flash; it's known as the sync speed. The maximum sync speed tends to be 1/125 second, but do check your camera's manual to be sure.
Seeing as you'll be using manual mode on your camera, you'll need to be certain of the impact that altering shutter speed, aperture, and ISO will have on your exposure.
First: changing your shutter speed will not have an impact on your flash exposure. Shutter speed will have an impact on ambient light. Want more ambient light? Use a slower shutter speed.
Second: adjusting your aperture will have an impact on your flash exposure.
Third: ISO has an effect on both flash and ambient exposure.
Now that the theory is in place, how about some practical photography?
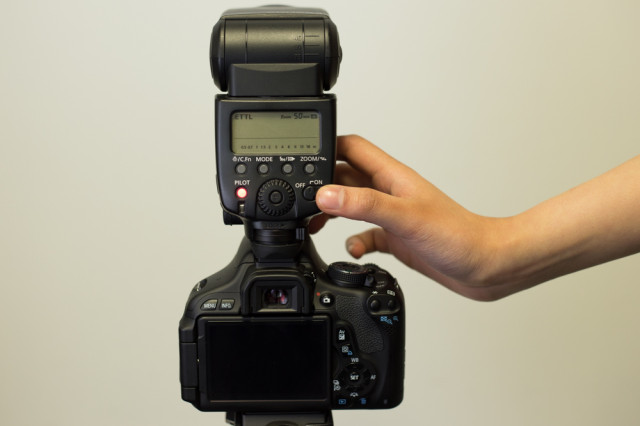
Turn on the flash and set it to manual. This is normally achieved by cycling through the MODE button on most flashes. If you’re not sure about this bit, check the information in your flash manual.
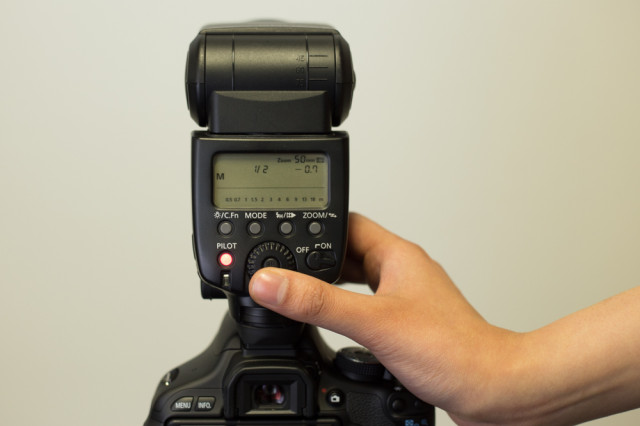
Now you can adjust the power by pressing the arrow keys. 1/1 is full power, and each click down will decrease the power.
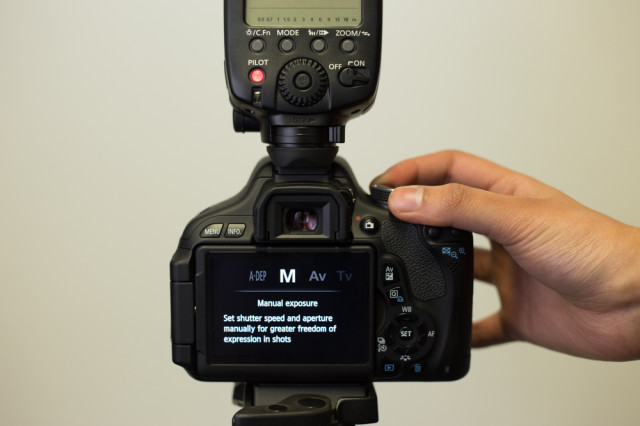
Place the flash on the hotshoe of the camera, or attach the lead or radio trigger if you're using either of those, and switch on the camera. In manual mode, set the shutter speed to 1/125 second and adjust your aperture and ISO.
Take some photos!
If your images are too bright you can:
If your images are too dark, do the opposite!
Experiment with different combinations of flash power, aperture, and ISO to get a feel for what you can achieve with flash photography. After that, the world is your playground!
For a video version of this tutorial, here's Team Triggertrap explaining things:
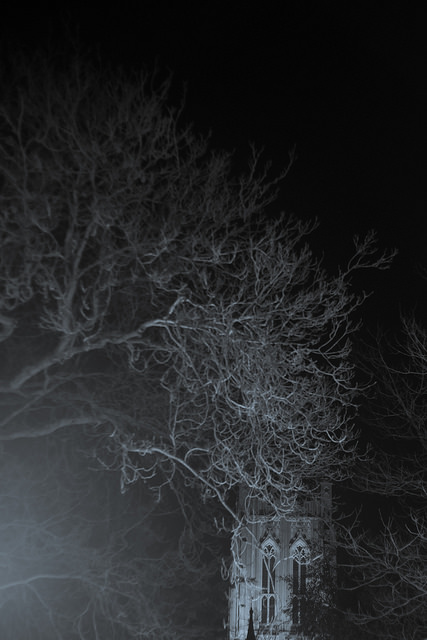
I spent Saturday at the Cambridge Festival of Science and Royal Photographic Society's photography day, listening to talks on megapixels and watching videos of caesium react with water in slow-motion. It was mostly a fun and informative experience, but apart from the caesium videos, the best bit was sitting inside Fotonow's Camper Obscura. That, just as its name suggests, is a camper van that has been transformed into a camera obscura. A camera obscura is the basis of any photographic camera, from a pinhole to a dSLR. A camera obscura is literally a dark (obscura) room (camera) with a hole poked into it, through which light can pass to create an image of the outside world on a screen. There are room-sized camerae obscurae in Bristol and Edinburgh, but they don't have to be walk-in activities. It's easy enough to scale them down and make something portable. I was aiming for something more along these lines when I decided to devise my own.
Of course, if you replace the screen with photo-sensitive paper you have a pinhole camera and by steadily improving the light-gathering and focusing abilities of the hole, with lenses, you end up with a camera more akin to those we use every day. But that's another project for another day.
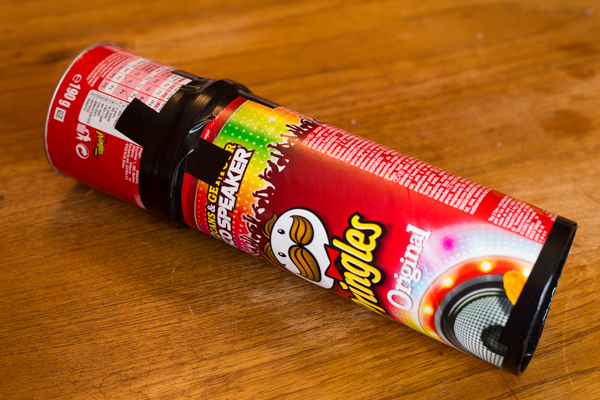
Undeterred, I looked around for some DIY camera obscura instructions and found the perfect example on Exploratorium, which used a Pringles can. Seeing as Haje has already used a Pringles can to create a cheap macro extension tube, it seemed entirely appropriate to transform the snack container into a portable camera obscura. A Pringles Can Obscura.
After securing a can of Pringles either from a nearby shop or your pantry, you'll need to divest it of its contents—whether you eat them all or transfer them to a new container is up to you—and then wipe it clean and keep the lid.
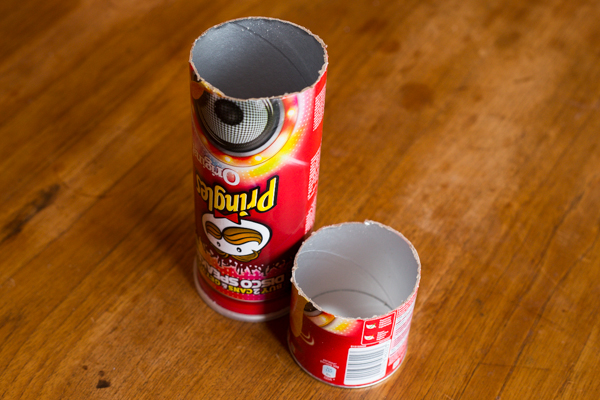
Draw a line around the tube, about 6cm or 2½" up from the base. Using a craft knife, or in my case, a bread knife, cut through the tube so that you're left with two pieces. The shorter section will be from the bottom of the can, and the longer section from the top.
You need to make a screen onto which your image will be projected inside the can. The cheapest and most readily available means to make one is from tracing paper.
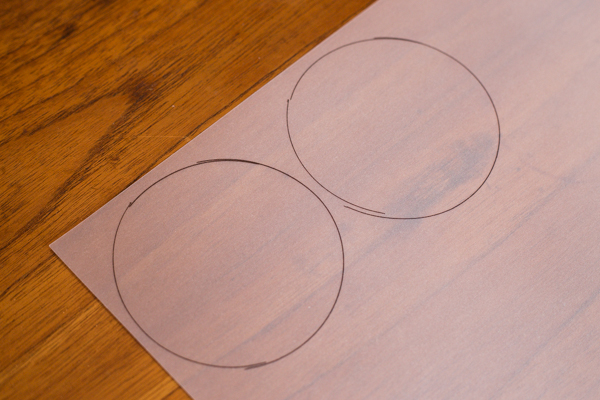
Place the lid of the Pringles can on a sheet of tracing paper, draw around it, and then cut it out. Secure the tracing paper on to the top of the tube using the lid.
Rather than reconstruct the can with the two cut ends meeting again, you want the cut end from the bottom section of the can meeting the lidded, tracing-papered end from the upper section. Secure them in place using gaffer tape or electrical tape. No light should be able to pass through the join.
I got so carried away sticking it together that I forgot to take a photo. I'm sorry.
In order for the light to pass into the can and create an image, pierce a hole using a drawing pin in the base of the can.
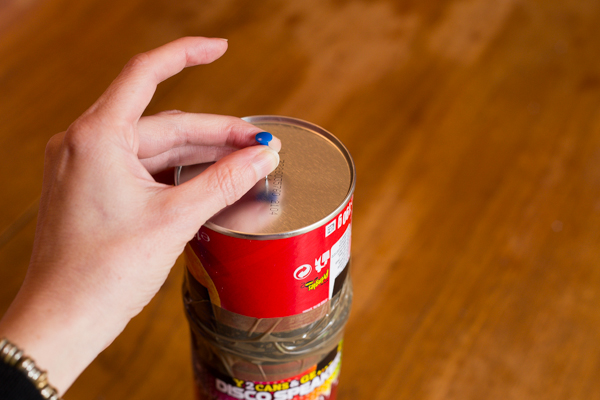
To make sure that you don't end up with spurs of cardboard poking into your face when you hold your Pringles Can Obscura to your eye, tape up the cut surface with some electrical tape. And if you don't want it to resemble a Pringles can that you've hacked up, wrap some coloured paper around it.
The brighter the day, the better the image you'll be able to render on your screen. Just remember that everything will appear upside down. And then it will be a case of moving nearer and farther away from your subject to get it in focus.
It's a great tool to remind you just how simple the principles of photography are, and to get you back in touch with moving subjects into and out of focus.
(And don't go getting any ideas about the gorgeous image of the tree. That's obviously, from the Camper Obscura.)
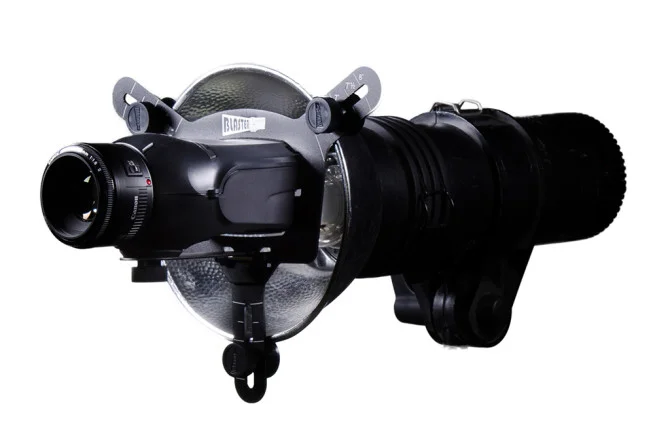
Inspired Photo Gear is steadily augmenting its range of photography accessories, adding two new lighting modifiers to its Faith lighting stands and Lollipod multi-use supports. As well as stocking the Lightblaster, which we looked at and loved a few months ago, it's now selling the RoundFlash modifier, too. The RoundFlash is a lightweight (230g) and portable collapsible ring light and soft box that can be used either on- or off-camera. On-camera, you fit it around your lens with your hotshoe-mounted flash feeding into it. Off-camera, you mount your flash on a lighting stand and then attach the RoundFlash to it.

The RoundFlash modifier fits around lenses with diameters upto 10cm and is perfect with lenses designed for portraiture (it is a ring light, after all) for example Canon's 85mm. If you've an especially small lens, try adding a lenshood to create more stability.
There's even a video demonstrating just how fast it is to set up:
The RoundFlash is available from Inspired Photo Gear for a special introductory price of £92.95. If you don't want to spend on a ring light when you already have a set of speedlights, it might be worth a look.
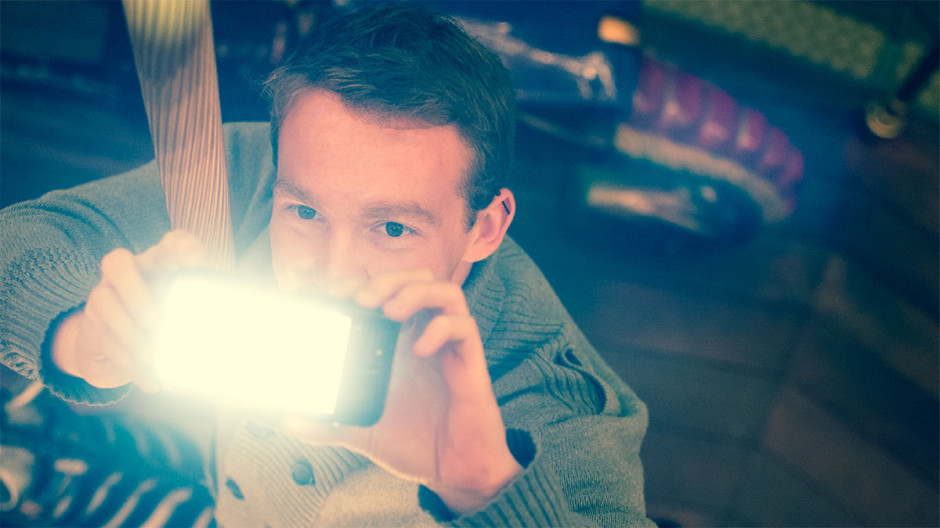
In December last year we featured a Kickstarter project called Lightstrap, which aimed to bring better lighting to smartphone photos. About a week into the campaign, Brick and Pixel, the team behind Lightstrap, pulled the plug on it citing that a better offer had come along. While quite a few people were disappointed by this decision, it has proved to be something of a small mercy for Ember, a new night photography tool that is looking for Kickstarter backing. Ember slides over your smartphone like a case. It comprises 56 LEDs and a diffuser, with the ability to adjust its brightness using a slider and a range of filters to control for light temperature. This should make for more evenly lit photos that don't wash-out people's skintones or give them evil red eyes.
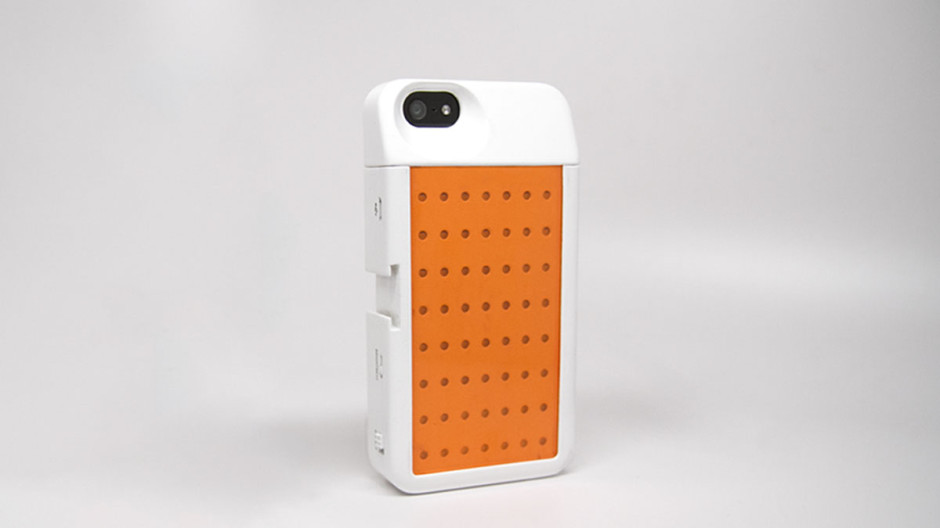
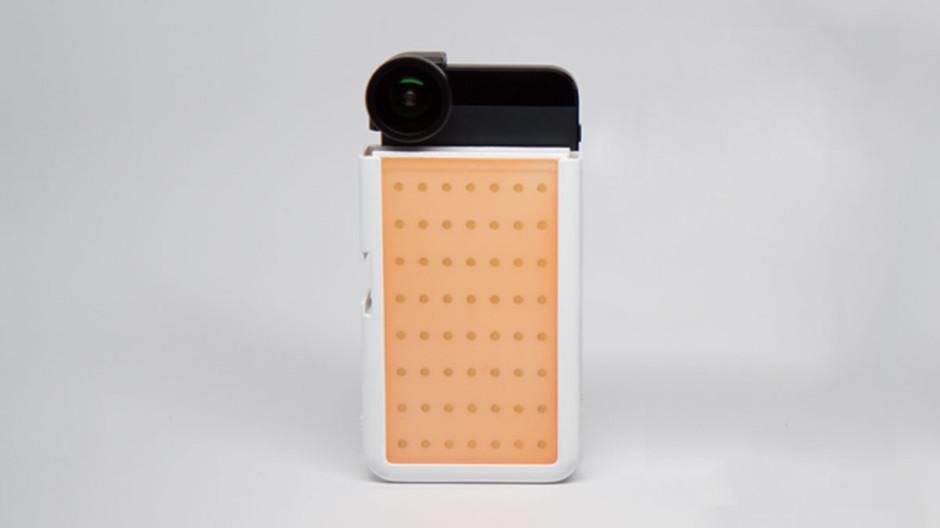
By removing the top of the Ember case, it's possible to continue to use add-on lenses, for example Olloclip or Moment. It's charged through a micro-USB port, making it independent of your phone's battery, and capable of providing light for about four hours of shooting.
Embers are only iPhone 5 and 5S compatible, which is a shame for any other type of smartphoneographer; it's not as if we don't take photos or would appreciate some better lighting options. If, however, you're an iPhone 5 or 5S owner and interested, you can help make the Ember happen with an early-bird Kickstarter pledge of $59. Should you miss out on that level, it's $79 for one Ember.
Ember needs to raise $30,000 to make it a reality; with 25 days to go, it's raised just over $4,000. At this rate, it's touch-and-go if it makes it.
The twinkling lights and glittering decorations of our Christmas tree are always far too good a photographic opportunity to pass up. Last year they were my testing ground for a Pentax X-5 that I had to review. This year, I decided to play around with zoom bursting, to make it appear as if the lights are bursting out of the image. While the abstract motion effect of a zoom burst might look as if it's a pain to achieve, it actually isn't that hard. You definitely need a zoom lens on your camera and preferably a tripod; then you just need a bit of patience to get it right.
Compose your frame and focus on your subject. It's actually one occasion when centre-focusing really does work and doesn't leave your composition feeling flat and dull. But of course, it's whatever works for your photo. You'll probably find it easiest to zoom in as close as you can and then lock your focus or set it manually.
In order to achieve the motion effect you'll need a slow shutter speed, so that you have sufficient time to turn the zoom ring on your lens. If you're not confident using full manual control, do flick your camera into Shutter Priority (S or Tv) mode. For this series of photos I experimented with exposure times ranging from one-and-half seconds to ten seconds. The optimal speed seemed to be five seconds, but of course it is going to to vary depending on your subject.
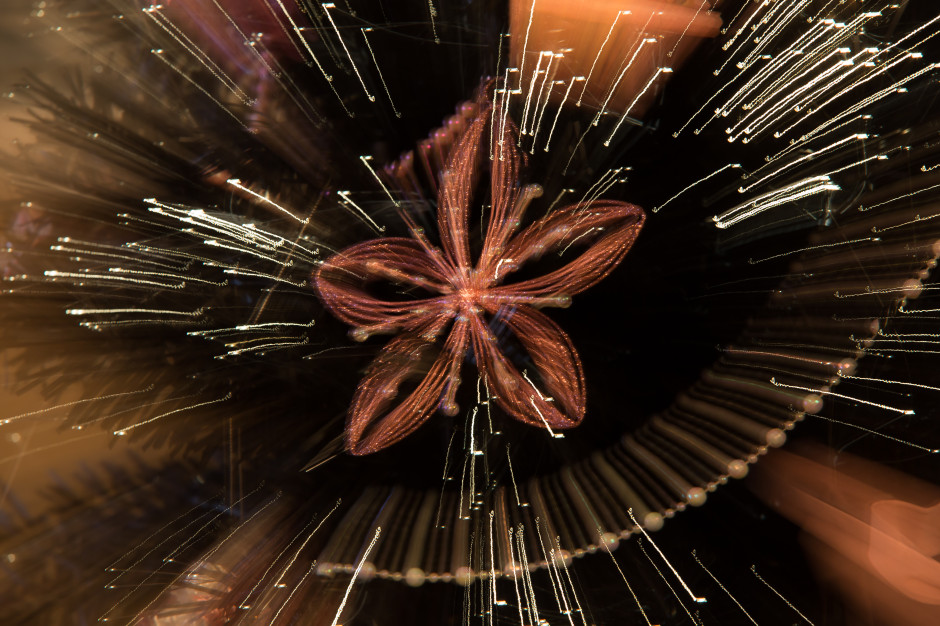
I kept the aperture fairly small and the ISO relatively low. Being a long exposure shot, there was a strong possibility that it would come out over-exposed if I adhered precisely to the camera's meter, so I under-exposed by a stop-and-half. If I'd been shooting in Shutter Priority mode, I would have achieved the same effect by applying exposure compensation.
When you're ready, depress your shutter button, or use a remote release to help avoid camera shake, and then steadily zoom out throughout the course of the exposure. If you'd like to ensure a little more definition for your subject, don't begin to move the zoom ring immediately, but let it rest for about a quarter of the exposure time and then start to move it.
In most cases, you will probably want to zoom out to give the impression of the subject bursting forth from the image. I also played around with zooming in and rather liked the effect. It's all going to depend on what works for your photo.
Once you have the basics down, it'll be a case of playing around to see what looks best. Have fun!
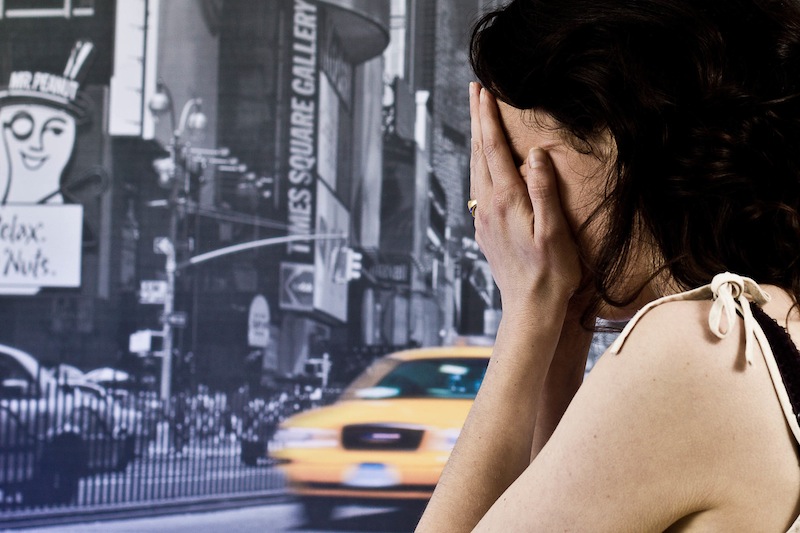
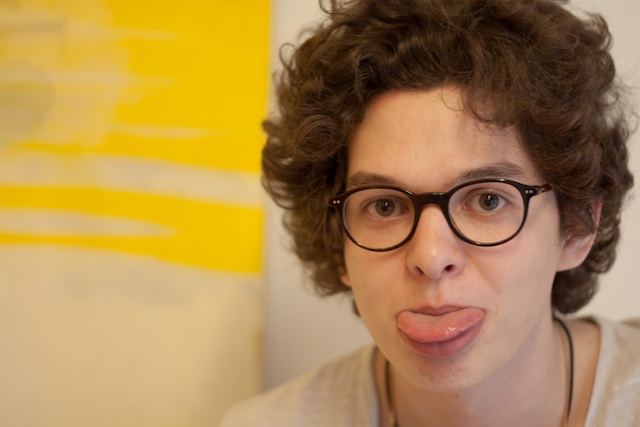
My brother has worn glasses full time for absolutely years, which has meant that I learned how to photograph him wearing them to avoid hideous green glare rather intuitively. I probably did have to think about it at some point, but I don't really remember and now I just seem to do it. That was until this week, when one of the students at Photocritic Photography School piped up and asked me what he should do when he has a portrait subject who wears glasses. For lots of reasons, the answer is never 'Ask your subject to remove them,' so what do you do?

The most obvious problem that glasses will present to you is that they reflect light. Instead of seeing straight through spectacles' lenses and into your subject's eyes, you'll have a unpleasant, usually green-tinged, reflection glaring back at you.
Going back to GCSE physics, we know that the angle of incidence (or the angle at which light will hit someone's glasses) is equal to the angle of reflection (or the angle at which the light will bounce back off the glasses). If light is coming in at an angle of 31° to the normal of your subject's glasses, it'll bounce off at 31° on the other side of the normal*. There's a helpful diagram here.
Consequently, if your light source is too close to your camera the light has a much greater chance of bouncing straight off your subject's spectacles and into your camera's lens. And if the light is coming from straight behind the camera and your subject is looking straight back at the camera, you haven't got a cat's chance in hell. But the upshot is: know where your light is coming from.
* The normal is an imaginary line running perpendicular to the plane of the glasses.
Minimising glare is easiest by one of three means:
By shifting your light source or yourself, you can alter either the angle of incidence, and therefore reflection, or take your camera out of the firing line. Sometimes, though, your light source can't be shifted (say, when it's the sun) and you moving might not be an option. Then it's down to your subject.
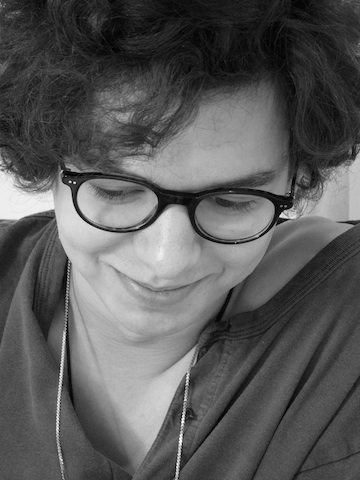
If your subject tilts her or his head downwards, just by a few degrees, not by much, it'll be sufficient to adjust the angle of the light and prevent a reflection bouncing back into the camera lens. Or she or he could turn fractionally away from the light source; not enough to wreak havoc with your shadows, but enough to prevent that horrible glare.

When you ask subjects to tilt their heads or change the angle of their shoulders, you might find that their spectacle frames begin to encroach into the view of eye. At this point it becomes a trade-off between reflection obfuscation and frame obfuscation. You need to decide where your tipping point is.
If you opt for more candid shots, you'll be able to capture your subjects looking away or looking down and doing it naturally but still without any nasty reflections.
Sometimes, you just have say that the glare is there and it's better to have a photo with a reflection than no photo at all!