

Follow our five steps to crisply focused images

You might be surprised by how many of the students at the Photocritic Photography School approach us asking for help when it comes to ensuring sharp subjects in their photos. Blurry images are hugely frustrating, mostly because there's nothing that you can do about them after the fact. Maintaining your subject in focus is something that you need to achieve when you're wielding your camera. But there's more than one way to get the results that you want.
1. Choose your point of focus
When someone has inadvertently focused on the wrong subject, or part of the subject, in their photos, it's usually fairly easy to identify that as the cause of their blur: at least some of the photo will be sharp, even if it's the wrong bit.

Which one is meant to be in focus?
The solution here is to learn to use your auto-focusing points properly. If you've a camera with auto-focusing points, switch it off of all-points focusing, and learn to pin down your auto-focusing points yourself. At first, you might find it easiest to use only the centre focus point together with the focus-and-recompose method: focus on your subject by half-depressing and holding your shutter button, then recompose your shot to place your subject where you want it in the frame, and finally completely depress the shutter button. This method does come with problems if you're using a shallow depth-of-field, but it's a good start.
For cameras with touch screens, tap the focus box to secure where you to focus. It's that simple.
2. Mitigate for subject movement
Asking a butterfly to hold still probably won't yield the precise results you're looking for, which means you'll need to rely on a faster shutter speed to capture a sharp image.

Asking your subject to hold still, especially if you want to create a long exposure image, can be effective
Of course, if you're in a low-light situation, you'll need every photon afforded to you to ensure an exposure, so a fast shutter speed won't help. In which case, you'll need to increase your ISO (don't be afraid of digital noise) and widen your aperture.

A wide aperture and a high ISO meant that a fast shutter speed could be used to freeze the motion here
3. Understand your body
That's your actual human body, yes, not your camera body. Knowing how to stand and how to breathe when you're taking photos will help to prevent motion blur. If I had a penny for every person I saw doing a chicken impression when taking a photo, I would be a few pounds ahead of where I am now.
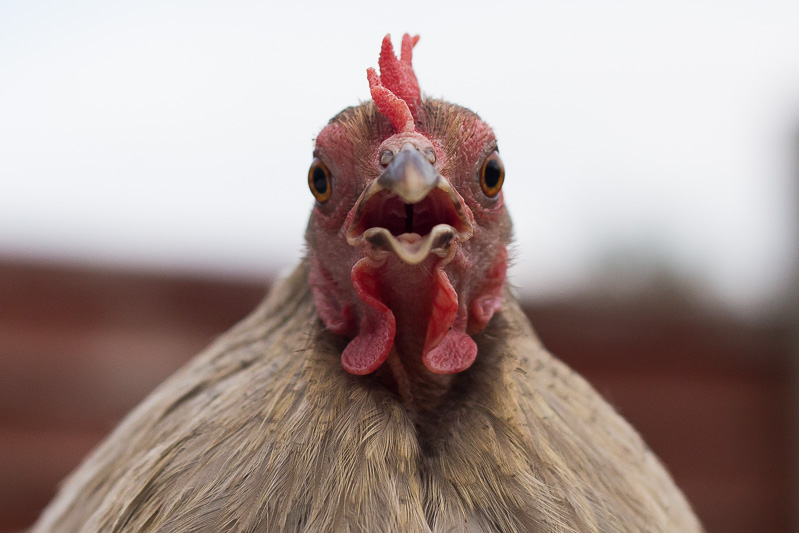
Do not perform a chicken impression! Tuck your elbows into your sides and control your breathing.
Tuck your elbows into your sides; it stabilises the camera. Breathe in before you begin to depress the shutter button and exhale slowly as you actually depress it. Try not to jab at the button, either.
4. Use the right kit
Your ability to hold your camera steady isn't as deft as you thought it was. The basic rule is that you should use a shutter speed equal to the inverse of the focal length of your lens or faster. If you are shooting with a 100mm lens, that means you can safely shoot hand-held at shutter speeds of 1/100 second and faster; for a 35mm lens, it would be 1/35 second or faster; and for a 400mm lens, 1/400 second or above. If you need to go slower, get some external stabilisation, whether from a tripod, monopod, wall, or string tripod.

No tripod? No chance!
Plenty of lenses, especially longer and macro ones, comes with image stabilisation. It might be worth investing in the technology for the extra stops it can give you when you shoot hand-held.

Macro made easy with a remote release
Think about trying a remote release. Even when your camera is set on a tripod, the action of releasing the shutter can induce camera shake, especially when you're indulging in macro photography. Releasing the shutter remotely takes your hands away from the camera and reduces the chances of shake and blur.
5. Adjust your aperture
Wide apertures mean shallow depths-of-field, which mean lots of background blur. Sometimes this is just what you want, but on other occasions, you want more of your scene in focus. Use a smaller aperture.

Lots to take in? use a smaller aperture.
Go with it!
There you have it, five tips for blur-free photos. Go forth and try them!