


I spent Saturday at the Cambridge Festival of Science and Royal Photographic Society's photography day, listening to talks on megapixels and watching videos of caesium react with water in slow-motion. It was mostly a fun and informative experience, but apart from the caesium videos, the best bit was sitting inside Fotonow's Camper Obscura. That, just as its name suggests, is a camper van that has been transformed into a camera obscura. A camera obscura is the basis of any photographic camera, from a pinhole to a dSLR. A camera obscura is literally a dark (obscura) room (camera) with a hole poked into it, through which light can pass to create an image of the outside world on a screen. There are room-sized camerae obscurae in Bristol and Edinburgh, but they don't have to be walk-in activities. It's easy enough to scale them down and make something portable. I was aiming for something more along these lines when I decided to devise my own.
Of course, if you replace the screen with photo-sensitive paper you have a pinhole camera and by steadily improving the light-gathering and focusing abilities of the hole, with lenses, you end up with a camera more akin to those we use every day. But that's another project for another day.
Undeterred, I looked around for some DIY camera obscura instructions and found the perfect example on Exploratorium, which used a Pringles can. Seeing as Haje has already used a Pringles can to create a cheap macro extension tube, it seemed entirely appropriate to transform the snack container into a portable camera obscura. A Pringles Can Obscura.
1. Take one Pringles can
After securing a can of Pringles either from a nearby shop or your pantry, you'll need to divest it of its contents—whether you eat them all or transfer them to a new container is up to you—and then wipe it clean and keep the lid.
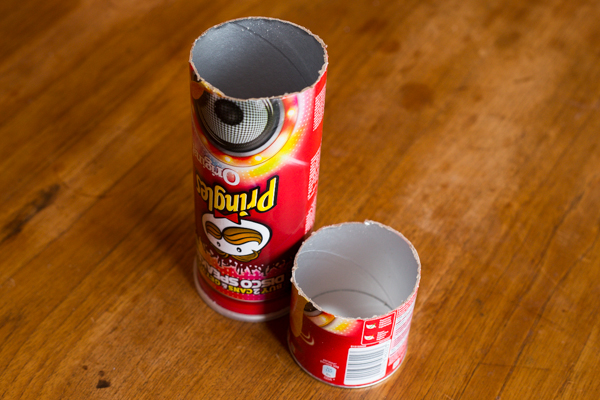
Draw a line around the tube, about 6cm or 2½" up from the base. Using a craft knife, or in my case, a bread knife, cut through the tube so that you're left with two pieces. The shorter section will be from the bottom of the can, and the longer section from the top.
2. Make a screen
You need to make a screen onto which your image will be projected inside the can. The cheapest and most readily available means to make one is from tracing paper.
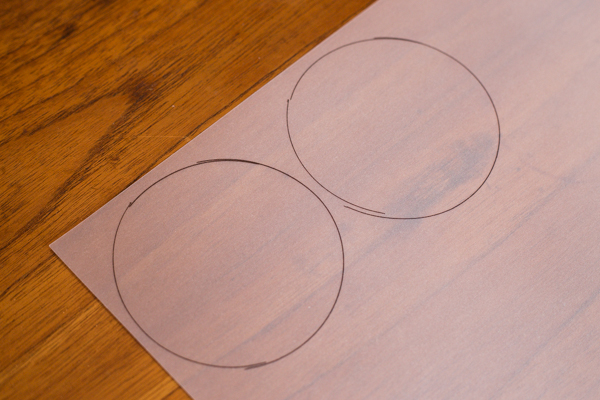
Place the lid of the Pringles can on a sheet of tracing paper, draw around it, and then cut it out. Secure the tracing paper on to the top of the tube using the lid.
3. Put the can back together
Rather than reconstruct the can with the two cut ends meeting again, you want the cut end from the bottom section of the can meeting the lidded, tracing-papered end from the upper section. Secure them in place using gaffer tape or electrical tape. No light should be able to pass through the join.
I got so carried away sticking it together that I forgot to take a photo. I'm sorry.
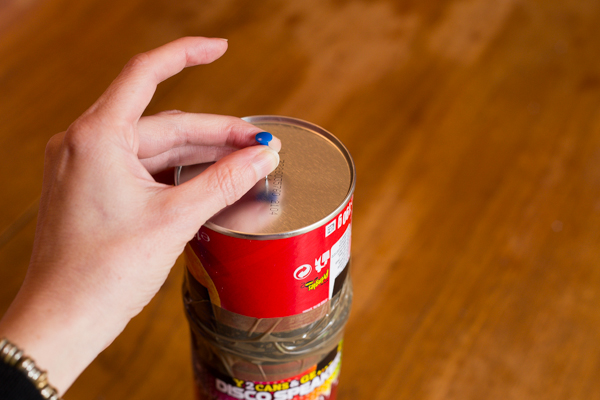
4. Pierce a hole
In order for the light to pass into the can and create an image, pierce a hole using a drawing pin in the base of the can.
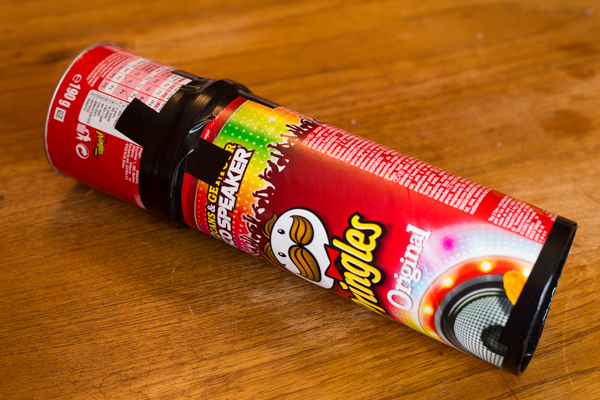
5. Finish off your Pringles Can Obscura
To make sure that you don't end up with spurs of cardboard poking into your face when you hold your Pringles Can Obscura to your eye, tape up the cut surface with some electrical tape. And if you don't want it to resemble a Pringles can that you've hacked up, wrap some coloured paper around it.
6. Head out into the light
The brighter the day, the better the image you'll be able to render on your screen. Just remember that everything will appear upside down. And then it will be a case of moving nearer and farther away from your subject to get it in focus.
It's a great tool to remind you just how simple the principles of photography are, and to get you back in touch with moving subjects into and out of focus.
(And don't go getting any ideas about the gorgeous image of the tree. That's obviously, from the Camper Obscura.)