Do you sometimes feel like you’re snapping away aimlessly, fluttering from one photographic subject to another with no rhyme or reason, like some sort of gormless butterfly? Do you feel like you’re at saturation point with your usual subject matter? Have you said to yourself recently “oh look, a lovely sunset. I should get my camera out really, but…meh”? This is, in some ways, a good sign. You’re not content with just taking a photograph, you want more out of your end product. What you need, my disillusioned friend, is a project.
Projects are hard. You have to come up with an interesting theme with an element of originality, work out what form it’ll take, ideally write a project statement and then figure out how it’ll all come together once it’s finished. It’s a long term, complicated process. Which is why it’s very good for your photography. Now I don’t claim to be Mr Project who lives at Project House, Project Lane, Lower Project, Projectsville, Projectstershire but I thought I’d offer a little advice to get you started on and excited about project work. Let’s look at a few key elements that should factor into your project, whatever if may be.

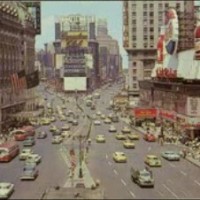
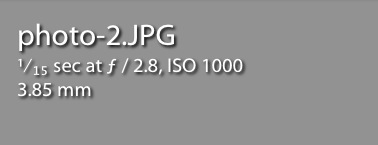
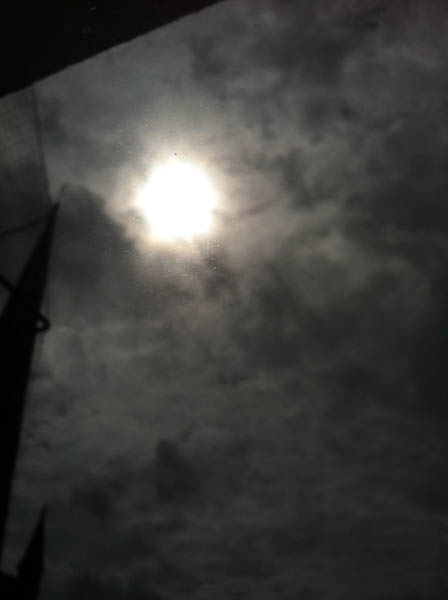
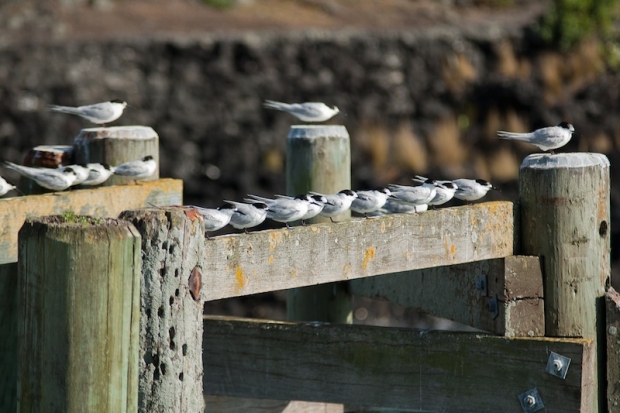
An image from the early stages of a project I'm working on, looking at possessions.
Shoot What Interests You
The well known saying “write what you know” holds a lot of truth. If you write about something that you know about, you do so from an informed standpoint. Writing about an area in which you are knowledgeable gives you a solid foundation from which to create something entertaining and artistic. With photography, it’s slightly different. Rather than just shooting what you know, you should shoot what interests you. Even if you’re au fait with the subject matter, if the subject doesn’t interest you, the work is likely to lack that passion which, in my opinion, is an essential ingredient for creating a piece of work that has real artistic value.
With writing, you can break the “write what you know” rule in a way, but not properly. You may wish to write about something that you know little or nothing about but are interested in: this is still possible but first you must research the subject in some way. Therefore, you can never truly write about something you don’t know about. With photography, you have the freedom to shoot something you are not familiar with. A perfect example of this is the British photographer Leo Maguire, who has spent four years entering and documenting the lives of two families from the Irish traveller and Romany gypsy communities. The subject interested him, yet he knew nothing about it. This is the advantage we have as photographers. Whatever you shoot, be sure that you genuinely care about it.
Have A Plan
So you know what you want to shoot, now you need to think about how you’re going to shoot it. For the sake of example, let’s say you have an unhealthy interest in apples (is that possible, given their inherently healthy nature?) and want to create a project around apples. Apples is the project for you, you appley weirdo. You need to consider a number of factors – will you be shooting all the different kinds of apples you can find? Will you be documenting the journey of an apple from being picked to ending up on a supermarket shelf?
Those are the only two things I can think of for apples, probably because I don’t care enough about apples.
Then you need to think about the overall structure and presentation of your final project. If you’re just shooting apples and the different varieties you can eat, you may want to take each individual apple, set up a mini studio with clean, white light, take a shot of the whole apple, cut it neatly in half, take another shot, turn the pieces over, take another, get in close for that essential pip detail, take another. Then you’ll want to put those four images into a 2X2 square format, mounted into a frame, and entitle it “#12 – Braeburn, 18th August 2011″. Maybe if you’re following the life of an apple, you’ll want to order your final images into a sensible, chronological order, then turn them into a photobook, sprinkled with facts about apple production and quotes from people involved in the process.
Why am I talking about apples so much?
The point I’m making is if you have an idea of how the finished piece will look in your mind’s eye before you begin, it will help the final project look more cohesive and connected. Also, knowing what form you want your end product will take means you will shoot accordingly, in a fashion that will suit the layout, media and presentation you have in mind for the final piece.
Be Efficient: Set Targets
This one is very important. Simply put, make it like a homework project. If you don’t set yourself targets and goals, you’ll never actually get it finished. Going back to the apples (I’m committed now), it might be “photograph and post-process two apple types a week” or “have 30 apple types photographed and ready to be printed by the 1st of September”. It doesn’t matter too much exactly what your targets are, just set a goal that is quantifiable in some way.

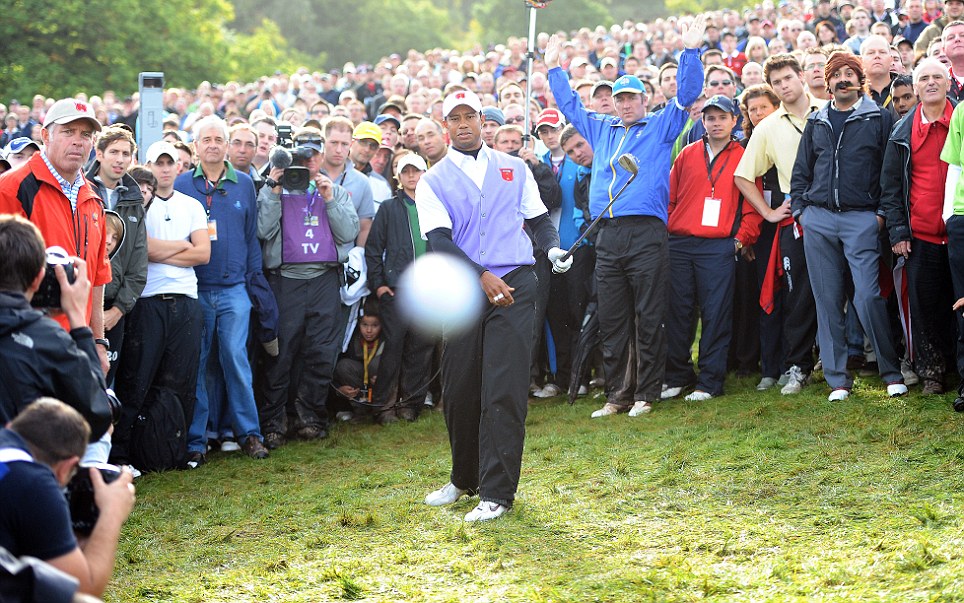
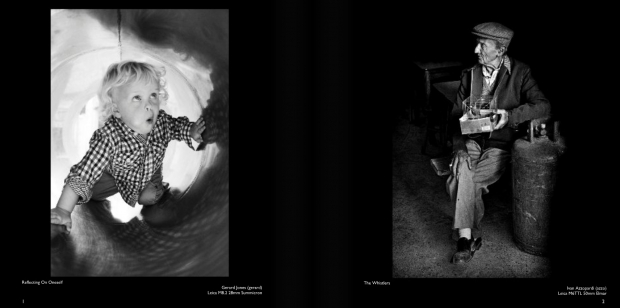
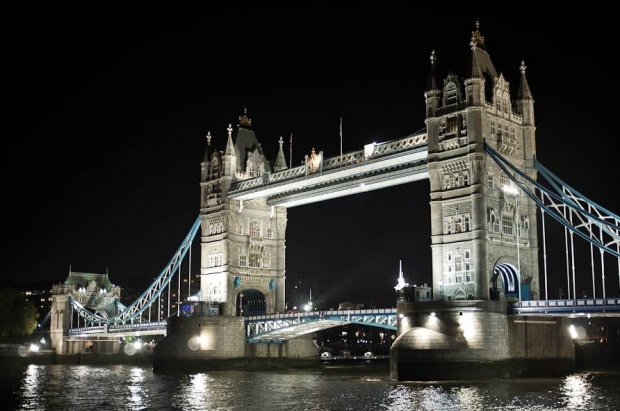
Be flexible - the initial layout of these pieces was significantly different to their current form.
Be Flexible
Once you’ve got the wheels in motion, you may find that there are elements of the project that you don’t like, don’t work or don’t excite you. This can happen to you at any time. You need to be prepared to change things, to cut things and to rethink things. This may feel frustrating at first, but think of it as a natural evolution of the project. If, halfway through your freaky apple project you think “What in the Jimmy Cricket am I doing, photographing apples all the time?! Pears are my one true passion!” then go ahead and restart your project using pears. More sensibly, if the 2X2 format looks boring to you, evolve it and make it 3X3, or a single, ultra high detail single photo of an apple exploded into several sections.
When I wrote that last sentence I meant the photo exploded into sections, not the apple, but now I’m thinking it would be more interesting to explode the apple. Heck, let’s have two images in a diptych format: one of a pristine, perfect Golden Delicious and one of that same apple smashed up all over the clean, white studio background. See what happened in those last few sentences? That’s the evolution of an idea. By remaining flexible we’re now on our way to a much more interesting, artistically valuable project.
Projects are Good for You
Projects are good for you because they teach you form, discipline and planning. Not only that, but photography comes into its own once you start creating images that are relevant to each other. A strong photo series can be an exciting journey – a story can be told, a theme runs through that can be followed, understood, appreciated and enjoyed. If a picture is worth a thousand words, a project is worth ten thousand. Finally, projects are good for you because they should make you think more deeply about every aspect of your photography, which means that your work will improve substantially. Don’t worry too much if your project isn’t too original at first, just getting into the habit and the process of creating and completing a project is more important. Plus, it’s incredibly fun and will refresh your enthusiasm for photography.
(How do you tell if a butterfly’s gormless?)


 What is this? - In our NewsFlash section, we share interesting tidbits of news. Think of it as our extended twitter feed: When we find something that get our little hearts racing, we'll share it with you right here! Loving it? Great, we've got