digital

Nothing new under the sun? The darkroom techniques we apply digitally

When you tell people that image processing and manipulation isn't anything new, but is just about as old as the art of photography itself, you can get some funny looks. Many of the processes that we carry out without a second thought were equally normal for analogue developers. Depending on how proficient you are with Photoshop, compositing might be faster today, but it's not new. Think of Man Ray and his image Le Violon d'Ingres. And beautifying subjects with the help of a brush was a far from alien practice for Cecil Beaton. Yes, really.

The difference is that now the ubiquity of editing suites means that techniques that were once the preserve of skilled darkroom practitioners are accessible to anyone with a computer. The degree of skill required to complete subtle, effective, and credible edits is still high, but the mystery has gone. Or rather, the mystery has assumed a new narrative as the dark arts of the darkroom remain under wraps.

To try to set some of that record straight, here's an extensive, but not necessarily exhaustive, list of the techniques that bridge the analogue and digital divide.

Crop

Have you noticed how the crop icon is a variation on a theme, in almost every editing package you encounter? That's because it's based on the tool that would be used to crop and resize images in the darkroom.

[gallery ids="6782,6783,6784"]

Brushes

The brush icon is another familiar one, whether you're in Photoshop or Pixelmator or Aperture or GIMP. Brushes were used extensively in the darkroom, to define edges or enhance details, to hand colour, to spot correct, to complete just about any task for which you might now use a digital brush.
dodge.jpg

Dodging and burning

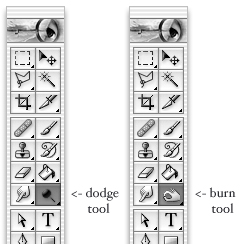
Haje has already written an article that explains why the dodge icon resembles a lollipop and the burn one a fist. Of course, they're techniques that were used in the darkroom to lighten or darken specific areas of an image as required. The dodging 'lollipop'—or piece of black paper on a stick—could protect the photographic paper from too much light during the development process, thereby keeping the areas in question lighter in the final image. The fist would be your hand, controlling how much light got through to darken areas of your photos.

Masking

Using red to distinguish masked from unmasked elements in an image wasn't an arbitrary choice by software engineers. That too is a hangover from darkroom days. Mask an area that you don't want developed with red, gel-like rubylith and the light won't be able to penetrate it in the darkroom, so it won't be exposed. If you've ever found yourself irritated when masking a complicated outline in Photoshop, imagine what it would be like doing it with a scalpel!
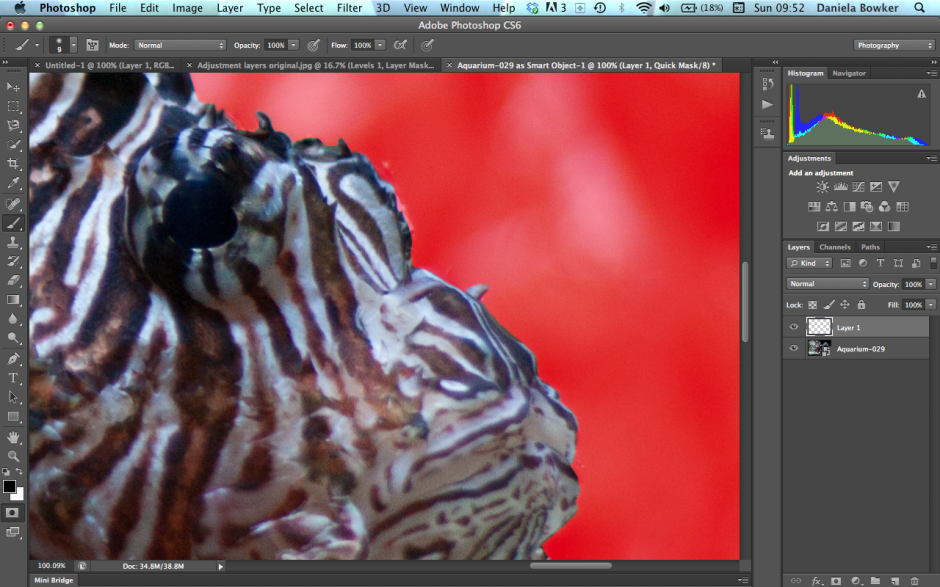
Photoshop's Quick Mask overlay isn't red arbitrarily

Sharpening

Yes, there's a reason why the sharpening tool in Photoshop is called the Unsharp Mask. Again, Haje has a comprehensive explanation here, but the short answer is that images were sharpened using a not-quite-sharp positive of the image to make a mask (an unsharp mask) combined with the negative. The blurriness of the positive image should work with the negative to create a sharper final image.

Split-toning

Maybe you use the split-toning feature in Lightroom to create cross-processed effects, or to give a golden-hour glow to your photos, or perhaps to correct the white balance in your images. But it was originally a darkroom technique that allowed different tones to be present in the highlights and shadows of an image. Split-toning was something of a dark art, relying on the interplay of different papers and different chemical toners deployed after the standard developing and fixing process to produce different colours in the final image. Getting the balance right with your sliders might be a frustrasting experience now, but I'm sure it beats fiddling with gold-, selenium-, and sodium-based chemicals!
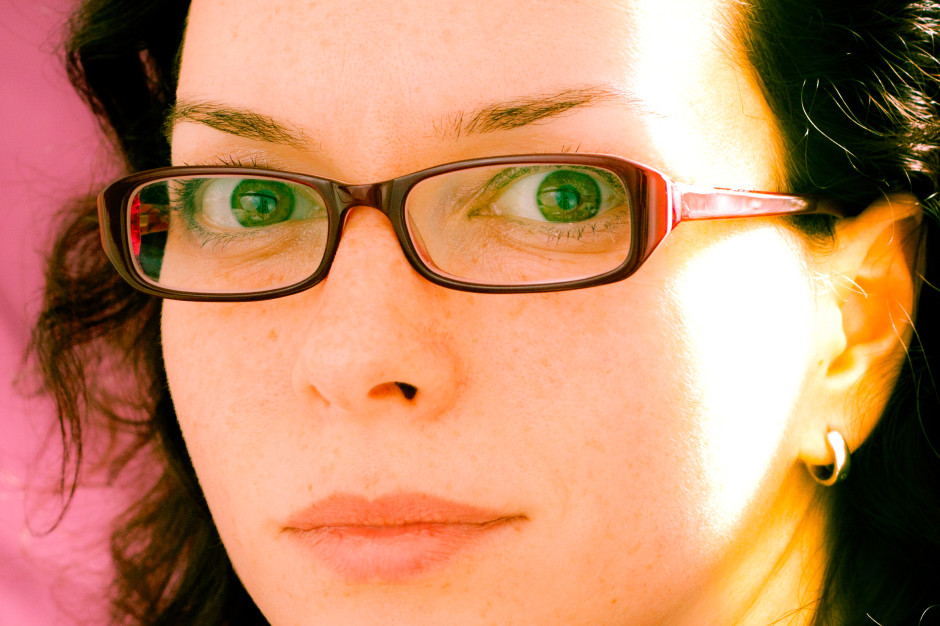
Split-toning isn't a new-fangled Lightroom thing

Contrast

It might be simple to adjust the contrast in your photos on a slider in a digital darkroom, but you had at least three ways of doing so in an analogue darkroom: with graded papers, with variable contrast paper, or with filters.

Colour

Unless you're shooting with a Leica Monochrom, you can choose between colour or black and white for any given photo now, switching back and forth between them as many times as you like in a non-destructive editing package. But in the early days of film it was black and white, maybe sepia, or perhaps the vagueries of split-toning, unless you opted to hand-colour your images. Love or hate selective colouring, for some people that was all that they could afford when hand colouring was a time-consuming art form. It isn't just a Photoshop abomination.

Airbrush

Finally, the much-maligned airbrush. It's not just a new-fangled phenomenon that magically reduces the size of an already-stick-thin model's thighs. The airbrush has been removing undesirables from images since at least Stalin's time and Cecil Beaton was famous for slimming his subjects.

I think you'll find, then, that there is very little that's new between the red light of the darkroom and the digital glow of Photoshop.

Do you have your Rihanna yet? The digital Diana camera

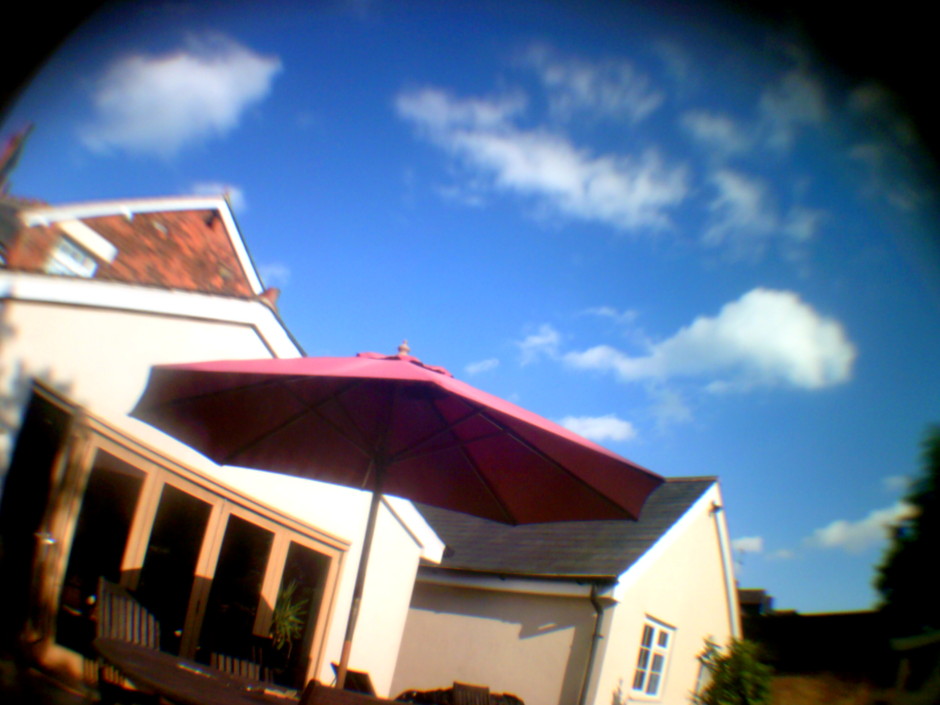
If you've not already pledged your money to Cyclops Cameras' Digital Diana Camera Indiegogo campaign, there's still time—it ends on 15 July—and there are still cameras available—250 of the 1,000 units have been assigned, even though it has already met its £13,500 target—and there are no plans to put it into commercial production. Toy camera look, digitally made

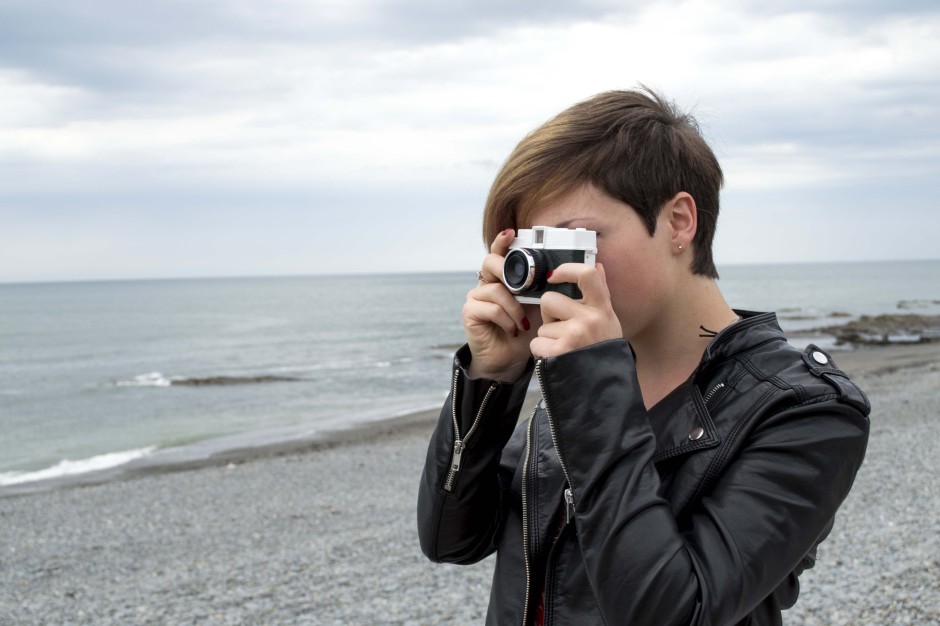
The Digital Diana is exactly what it sounds like: a 1:1 replica of a Diana mini fitted with a 12 megapixel CMOS sensor and a plastic lens. There's a 1.8" LCD rear screen for composition and review, the ability to adjust white balance and ISO, and to apply some effects.

Greg, the brains behind Cyclops Cameras has already enjoyed success with limited production runs of quirky cameras, notably the 'Little Cyclops', which was a tiny fisheye camera. The community that has grown up around these cameras has suggested the Digital Diana be known as a 'Rihanna'.

You can have a Rihanna delivered to you around Christmas-time for £65, but for £60 you can pick up one at the invite-only launch party in London that will probably be sometime in September. If you feel the need for double Rihanna trouble, a bundle of two costs £115.

In action!

The Rihanna looks like all the fun of a toy camera without the analogue inconvenience. And it's limited edition. Groovy!

All the details are on The Digital Diana Camera Project's Indiegogo page.

For those days when you need to be in several places at once: multiplicitous images

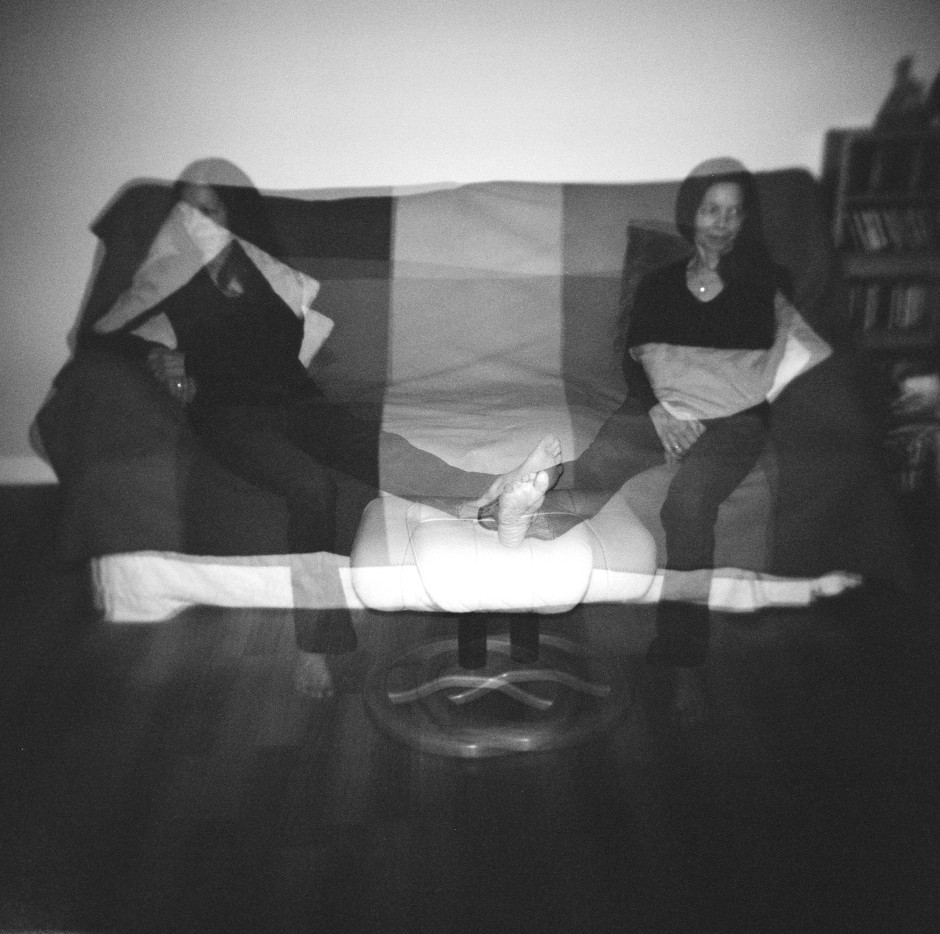
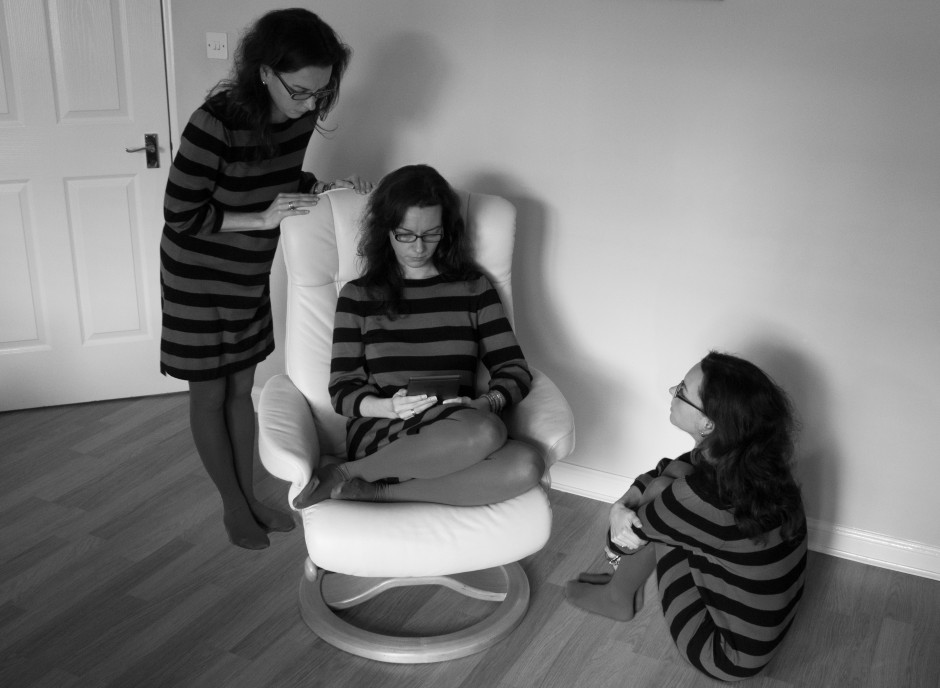
Multiplicity, or the art of creating images containing several yous, or anyone elses for that matter, isn’t a digital discovery. It’s something that people have been doing for decades: it's remarkably easy to achieve with film. You set up your shot and either you don’t wind on your film before re-exposing the frame with your subject positioned anew in the scene; or you wind on your film and then wind it back again in between shots. The important thing here is to slightly under-expose all of your shots in the sequence to ensure that your final image isn’t an over-exposed white mass. That might look like me, but actually it's my Ma

If you don't happen to have a Holga lying about (they're great for creating multiple exposures), you can do it with a digital camera, too. Depending on the camera you have, you've a few options for creating a multiplicitous image. Quite a few come with a multiple exposure setting now: you determine how many exposures you want to make and the camera will re-expose the same 'frame' in-camera and adjust your expose settings accordingly to ensure that you don't end up with a too-dark or too-light image. Marvellous... if you have a camera that can do that. If not, you'll need to make friends with Photoshop, or a Photoshop-esque editing package.

Before we go any further, it’s important to remind you that achieving a great final image relies on producing a good image in-camera first. It doesn’t matter how ginormous the barrage of editing you’re going to subject your photo to, it’s got to be good from the get-go. This is just the same for a multiplicity image as any other.

When you set out to create a multiplicitous image, your starting point is your concept. Think of the story that you're trying to tell and what you need to tell it. Having a clear plan makes it so much easier when you're shooting the images because—unless it's a distinct element of the story—you need consistency in your images: furniture can't move between shots, the light needs to be coming from the same direction, and you don't want to be flapping around.

When the scene's arranged, set your camera on a tripod, adjust it's exposure settings and focal point, and shoot a 'plate' image. This is a base photo, devoid of the story's characters, onto which you'll build your final creation.

Now you can shoot your series of images containing your subject in as many different positions as your composition merits. I've found it useful to go for more rather than fewer photos; it gives you more flexibility when you compile your final image.

[gallery ids="6703,6704,6705"]

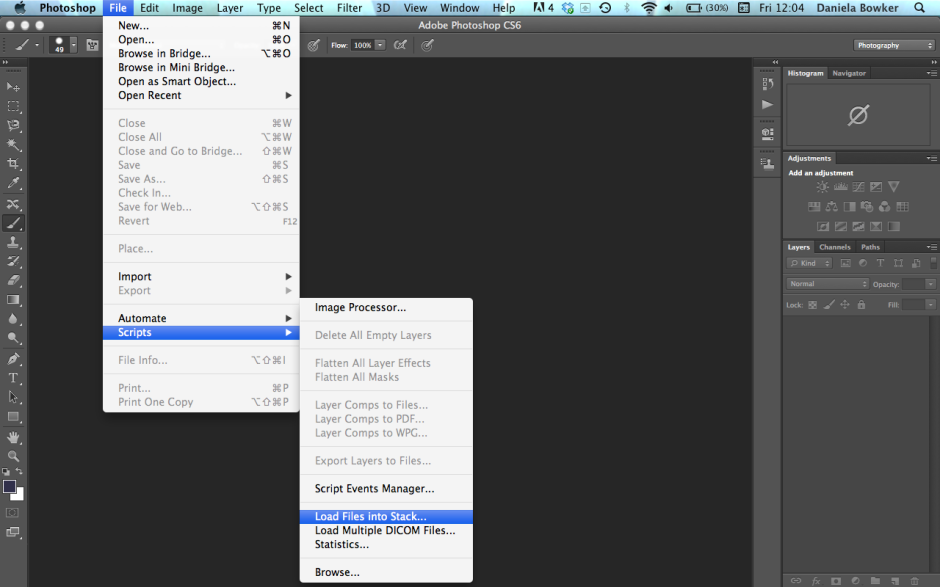
When you've shot your images, import those you think you might want to use into Photoshop using the Load Files in Stacks option (File>Scripts>Load Files in Stack), which should import your images so that they are perfectly layered one on top of the other.

Importing made easy

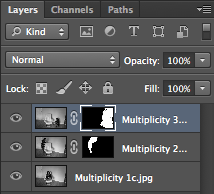
Next apply a layer mask to each of the layers, barring the background image, which should be the ‘empty’ plate.

Using the eye icon on the Layers Palette, toggle off all of the layers from view except Layer 1. Now brush your subject, along with anything like indentations in the chair where she or he is sitting or shadows, out of the image. It's those small details which add credibility to the unbelievable, which is what makes them important to the final composition. And while it might seem counter-intuitive to brush your subject out of the image, it isn't really.

Brush out your subject - it makes sense, really

When you’ve disappeared your subject from the scene and you’re happy with the refinement of the edges, invert your selection by pressing Cmd+I on a Mac or Ctrl+I on a Windows machine. The subject will miraculously reappear and the superfluous background will disappear.

Do take care when you're areas where overlapping occurs, because it's here where your image will succeed or fail in its realism.

Repeat this process for each of the layers, toggling them on and off as necessary to decide on which placements you want to keep, and which you wish to discard. I’d recommend saving the image as a PSD file with all the layers intact, which will allow you to revisit it and re-edit as often as your Dr Jeckyll needs to meddle with your Mr Hyde.

Three wise monkeys? Or something like that

When you've settled on a final version, delete the layers that you don't want, save it as a PSD file, and then flatten it and export it as a JPEG image. Ta-dah!

Reflecta lets you digitise Super 8 reels with its new Super 8 Scanner

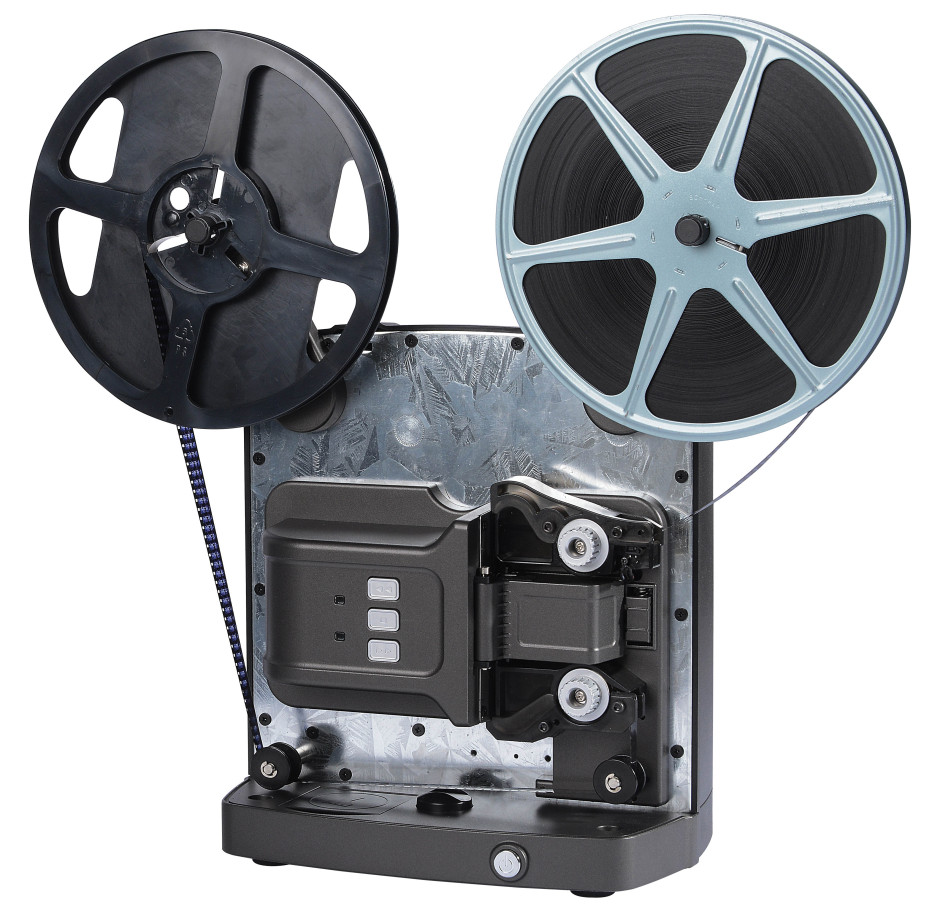
My grandmother has shoeboxes of old photos and negatives and even Super 8 film reels stashed away in her house. The photos we get out and look at every now and again, the negatives are a useful resource, but the Super 8 films don't get much of an airing anymore. Doubtless we're not the only family like this. But Reflecta has just announced its new Super 8 Scanner, that easily digitises old Super 8 film reels, giving them a chance to see the light of projection again. Although it's meant to be easy to use—you connect the scanner to a (Windows) computer via a USB cable, open the provided Cyberview software, insert the film reel into the scanner, and it then trundles through converting two pictures every five seconds, which you can crop and adjust the brightness and contrast of, too—it's not exactly cheap at £1,710 including VAT. It might be a good add-on for printing businesses, though.

Colour or black white, from Super 8 to digital

The scanner produces videos with a file size of 190MB per 15m of film in HD quality, and its saved in AVI format.

If you're interested in one, the Reflecta Super 8 Scanner is being distributed by Kenro in the UK and Ireland. You can find out where to pick up one here.

Reflecta's smartphone scanner

Reflecta has just announced a new Smartphone Scanner that allows you to easily (and fairly cheaply) digitise your prints and negatives to your smartphone for easy sharing. I quite like the sound of this. Capable of digitising 35mm negatives as well as 6 by 4" and 5 by 3" prints, the Smartphone Scanner holds your phone in a cradle while the iPhotojet app works to capture the print or negative that's been inserted into the holder. Once the image has been scanned, you can adjust its brightness and colour before saving it or sharing it to Facebook or by email.

From analogue to digital with Reflecta's smartphone scanner

It's compatible with iPhone 4 / 4S / 5 / 5S and Galaxy S2 / S3 / S4 and is supplied with all appropriate cradles. You can power it by USB or battery and it's supplied with four AA batteries, a USB cable, holders and a Quick Start Guide.

The Smartphone Scanner is being distributed by Kenro in the UK and Ireland, and will cost about £40.

Paramount Pictures makes the digital-only distribution switch in the US

According to a report in the Los Angeles Times published over the weekend, Paramount Pictures has announced that it has ceased to distribute films in analogue format in the US. Anchorman 2: The Legend Continues was its final 35mm format release and The Wolf of Wall Street has been a solely digital release. This transition to digital-only distribution is hardly unexpected. Both Disney and 20th Century Fox have communicated the expectation of digital-only content within the next few years to cinemas. Now that Paramount has set the ball rolling, it could happen sooner rather than later.

What of the impact on cinemas? First of all, this distribution decision applies only to US cinemas. In regions where analogue projection is still the norm, 35mm imprints will still be sent. Second, about 92% of cinemas in the US are capable of projecting digitally distributed content. For the remaining 8%, the cost of replacing their analogue projectors with digital projectors will be in the region of $70,000 per unit. For some smaller community-led cinemas, this could sound their death-knell.

At roughly $2,000 to produce a 35mm print and $100 for a digital print, studios' preference for digital format is obvious. Even if it does leave those who favour analogue prints reeling.

(Headsup to Engadget)

Quality versus quantity

This instalment in the Photography Fundamentals series is a slightly cerebral departure from the norm. We're going to explore the idea of quality versus quantity. It's not a debate over the merits of digital compared to film, more a costs and benefits analysis of them both. Quality versus quantity; it's a purely digital conundrum. Back in the days of film, you had a given number of exposures per roll and that was that. Even if you kept a ready supply of film on you, having the rolls developed wasn't a cheap business, so you thought carefully about every image. You set upon the story, you nailed the composition, and you got the exposure bang-on. Or at least you tried to. The point was that you aimed for quality every time.

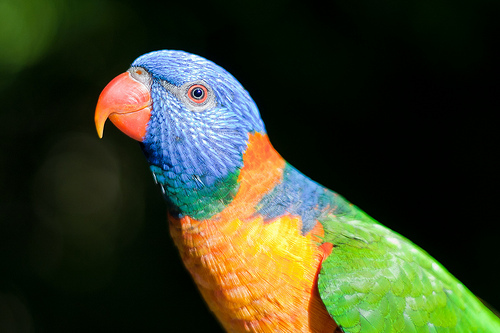
Red collared lorikeet

Now, memory is cheap—you can pick up an 8GB memory card for under £10—and you can shoot and shoot and shoot until your heart is content: I can get several hundred Raw images from my Canon 6D on said same card. If you fill up your memory card and don't have a spare, you can scan back through your files and delete those that are out of focus, horribly exposed, or just don't work. We're no longer hide-bound by physical (and economic) limitations of film, allowing us the ability to play, experiment, and get things wrong ad infinitum. The barometer has swung from quality to quantity.

This has to be a good thing, right?

Well… yes, and no.

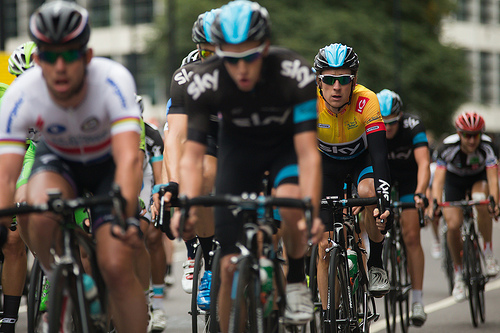
Being able to take hundreds and hundreds of images off the reel is stupendous, especially when you combine it with the ability to shoot in high frame rate bursts. I was epically grateful for this last weekend, when I went out to photograph the final stage of the Tour of Britain. Not only did the cyclists racing around the central London circuit ten times give me ample opportunity to capture them as well as stand and cheer, so did my memory cards. I wasn't concerned that I'd waste rolls of film and not have anything to show for my endeavours; digital had me covered.

Sir Bradley Wiggins

However, there's also a possibility that the ability to shoot almost endlessly is making us lazy as photographers. We don't have the over-arching need to plan our photos properly anymore, we can simply 'hit and hope'. Are there elements of the craft that are being forgotten, lost, and ignored because quantity is ruling over quality? If I'd only had one chance to capture those cyclists on Sunday, as opposed to ten, would I have been able to get the shot because I'm too accustomed to being able to go back and try again?

Sauvignon Blanc

Does this make me sound like a curmudgeonly luddite who'd rather be shooting wet plates? Probably. But it isn't meant to. It's meant to highlight the balancing act that we need to perform between the limitations of restricted exposures and the potential for exploration and experimentation with virtually unlimited exposures. It's actually me saying that quantity is awesome, but we shouldn't worship at its altar to the ignorance of quality.

So why don't you try this as an experiment. Allow yourself 36 exposures, and no peeking at your LCD screen. How many shots from your 36 make the grade and what did you learn from the experience? Maybe you always under-expose, or perhaps you have a tendency to sloppy framing. Are you thinking about your aperture carefully enough? You might notice that your subject placement is something that you do consistently well. Perform the exercise on a regular basis and it could lead to an improvement in your photography. Then you won't need to take so many shots off the reel!

Prime lens << Photography Fundamentals >> Rule of thirds