


Pop! Squash! Splat! Learn how to capture amazing photos of balloons going bang!

When you hear the term 'high-res' thrown about with such abandon when it comes to images for web use, have you ever stopped to think just how big or how high quality and image meant for the web needs to be?
There's an assumption that high-contrast images are more dynamic, more compelling, more inviting. Have a go at some low-contrast photography. You might surprise yourself with the results.
Balance doesn't mean symmetry; it means an internal consistency and tension within your photos. And it's a vital element of composition.
Great photos might be down to a little bit of luck, but most of that 'luck' you make yourself. Don't believe us? Read on...
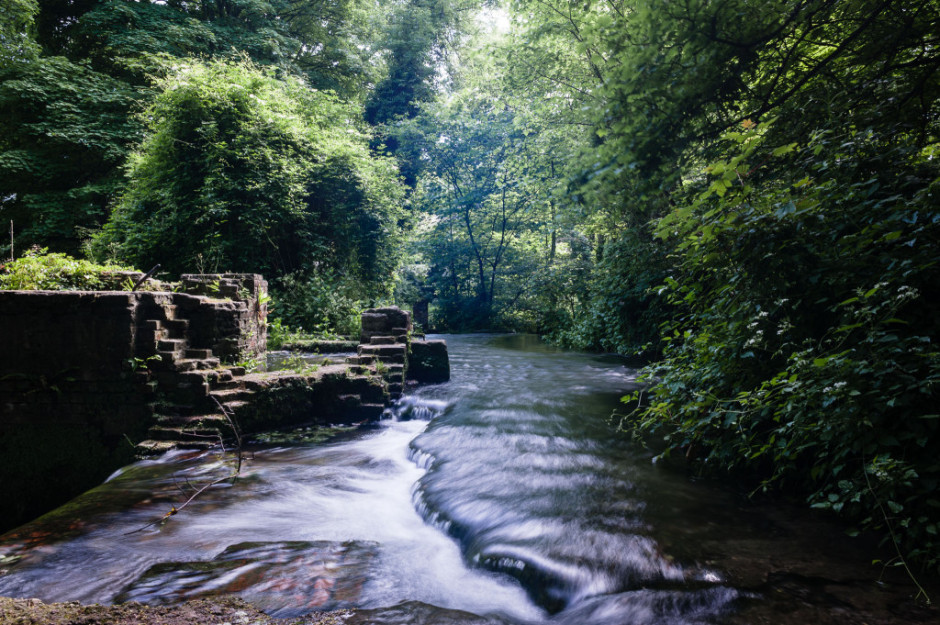
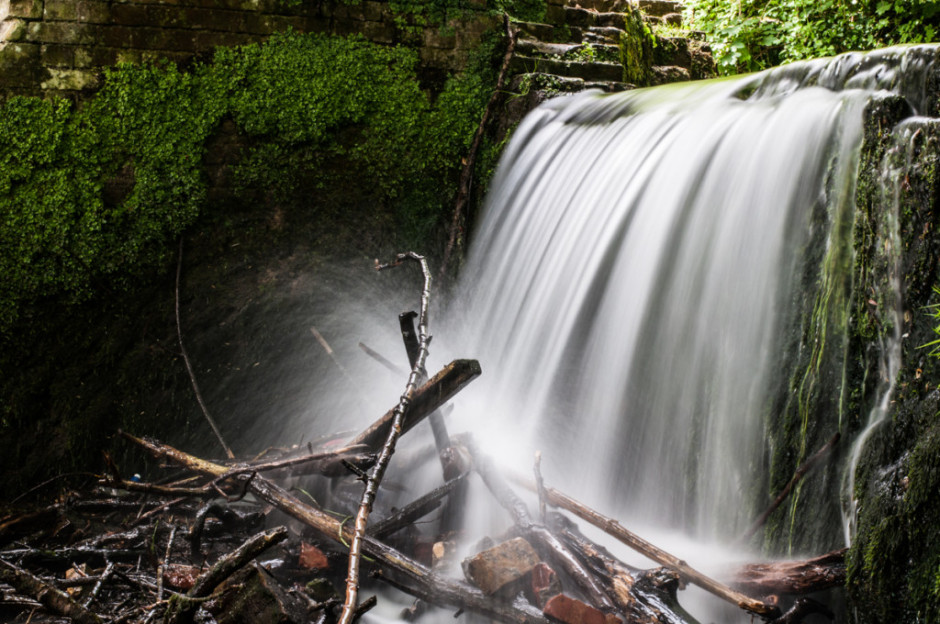
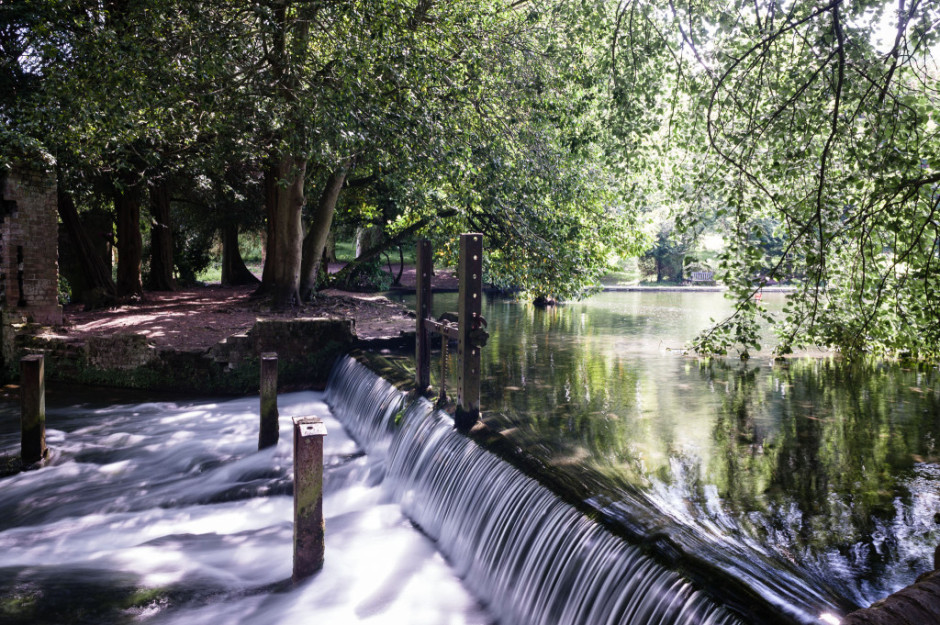
Photos that feature milky-smooth flowing water seem to have a Marmite effect on people: they're either loved or hated. I'm often rather ambivalent towards them, but it doesn't mean that it isn't a useful technique to have up your sleeve if you're faced with a weir or waterfall and you want to capture an image with smooth-looking water that has a sense of flow to it.

There's no great secret to shooting a photo that has water flowing through it that looks smooth: it's done using a long exposure. The slow shutter speed captures the the water as it moves, making it blurred. The blur, in this instance, gives the water a smooth appearance.
Shooting long exposures in daylight hours comes with an inherent problem, however. Over-exposure. Our cameras' sensors are capable of detecting far more light than we think they are, and even using the lowest possible ISO and smallest available aperture, a long exposure can result in an over-exposed photo when taking during the day. To get around this irritation, you might want to try a neutral density (ND) filter over your lens.
ND filters are grey filters that cut down the amount of light that enters your lens without affecting the colour of your images. They come in different grades, or densities, blocking out between one stop and 12 stops of light. Screw one over your lens and you'll give yourself a great deal more flexibility when it comes to shooting daytime long exposures.
Then of course you'll need a tripod. You might want to capture the motion blur of the water, but you'll want to avoid camera-shake and the rest of the scene getting the wobbles. Even though you'll be using a very small aperture with an enormous depth-of-field, still think carefully about your framing of the shot and its point-of-focus. Make sure it's telling a story.
Obviously you'll need to have your camera in manual mode to ensure that you can adjust the shutter speed, ISO, and aperture to get the photo that you want. Almost certainly you will need to use the lowest ISO and smallest aperture avalable. When it comes to shutter speed, you might find that you need to venture into bulb mode to get the shutter speed you need. And we recommend that you use a remote shutter release to prevent jolting your camera on its tripod and shifting its focus, too.
Then it's a case of hitting the cable release and leaving the camera to do its thing.
All images are courtesy of Triggertrap. You can learn more about using remote releases on the awesome Triggertrap How-to site!
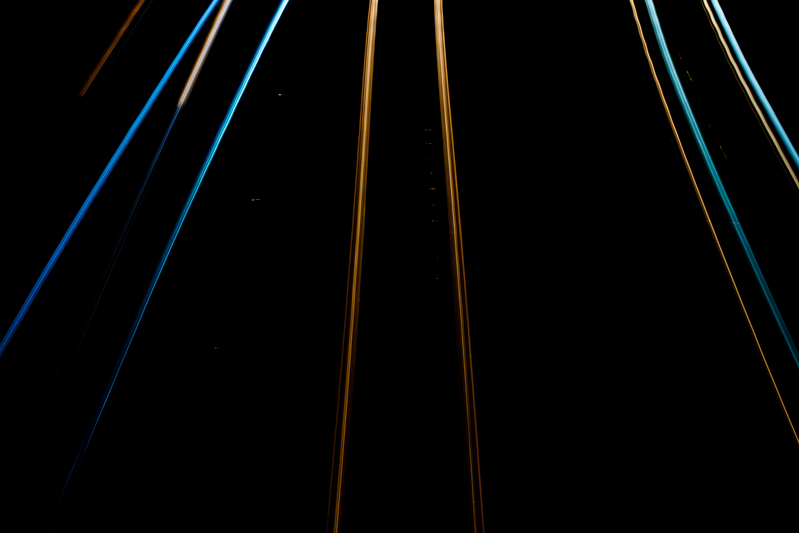
If you'd like to try a more unusual approach to lighting a photo, whether that's because you want to experiment or because you don't have access to studio lights, you might want to consider light painting. This isn't the type of light painting when you make patterns and shapes and designs with light sources to create your image, but using light sources to illuminate your scene during a long exposure. At its simplest, it involves outing the lights, setting your camera to bulb mode, and using a torch to 'paint' light onto your subject. Want to give it a go? Read on!

You don't need anything especially fancy for light painting: a camera on a tripod, a scene that you want to illuminate, and a torch are the minimum requirements. You might find it easier to control your camera's shutter using a cable release for flexibility and when you're more confident you might want to try some more advanced techniques, but let's start here.
Before embarking on your light painting adventure, it's best to think about the scene that you want to illuminate and the story that you want to tell. While you might herald some impressive results from waving your torch about in random formations, that's unlkely to result in the image that you anticipated. Take a little time to consider your subject and how you want to light it.

Scene set and lighting scenarios imagined, you need to secure your camera on your tripod and select your exposure. For light painting, try bulb mode controlled by a cable release, a low ISO, and an aperture that gives you the look you want. You'll need to manually focus on your subject, too!
Turn out the lights and start your long exposure.
Use your torch to begin to paint light over your subject. There's going to be some trial and error involved in getting the effect that you want, but that's half of the fun! Not keen on what you see? Try it again!
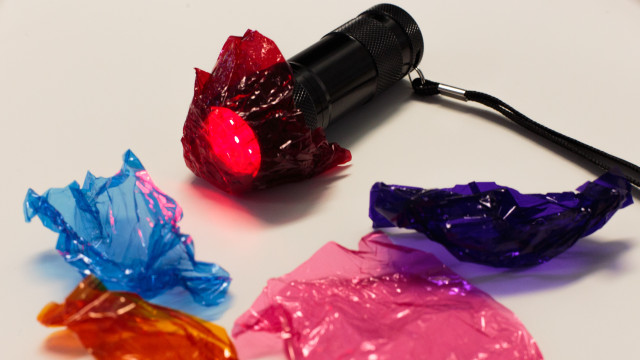
When you've mastered the basics, you can push your experimentations further. Try introducing coloured light to your images by covering your torch with coloured gels, or even sweetie wrappers. You can make cut-out filters to shape your light. Or direct your light more accurately with a snoot manufactured from cardboard and gaffer tape. You're not limited to inside, either. Try light painting buildings and monuments or flower pots - whatever takes your fancy and you've sufficient fire-power to illuminate!
This is something that doesn't have to cost the earth but can render some fabulous results.
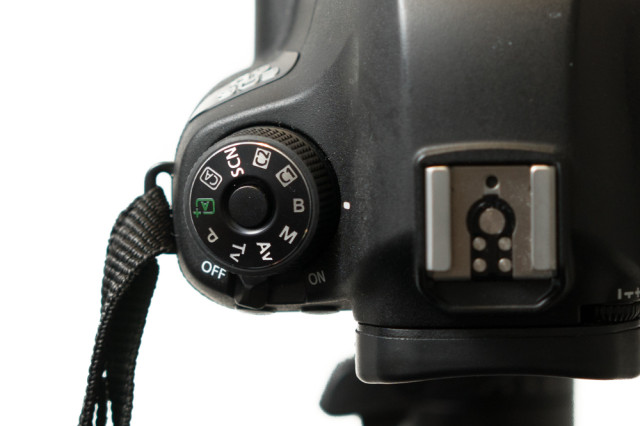
When setting your shutter speed, have you ever wound the adjustment wheel so far into long exposure that you've gone past seconds and found 'B' or 'Bulb' on your screen? Or maybe you've noticed that you have a 'B' option on your mode wheel, somewhere between Manual and Custom settings? This is bulb mode, and it allows you to control the duration of the exposure for precisely as long as you would like. It's perfect for exposures in excess of the 30 seconds that most cameras have as their longest shutter speed, or for when you need to be in control, for example if you're practising high-speed photography. First, a quick word on why it's known as 'bulb' mode. Haje has a much more thorough explanation here, but it doesn't have anything to do with light bulbs. It's from back in the day when you could control your shutter speed using an air bulb connected to your camera.
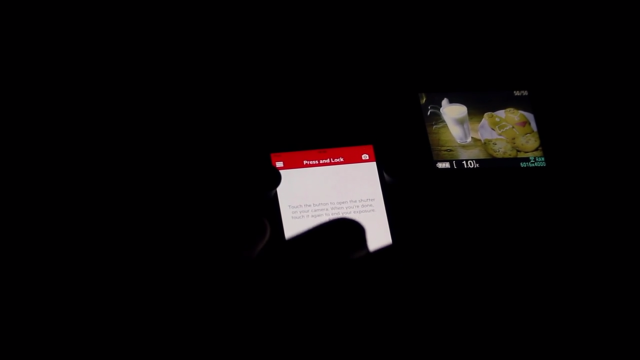
When your camera is in bulb mode, you open the shutter by depressing the shutter release button; as soon as you raise your finger off of the button, the shutter will close. Seeing as it isn't terribly convenient to stand with your finger on your shutter release button for minutes or even hours on end—and it's not fabulous for camera-shake, either—most people use bulb mode in conjunction with a remote shutter release. And a tripod, but that's probably quite obvious.
Plenty of remote shutter releases come with a locking mechanism, so that you don't need to hold your finger down there, either. However, if you go for something such as our much-beloved Triggertrap, you can select from a variety of different modes to control your super-long exposure, including a timed release that lets you set the duration of your exposure down to fractions of a second, a star-trails setting, and even a bulb-ramping option to fine-tune exposure during very long time-lapse recordings.
Even if you're shooting at night, your camera's sensor will be able to detect far more light than you think it can, especially with a very long exposure. Consequently, using a small aperture is recommended. If you're photographing during the day, you might benefit from a neutral density filter to prevent unavoidably over-exposing your images, too.
It is worth bearing in mind that using bulb mode can drain your battery enormously. Don't set off to capture star trails with a less-than-fully-charged battery. Take a spare if you have one, too. It's a complete waste to maroon yourself in the middle of nowhere with limited light pollution only for your camera to keel over halfway into the exposure.
Now that you know what bulb is, what can you do with it? Perhaps you'd like to try some long exposures of landscapes? Or maybe capture some smooth, milky-looking water tumbling from a fall. You might want to try your hand at a star trail, or have a go at light painting. You could even grab a flash adapter and have a crack at some high-speed photography and burst some water balloons. So many options presented to you with so much time from bulb mode!