water

Riding the waves to smooth water images

Photos that feature milky-smooth flowing water seem to have a Marmite effect on people: they're either loved or hated. I'm often rather ambivalent towards them, but it doesn't mean that it isn't a useful technique to have up your sleeve if you're faced with a weir or waterfall and you want to capture an image with smooth-looking water that has a sense of flow to it. Image thanks to Tom at Triggertrap

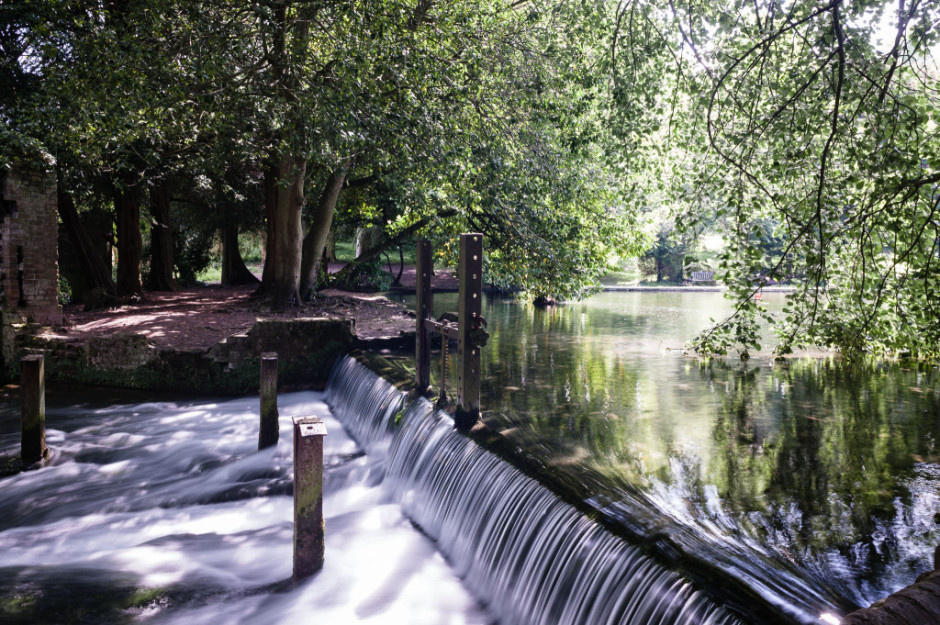
There's no great secret to shooting a photo that has water flowing through it that looks smooth: it's done using a long exposure. The slow shutter speed captures the the water as it moves, making it blurred. The blur, in this instance, gives the water a smooth appearance.

Shooting long exposures in daylight hours comes with an inherent problem, however. Over-exposure. Our cameras' sensors are capable of detecting far more light than we think they are, and even using the lowest possible ISO and smallest available aperture, a long exposure can result in an over-exposed photo when taking during the day. To get around this irritation, you might want to try a neutral density (ND) filter over your lens.

APL0719-1024x681

ND filters are grey filters that cut down the amount of light that enters your lens without affecting the colour of your images. They come in different grades, or densities, blocking out between one stop and 12 stops of light. Screw one over your lens and you'll give yourself a great deal more flexibility when it comes to shooting daytime long exposures.

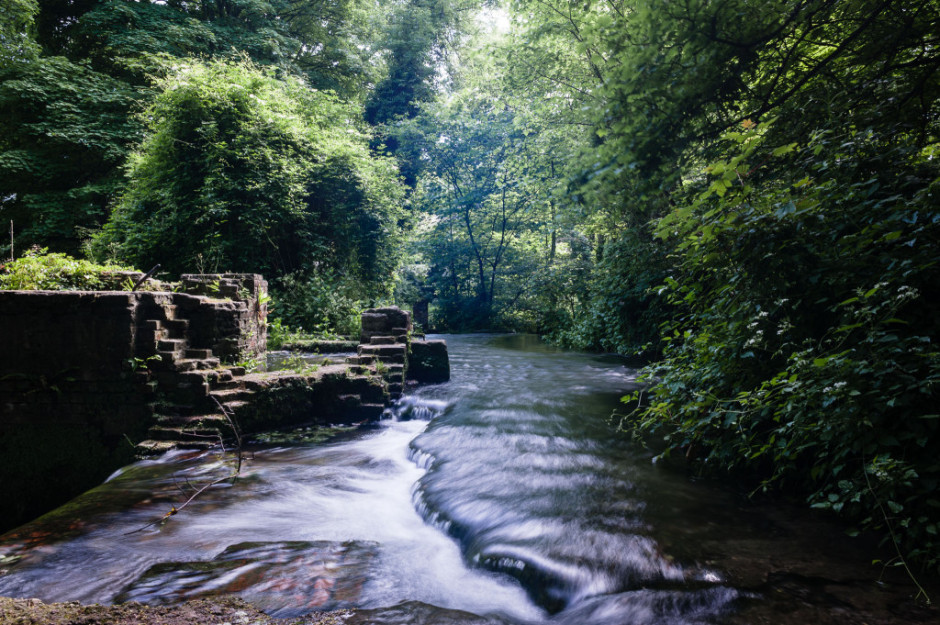
Then of course you'll need a tripod. You might want to capture the motion blur of the water, but you'll want to avoid camera-shake and the rest of the scene getting the wobbles. Even though you'll be using a very small aperture with an enormous depth-of-field, still think carefully about your framing of the shot and its point-of-focus. Make sure it's telling a story.

Image thanks to Tom at Triggertrap

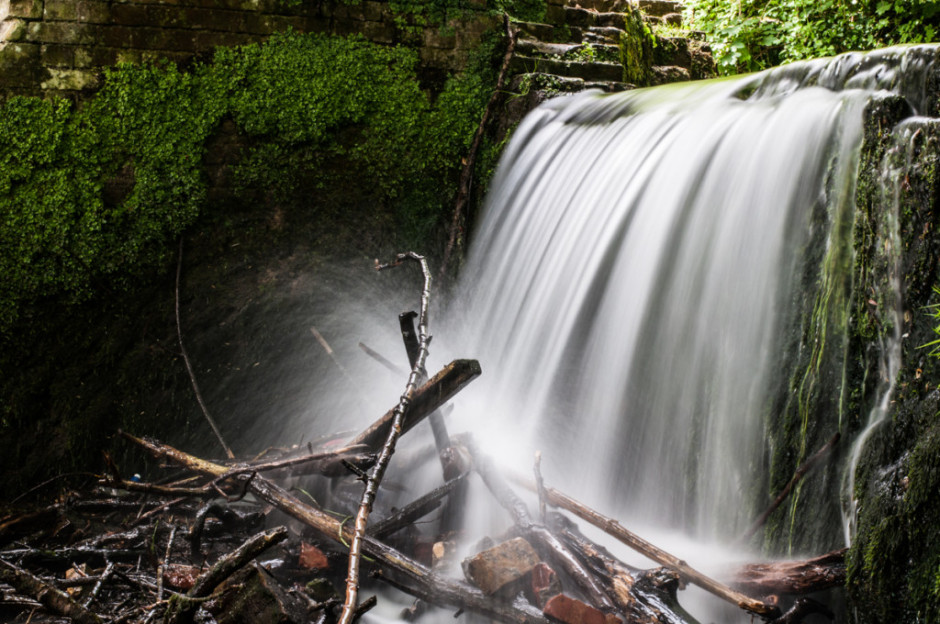
Obviously you'll need to have your camera in manual mode to ensure that you can adjust the shutter speed, ISO, and aperture to get the photo that you want. Almost certainly you will need to use the lowest ISO and smallest aperture avalable. When it comes to shutter speed, you might find that you need to venture into bulb mode to get the shutter speed you need. And we recommend that you use a remote shutter release to prevent jolting your camera on its tripod and shifting its focus, too.

Then it's a case of hitting the cable release and leaving the camera to do its thing.


All images are courtesy of Triggertrap. You can learn more about using remote releases on the awesome Triggertrap How-to site!

Struggling to understand the exposure triangle? Try thinking of it as a glass of water

ExposureTriangle.gif

There are three things that affect an exposure: speed, aperture, and ISO. They work in a triangle to achieve an exposure.

When you give with one you take with another to ensure that you don't over- or under-expose your shot. In your early days of setting your exposure manually, it can be a bit tricky to remember how they fit together. But if you think of exposure as a glass being filled by water from a tap, it might help. Here's how it works.

Aperture

Think of aperture as how much you open the tap. The wider you open it, the more water flows into the glass. Open the aperture wider and you let more light into the camera.

Shutter speed

If aperture is how far you open the tap, shutter speed is how long you open the tap for. If you open it for a long time, a lot of water comes out. If you open it only briefly, just a little water comes out.

ISO

The final control in the exposure triangle is ISO. From the perspective of our water-glass analogy, ISO could be described as the size of the glass. At a low ISO, the glass is a large one. At a higher ISO, the glass is smaller. In effect, if you are shooting with a high ISO, you need less water to fill the glass.

Equivalent exposures

Much like filling a glass with water, getting an exposure can be achieved quickly or slowly, but you'll get there in the end. You can use a trickle of water—so that would be a small aperture—for a very long time, and the glass will eventually be filled. Alternatively, you can open the tap all the way—the equivalent of a large aperture—very briefly, and the glass will be filled.

The same is true in photography. Two different exposure settings can result in the same amount of light being recorded inside the camera.

Sunset beer

Okay, it's a glass of beer. But that's much more fun than water.

How, then, do you put this into practice? It depends on what you want to achieve with your photo. If you're looking to secure a particular depth-of-field you'll set your aperture accordingly and then adjust the shutter speed and ISO to complete the exposure. For a long exposure shot you'll need to think about whether it needs a small or a large aperture and a low or a high sensitivity.

Drink up!


More unusual ways of looking at things and remembering rules are in my lovely book, The Rules of Photography and When to Break Them. Available in print from Amazon UK and US.