


When you’re accustomed to using something, it’s easy to forget that its capabilities might stretch beyond just that for which you usually use it. You get into some sort of rut don’t explore whatever it is that you’re using, whether it is your food processor, your mixing desk, or your copy of Lightroom.
Jamie Gladden got in touch with us to tell us about a rather nifty way of putting Lightroom’s Graduated Filter to better use than just applying it to skies. Jamie, it’s over to you…
I recently posted an article on my blog describing some simple portrait retouching techniques using Adobe Photoshop Lightroom. A friend of mine later commented to me that he wasn’t that familiar with some of the Lightroom tools that I’d mentioned, so he’d go off, find some tutorials, and play around with these new toys. Great! There are loads of cool tutorials out there, and he’ll definitely learn some useful techniques which will improve his photo retouching skills.
One of the tools I wrote about was Lightroom’s Graduated Filter, which was introduced in version 2 and is very handy. If you do a Google search for this, you’ll find lots of useful tutorials explaining how to use the tool to pep up your landscape shots, darkening a bright sky to add more detail and produce a more even exposure without changing the area of land beneath the sky. Cool! So that’s a new technique we’ve learned, the Graduated Filter is used to even up the overall exposure of your landscape shots by darkening the skies, just like using a Neutral Density Graduated filter in front of the lens on your camera.
What if you don’t shoot that many landscapes? You’ll never need to use that filter, right? Maybe, maybe not. It’s easy sometimes to get stuck with the idea that some of the features serve one purpose only, but with a little experimentation, you can find new and unexpected things to do with them.
In my own photography, I tend to photograph bands and people more than I do landscapes. If I’m working in a studio, then I’ll have full control over the lighting, and the light goes mainly where I want it to go – most of the time! Sometimes, I’ll need to make minor post-production tweaks here and there to compensate for areas which are a little brighter or darker than I’d like.
From the studio to the Lightroom
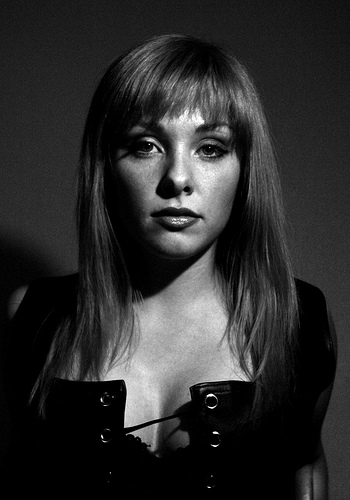
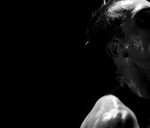
Take a look at these two photos.


The top shot is complete up to the point at which I was happy with all the retouching and post-processing work I’d done, apart from one thing. I thought that the model was just a little too bright on the right side of her face and neck for my liking. The main light is coming in from camera right, and I had a fill light off to the left, and it’s the main light which is doing the damage.
I wanted to tone this down a little, but only on the slightly brighter area on the right side of her face. Decreasing the exposure or brightness isn’t really an option, because that would change the exposure/brightness of the whole shot, and that’s not what I wanted.
I could also have used the adjustment brush to paint over the too-bright areas, and then adjust the brightness level which would change only the area I’d painted over. That would certainly do the trick, and it does give you more control, but it can be a little fiddly sometimes, and would take more time.
But wait! What about the Graduated Filter? Couldn’t we use that to give us a subtle darkening of her skin on one side which is too bright without darkening the skin on the other side of her face? Definitely. The grad filter is perfect for that.
You can see the effect in the second photo. It’s quite a subtle difference, but for me it was necessary to fix it. After selecting the grad filter tool, I dragged the crosshair across the photo from right to left, stopping when I thought I’d arranged the markers in the correct position.
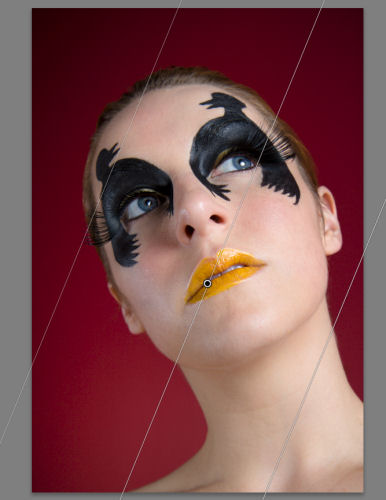
Then, I adjusted the grad tool’s exposure setting down to a level that evened up the lighting nicely, and I was happy.
Outdoors, but not about the sky
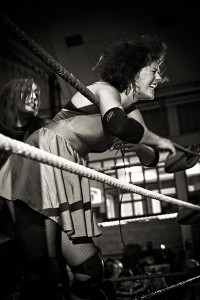
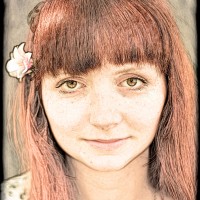
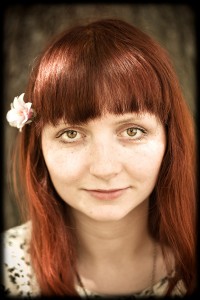
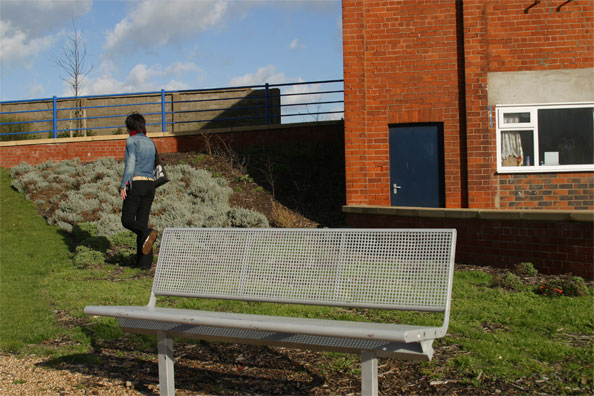
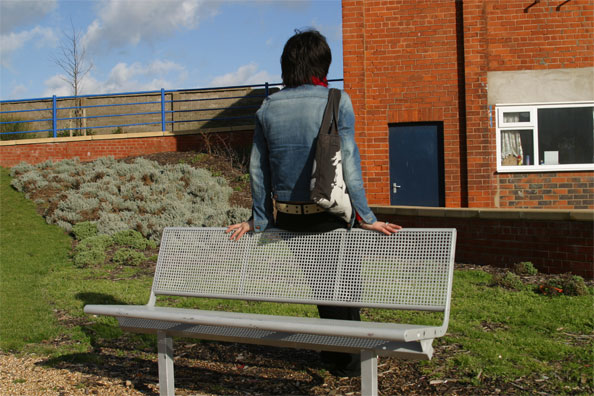
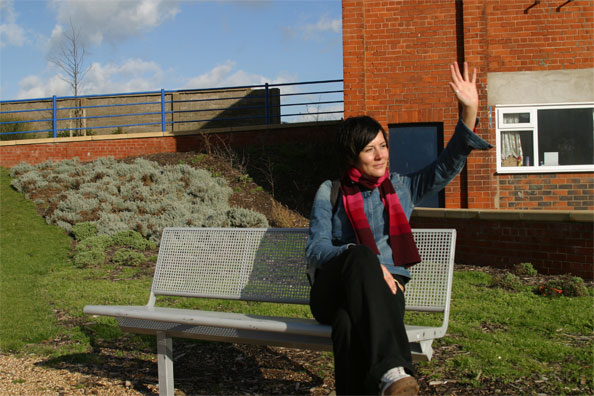
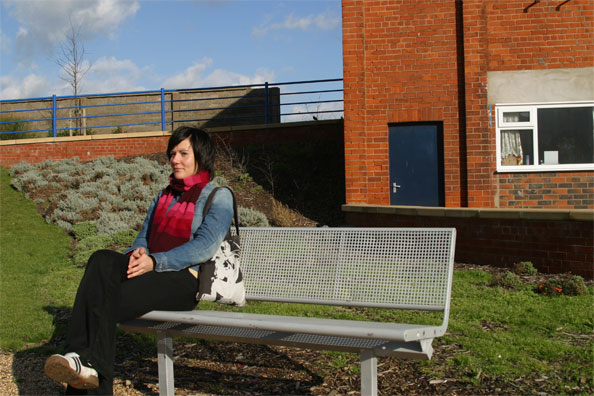
Here’s another example. This is Alice:
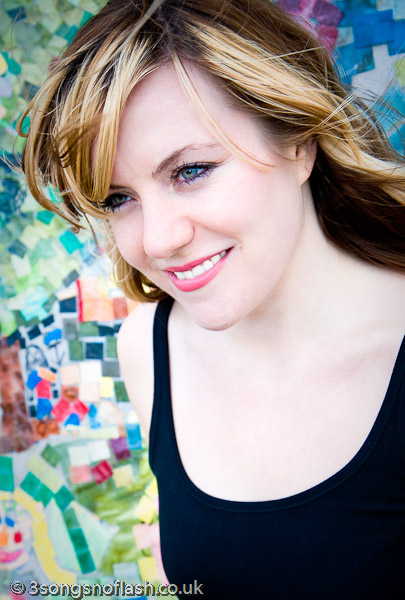
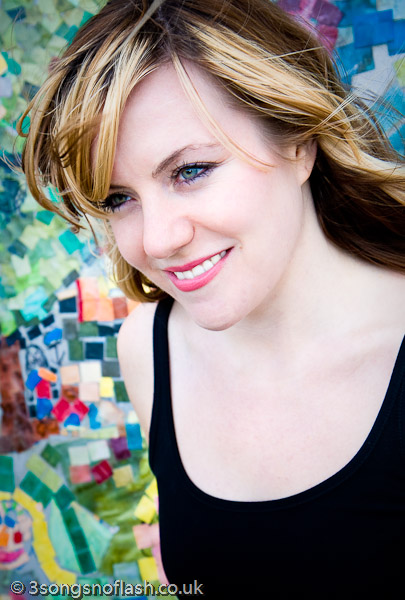
If you’re working outdoors with natural light, then it’s not so simple to move the light source to where you want it to be, so you have to work the light to your advantage, and maybe use a reflector or diffuser to shape the light how you want it. Again, there will usually be some tweaks needed in post-production.
In the first photo, the background in the bottom left is just a touch too bright for my taste, and I think it draws your eye away from her face. Just a quick application of the Graduated Filter, as before, and it was fixed. Simple and quick. Which leaves you more time to go out and take photos, rather than sitting at the computer.
And even for concert photography
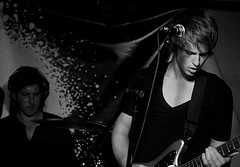
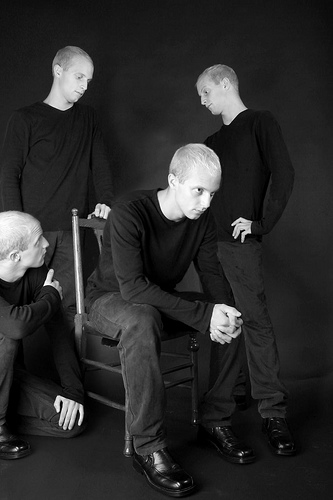
For a final, and more dramatic example, here’s a shot of Benjamin Curtis from the band School of Seven Bells:
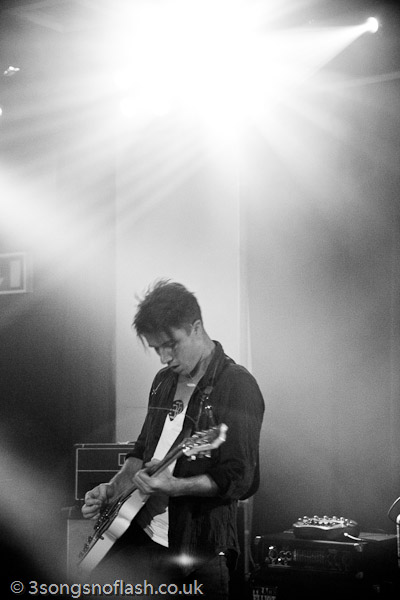
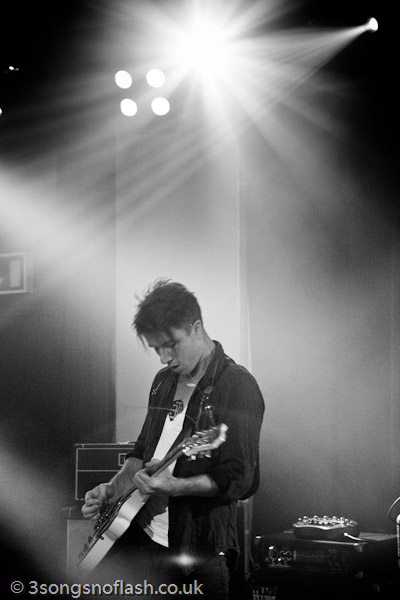
When you’re shooting bands on stage, you’re totally at the mercy of the stage lights, which often change quite rapidly. Often, I like to make the lights a feature of my shots, rather than using them solely to illuminate the artist.
In the first photo, the lights are quite overpowering, and they detract from the shot, but by just simply adding a grad filter straight down from the top of the picture, we’ve toned it down a lot, and produced a really cool and striking effect from the stage lights.
So, there are just three examples of using Lightroom’s Graduated Filter, and not a single sky has been prodded. One of the real selling points of Lightroom for me is that it’s easy to experiment like this, safe in the knowledge that if it doesn’t work out, it’s so simple to go back to your original RAW file and start again.
About the author
This article was written by Jamie Gladden. Jamie’s a freelance photographer based in London, UK, with interests in music, fashion and portrait photography. He’s passionate about music and loves discovering new bands and artists. He reckons that there’s nothing better than seeing a really talented unsigned band in a cramped room above a pub. He’s similarly passionate about photography, and there’s no greater pleasure for him than being able to combine the two. Check out his site; 3 songs no flash.
Do you enjoy a smattering of random photography links? Well, squire, I welcome thee to join me on Twitter - Follow @Photocritic
© Kamps Consulting Ltd. This article is licenced for use on Pixiq only. Please do not reproduce wholly or in part without a license. More info.

 One of the easiest ways to use a radio remote, apparently, is


 I selected a plain white wall with a wooden door as the background for my pictures, no direct sunlight but no artificial light either, and set-up my Canon EOS 20D on a tripod. I made the necessary adjustments in terms of sensibility and focus, selected the B&W mode, and used the self-timer to take the pictures. Between each shot I practiced in front of a full length mirror… I wanted to be able to share these pictures with my children when they grow up, so I was determined to be as beautiful as possible (of course!), and if sensuality was permitted, I did not want these pictures to turn out erotic.
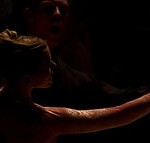
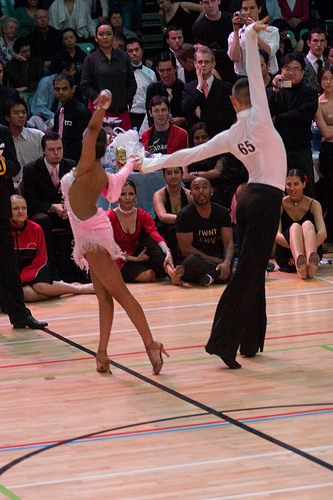


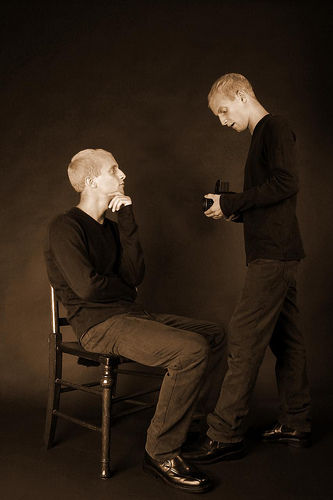


 Anthony was one of the people participating in the Shoot London event on May 17th. He was also on my team, so writing this up as an interview might seem slightly presumptuous, but then, this is my blog, and I do as I damn well please, thankyouverymuch.
 The rules did not allow any photoshopping, which I’m cool with: it’s a completely different challenge (much, in fact, like the
  “Some of the rules seem to be limitations of organisational process more than anything else.”, Anthony muses. “Don’t think that if you have four good photographers with their cameras, you have four times as many chances of taking a good shot: All the photos have to be not just on the same memory card, but taken on the same camera”.
 Far more annoyingly, in one case, the judges ended up giving out a prize to a shot that plainly didn’t solve the clue correctly (they took a photo near the Globe Theatre, which was


 If you want to have a go at using unsharp masking in the darkroom (heh – if you want to put yourself through stuff like that, let me tell you; I like you), here is a concise guide how it can be done. I have had a lot of surprises when using this technique – mostly positive surprises, but every now and then, things go very wrong. Even then, it looks interesting, if nothing else.
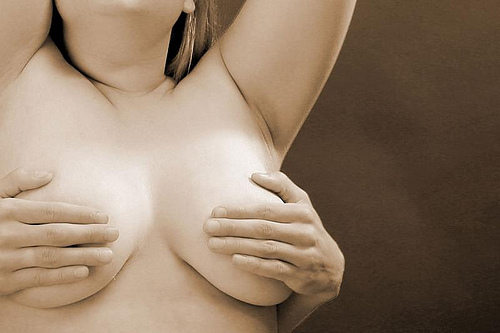

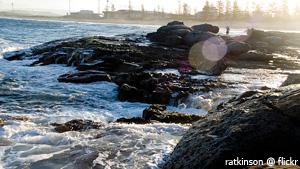 A second way to test for lens flare is what is known as the ‘window test’. Aim the camera someplace indoors, but have a bright window just out of the view of the lens. If your image, upon developing ended up with the tell tale signs of lens flare, you know your camera can’t handle that sort of situation so well.
 Okay, so I thought we were trying to avoid lens flare. Why would Photoshop come up with something people try to avoid? For the simple fact that lens flare shouldn’t always be avoided. In fact, it can a little something extra to your images when used in the right circumstances.