


One of the first things I started doing when I started shooting digital images, was thinking of ways of doing digital double exposures – adding one part of an image to another – for a greater impact of my digital shots. It turned out to be relatively simple, but carrying high impact. All it takes is suitable photos, a copy of Photoshop (or the Gimp, which is sort-of nearly as good as Photoshop, but free), and a bucket full of time…
Have you made any cool images using this method? Post them somewhere on the internet – your blog, perhaps – and add a link to the comments, so we can admire the photos!
Starting with a series of photographs taken with the camera on a tripod, to ensure that the angle doesn’t change:
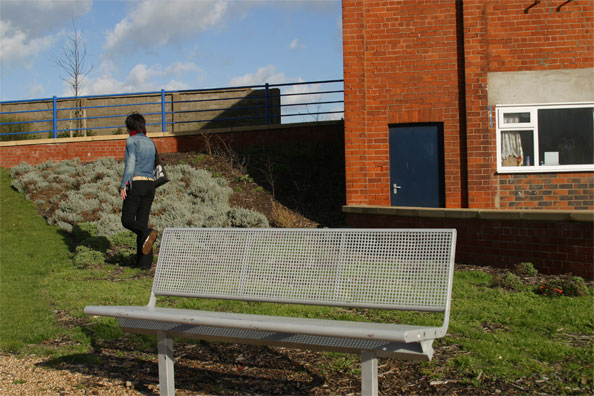
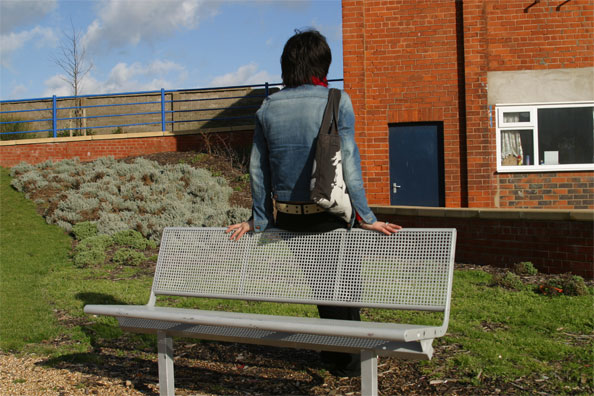
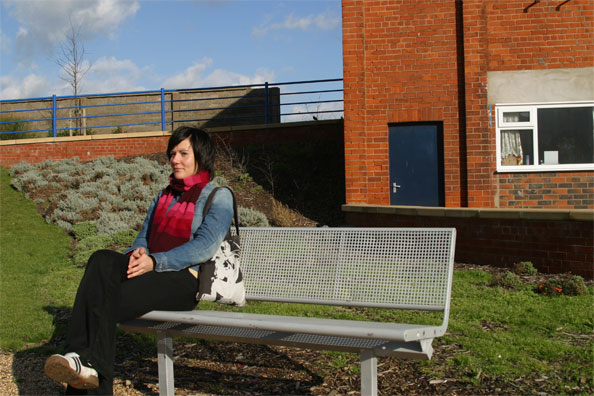
I loaded all of them into Photoshop, and copied them to the same document in different layers. When doing this type of editing, it makes sense to arrange the images in a way that allows you to work from top to bottom, or from left to right. So the first thing you need to do is arrange the layers in a way where they have a logical progression. In the case of the images above, I layered them in the order 4 – 5 – 2 – 1, with 1 on the bottom
The easiest way of doing these photos is by doing it in a way that the character doesn’t interact with itself, but on the other hand it is a lot more believable if they occupy the same field of view (i.e overlap) or interact in some way – getting them to hand things to each other, or similar, is an additional layer of messing with your readers’ brains.
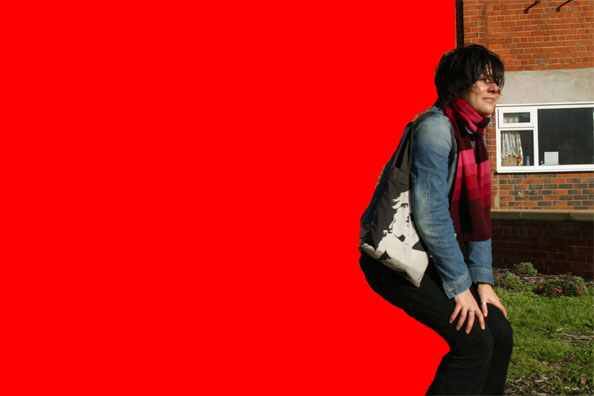
Now, in the top image, carefully cut out the area you don’t need. The trick is to cut off as little as possible. For the sake of example, I’ll show you what I would do if I were to add another photo all the way to the right of this montage:
By leaving as much of the image intact as possible, chances of getting the cut-out wrong are limited. In this case, because the right side of the girl isn’t cut out at all, there are no mistakes to be made!
Hide this layer, and move on to the next one, and the next one, etc.
Finally, you’ll probably spend a bit of time carefully polishing your cut-outs. You may also need to darken some areas to ensure that the shadows look genuine – do you remember what we said about that in How to spot Photoshopped Images? Exactly.
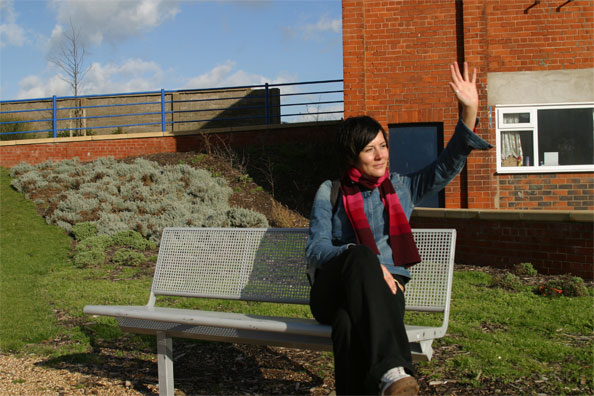
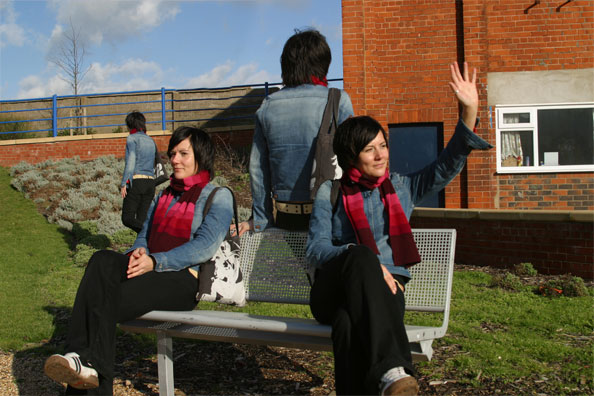
Now, when you’ve put all the photos together, you get a result that looks like it could happen, if it hadn’t been for the fact that this lady doesn’t have any siblings, much less quaduplets…
Couple of examples
Do you like this stuff? Well, have a go at it yourself! And just to get you on your way, why don’t we add some more examples? The following three were taken free-hand, with quick series of five shots for each photo. In case you recognise the background: Yes, it’s taken in Vigerlandsparken, in Oslo, Norway. I think it was around 2003 or so.
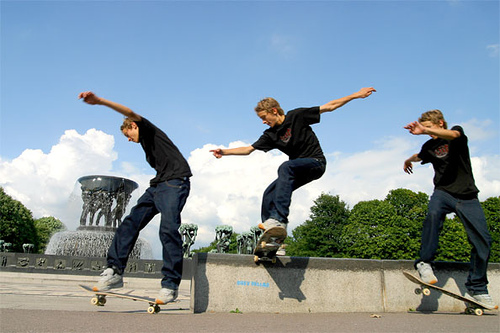
Photo: Skatezophrenia by Photocritic.org on Flickr
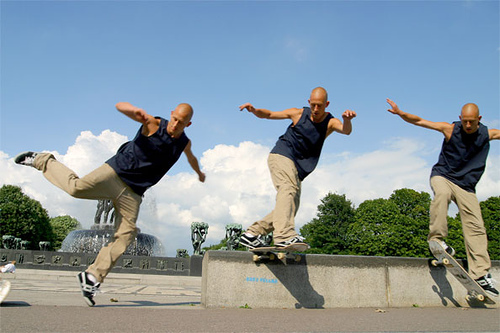
Photo: Skate-zo-phrenia 104 by Photocritic.org on Flickr

Photo: Skate-zo-phrenia by Photocritic.org on Flickr
So, what do you reckon? Can you do better? Of course you can! Get cracking, and post the results in the comments – I’m curious!
Couple of other examples
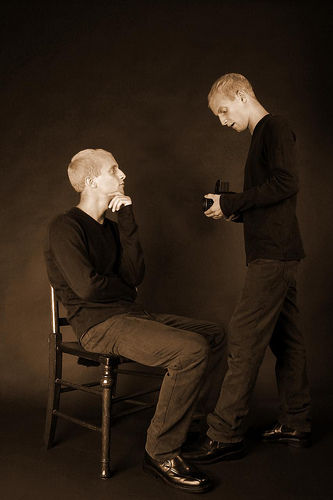
Photo: Self portrait with self by Photocritic.org on Flickr
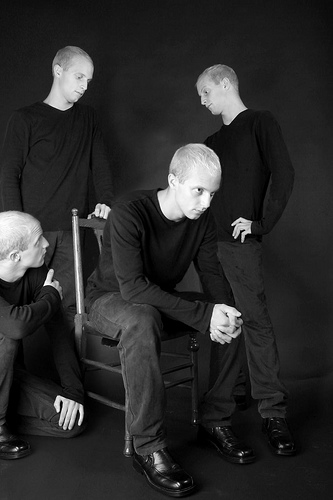
Photo: Jonathan Squared by Photocritic.org on Flickr
Finally, if you like these, you can get loads more inspiration on the Multiple Exposure group on Flickr!
This post was originally posted in 2006 (which is why the observant among you will notice a couple of old comments on this post – so no, you’re not going loopy:). I’ve updated it and added a few more photos, hence the re-publish.
Do you enjoy a smattering of random photography links? Well, squire, I welcome thee to join me on Twitter - Follow @Photocritic
© Kamps Consulting Ltd. This article is licenced for use on Pixiq only. Please do not reproduce wholly or in part without a license. More info.