


In the interests of knowing how it was done and not wishing to rely on filters or presets (or on dodgy film development practices) I had a go at converting one of my self-portraits into a toy-camera looky-likey. I doubt that it's a process I'll do too often, but for the record and because I'm sure other people might be intrigued, here's how I went about it. Before you start playing with the tonal curves and adding vignettes to your photos to make them look as if they stepped out of 1976 and were bathed in the wrong chemicals, it’s useful to know what to look for in a toy camera-esque image.
- Exposure: the light meters in toy cameras tend to be on the inaccurate side of calibrated, leading to badly exposed images
- Light leaks: sealing on toy cameras is virtually non-existent, presenting you with huge streaks of light smeared across your photos
- Aberrations: Cheap plastic-y lenses mean distortions and vignetting
- Cross-processed look: processing film in the wrong chemicals will give images odd colour casts
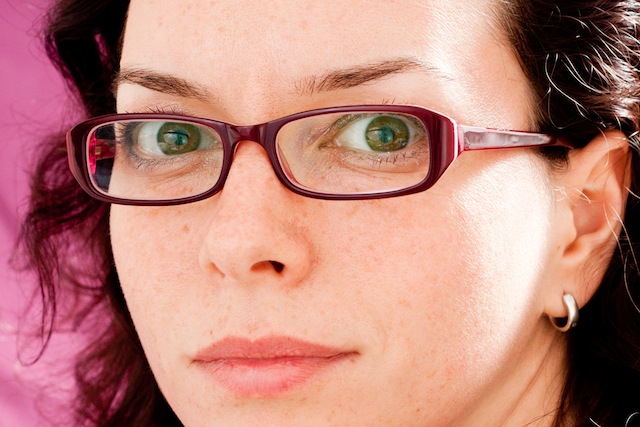
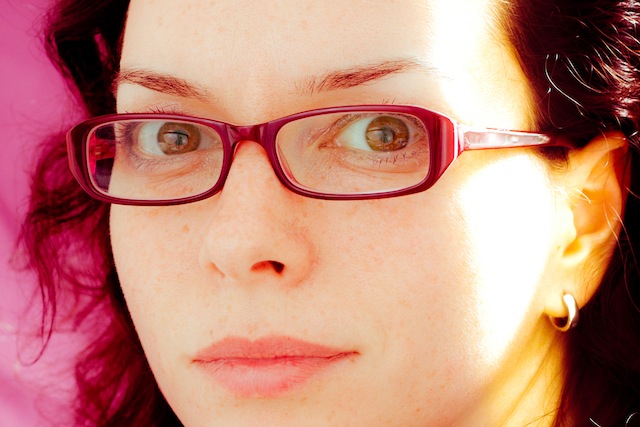
This is my recipe for a toy-camera flavoured photo. It's fairly subtle because I'd rather not feel as if my eyes are being assaulted by a sweet shop, but you can of course ramp up the numbers to get the effect that you want. We'll start with a studio shot of me. It was part of a series I took when I was getting accustomed to wearing glasses.
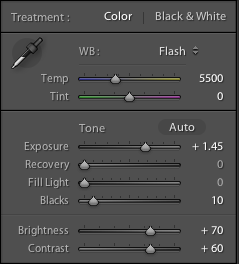
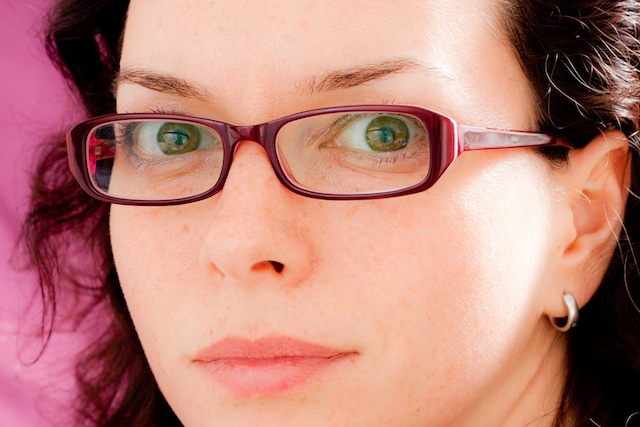
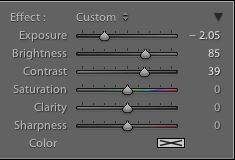
1. Exposure
 My first move is to increase the exposure, add some depth to the blacks, and then go overboard with the brightness and contrast. It'll look like a cartoon at this stage, but it's a base on which to build.
2. Clarity
 By nudging the clarity slider to the left it helps to recreate the soft mushiness of a cheap plastic lens.
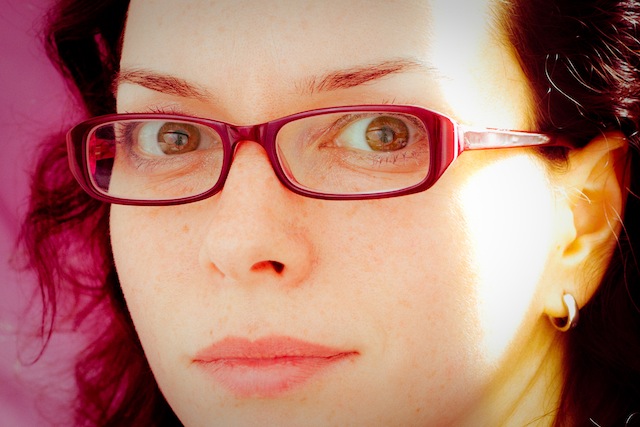
3. Light leak
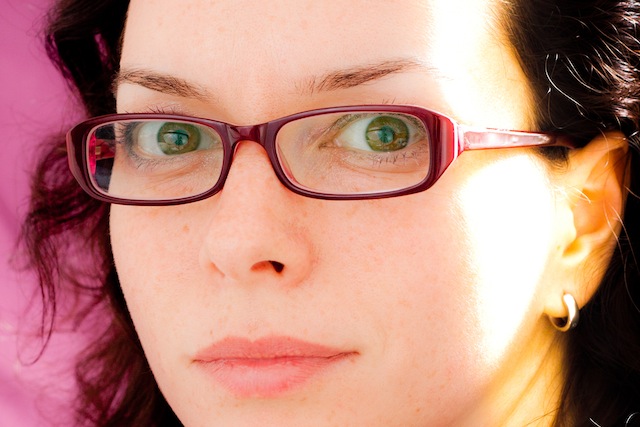 Use a pair of graduated filters to add a light leak. I placed one to the left of my ear and another right with roughly opposite settings. This produced a yellow-y smear.
4. Split toning
If you want, you can spend hours messing with the split toning sliders to achieve wildly varying looks that could all pass for cross-processing. It'll be a case of finding what you prefer, and placing more emphasis on the reds and purples or the greens and yellows.
I tried this image with a yellow-y green look initially, but swapped it for a more pinky-red version.

5. Vignette
Without knocking myself over the head with a plastic picture-taking-device, I add a touch of vignette, too.
6. Grain
Finally, add a hint of grain to help recreate the film feel of a toy camera.
Et voila – from studious studio self-portrait to tricksy toy camera creation.