dark

12 suggestions for low-light photography

Here in the northern hemisphere, the shortest day is fast approaching and whether we like it or not, much of our photography will be of the low-light variety. We've put together some suggestions for coping as best you can when things are a little dim and the light with wish you wish to draw is a scarce commodity.

Look for the light

This might sound terribly obvious, but it's a fundamental of photography: look for the light in your scene and use it to your advantage. Use the light from streetlamps, from candles, from the moon to illuminate your subject—even be the subject—and create interesting shadows in your photos.

Back-lit by nothing more than a candle

Do not be afraid of high ISO

While a too-high ISO can be responsible for noisy, grainy photos, advancements in sensor technology mean that it's possible to push ISO much higher than was previously acceptable to get the shot you want. Remember: a little grain can be better than motion blur; if you shoot in Raw, images can be cleaned up; a black and white conversion can produce noise-negating miracles.
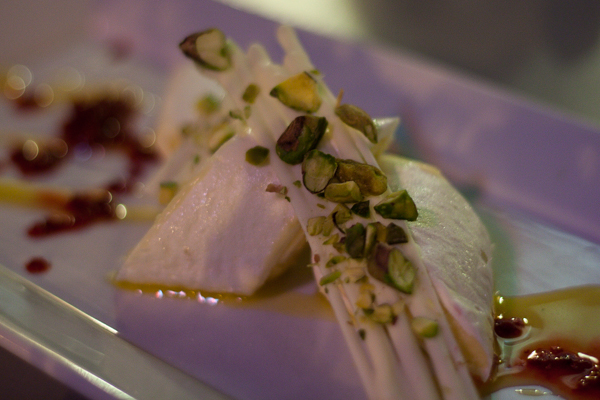
Push up the ISO

Open up your aperture

The wider the aperture you select, the more light you'll let onto the sensor and the faster shutter speed and lower ISO you'll be able to use. This will of course come with the caveat of a shallower depth-of-field, but that can be applied creatively.

Watch your shutter speed

A slower shutter speed will permit more light to reach the sensor, but it also has the potential to introduce motion blur if it isn't sufficiently fast to freeze the action in your scene, as well as camera shake if you're hand-holding your camera. Sometimes, however, motion blur contributes to the story that you wish to tell, so don't dismiss it entirely.

Consider a tripod

The general rule for hand-holding a camera is that you shouldn't do it if your shutter speed dips below the inverse of the focal length of the lens you're using. Thus, for a 50mm lens, you shouldn't attempt to hand-hold your camera using a shutter speed slower than about 1/60 second. If you find that you need to go slower, you might wish to bring out your tripod. Think about a remote shutter release, too.
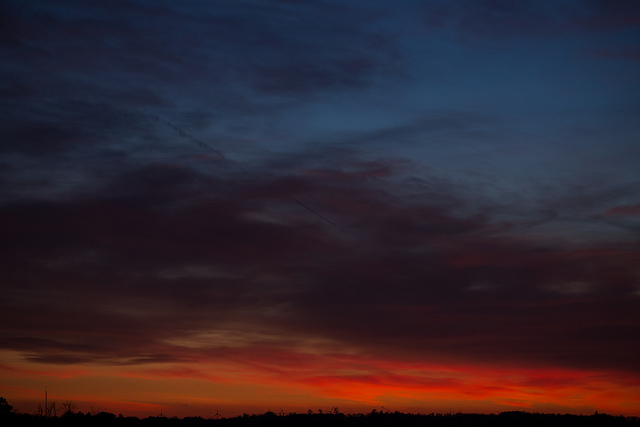
It was chilly, but the tripod meant that it wasn't a pointless endeavour

Which metering mode are you using?

If you adhere to matrix or multi-segment metering, your camera will attempt to adequately expose the entire scene. That might not be what you want if you're looking to play with light and shadow. For dramatically lit shots, switch to spot metering and meter from the illuminated area that you wish to be in focus. This will maintain dark shadows while correctly exposing the point-of-focus.
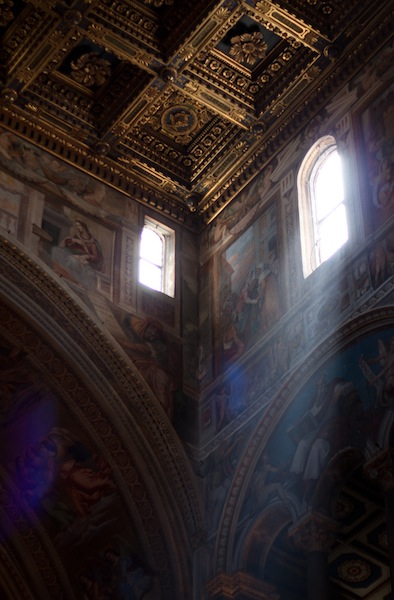
Spot meter for specific light

Dial in some exposure compensation

Spot-metering might not be appropriate for your scene, but at the same time, matrix or multi-segmented could render it over-exposed. If that's the case, try dialling in a stop or two of negative exposure compensation.

How are you focusing?

Auto-focus can struggle to hit its mark in low-light situations, in which case manual focus might render better results if you're both confident enough using it and the scene isn't changing so fast that you miss the photo opportunity. Should auto-focus be the better option, ensure that you're using one-shot auto-focus. Try, too, shining a light where you wish your camera to focus. The illumination will assist it in locking-on to the point-of-focus.

Make use of reflection

Whether it's reflection off of pale clothing, off of glass, polished metal, or liquid, or from a reflector, keep an eye out for reflected light and put it to use in your shots. That might be making reflections on water the focus of your photo, but it can also be bouncing back reflected light to illuminate shadows.
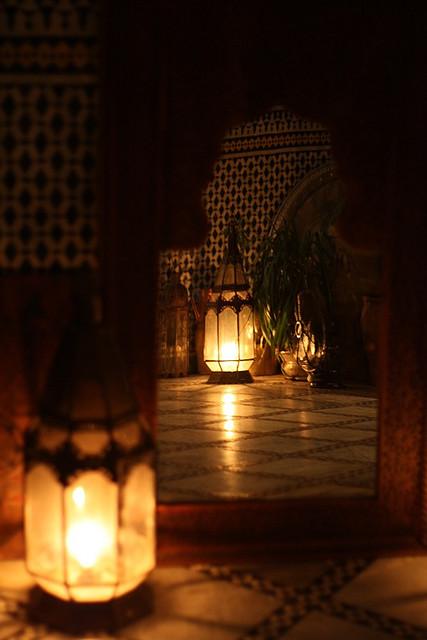
The reflections made this photo

Shoot in Raw

If you're not already shooting in Raw, switch now. Not only will help you to tidy up any noise in your shots, or even to adjust the exposure a little if necessary, but it will allow you to adjust the white balance of your photos more effectively. Accurately white balancing low-light shots can be tricky; the more flexibility that you have, the better.

White balance

How warm or cool is your light source? Or are you working with mixed light sources? If you're shooting by candle light, you can set the light temperature on your camera to more accurately render colours in your photos. For mixed-light sources, remember to white balance according to the light falling on your subject. If you're shooting in Raw, you might find that adjusting the white balance in post-processing will give you the most accurate result.
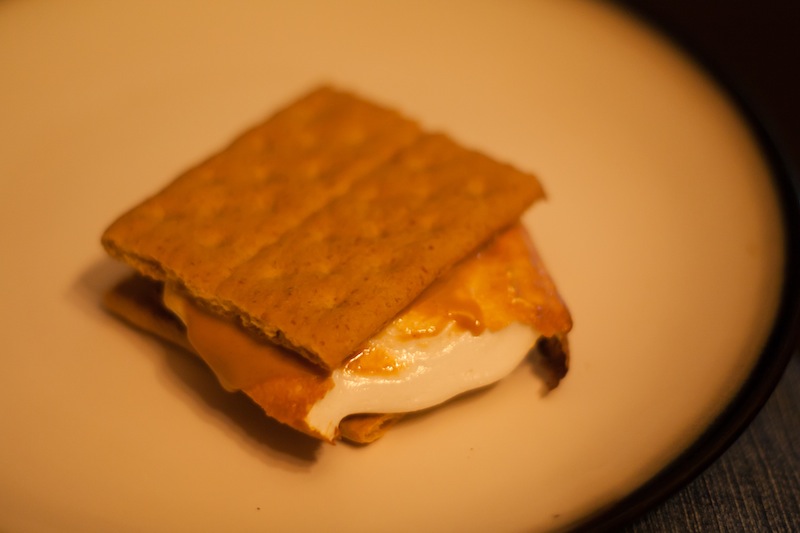
What's the light temperature of a log fire?

Use the darkness

Finally, have fun with the darkness and put it to creative use. Let reflections dance or shadows draw you in to moody scenes. Low-light might force you to think for a moment, but remember that you often have longer than you think you do, and experimenting is half the fun.
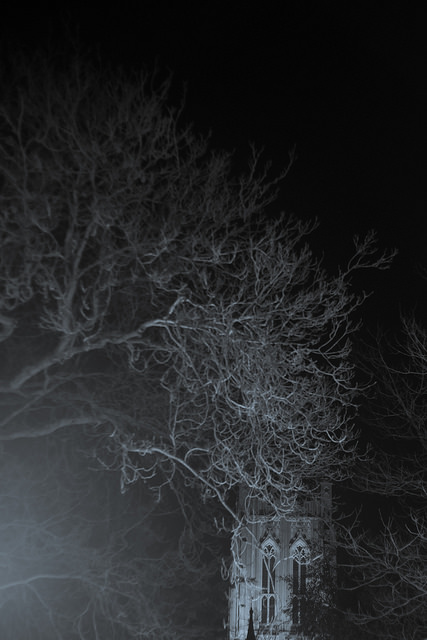
My family got bored and wandered off, but I soon found them

Mean and moody low-key photography

As a photographer, you're usually aiming to ensure that your photos are well-exposed and have an even tonal distribution. If you were to look at the histograms from these images, the data would be spread across them. Neither the shadows nor the highlights would be 'clipped', or have areas that are so dark or so light, respectively, that they contain no data. If you were to look at these images, they would look 'right', and be pleasing to the eye. A 'perfectly exposed' image isn't always the story you want to tell

However, that isn't always going to be the kind of story that you want to tell. On occasion, you are going to want to convey a dark and brooding narrative, maybe even so far as to be menacing, that delves into darkness. You will look to shoot a low-key image.

Identifying low-key images

Low-key photography is a style of taking pictures that focuses on producing shots that mostly include dark tones—a person in a dark room with only a tiny bit of light on their face is a good example. You might have noticed how products are often shot using low-key photography, too.

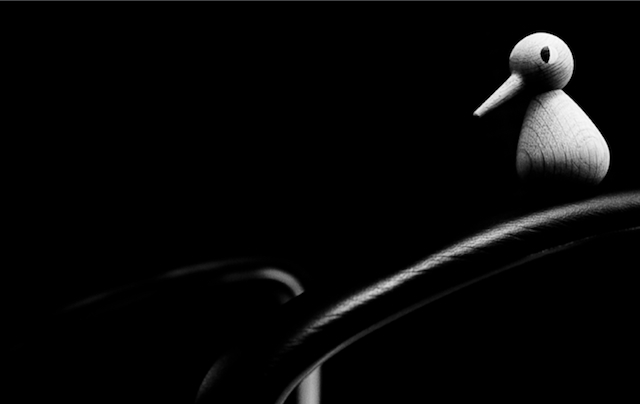
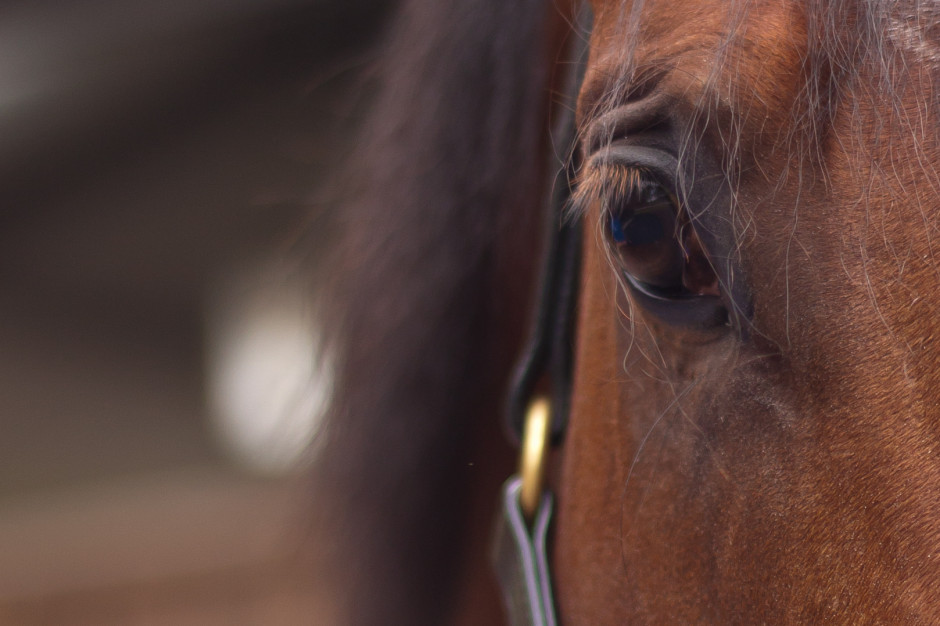
The histogram for this photo is mostly black, but look at it—your eyes are immediately drawn to Ducky’s eye.

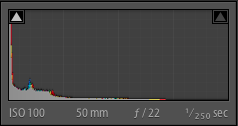
Screen Shot 2013-05-07 at 15.02.48 If you were to look at the histogram of a low-key image, you'd see that the majority of the data are pushed towards the left-hand side. Don't worry that your shadows might be clipped: it's a part of the look.

Setting up a low-key shot

You're aiming for extreme contrast in a low-key shot, with most of the image dark or even fully black with just a little of subject highlighted to draw the viewer's eye. Since a lack of lack is your primary tool in taking a low-key photo, it's actually fairly easy to set up and while you do need extensive control over your light source, don't think that you require an elaborate studio.

One method of getting the low-key feel is to place the subject in a dark room, then turn the light on in an adjacent room. Open the door just enough to get the right amount of light on your subject, but not enough to light up the background.

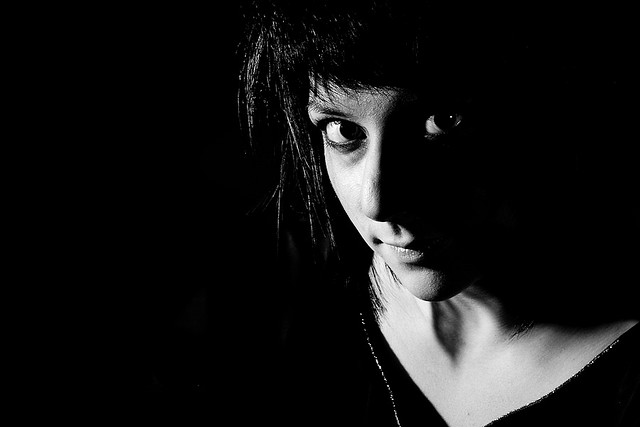
Salma: Intriguing and broody

Another means to getting a low-key feel is with candle-light, which can elicit a suitably gothic feel, or by using a torch. Torches are easy to direct and definitely cheap! If you want to start manipulating light in your photography but don't yet have the means or desire to go the whole hog with flashes or a studio set-up, low-key is a good option.

You will certainly need to be in manual mode in order to achieve a low-key shot. If you leave it to your camera to decide on optimal metering, it will try to over-expose the scene and ruin the effect. Using spot-metering to expose for the sliver of light, wherever it might be, is a good idea, too. This will help to keep that area light but the shadows dark.

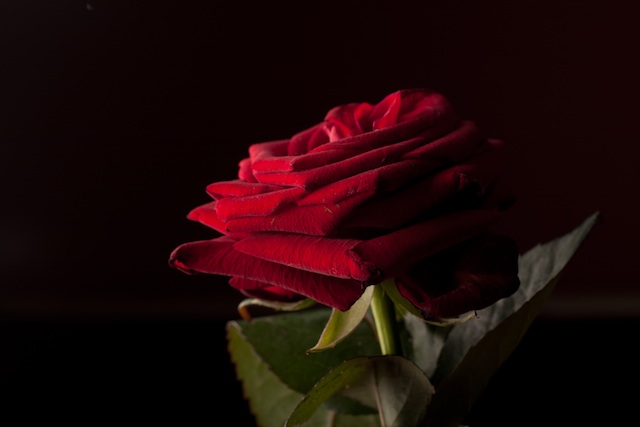
Using dark-coloured subjects will add to the low-key feel

The general rule is to keep things dark. Complete blackness around your subject (or even as part of your subject) is perfectly acceptable.

Processing low-key images

Ideally, the combination of manual control and carefully manipulated light means that you won't need to adjust the exposure beyond the odd tweak to the blacks or the highlights to ensure that they're sufficiently dark or light. It is worth considering converting your low-key images to black and white: initially, this can help you to identify and perfect the contrast in low-key images but over all it can help to increase the drama and mood in the photo.


Rules Screen Shot More unusual ways of looking at things, remembering rules, and then breaking those rules, are in my lovely book, The Rules of Photography and When to Break Them. It's available as an e-book and in a dead tree version (UK, US).


Trying the golden triangle

One of the first compositional rules that we learn is the rule of thirds. It's relatively simple but definitely effective: divide the frame into three, horizontally and vertically, and use the divisions to place your subject. But rules are made to be broken—once you understand them properly, that is—or at least adapted and challenged. If you're looking to leave behind the rule of thirds but still want place your faith in geometrically validated subject-placement, try the golden triangle. Look closely...

Determining the golden triangle

Draw an imaginary diagonal line across your frame. Now draw imaginary lines from the other two corners, which each meet the long line at right angles. It should look something like this:

Where the lines meet: your points-of-interest

Your points-of-interest are where the lines meet. Use them to place your focal point, for example the eyes in portraits, and use the lines to divide your frame and draw the eye to the focal point to help create dynamic images.

Why use the golden triangle?

On a mundane and practical level, it's easier for some people to visualise the triangle than it is the rule of thirds. Moving towards a more creative purpose, by using triangles to compose your frame you're introducing a strong compositional shape to it with a great sense of balance pitted against a precarious point. And triangles have a nifty way of retaining the attention of the eye within the frame: the eye moves from one point to another in a continuous loop.

[gallery ids="6953,6954,6955"]

Quite specifically with the golden triangle, you give yourself a means of dividing the frame in a way that is frequently more pleasing to the eye than a horizontal or vertical split. As well as using the lines to draw the eye to focal points, the use of triangles in the frame brings balance to the image. Think of one half as blue and the other as yellow. Or shadow versus light.

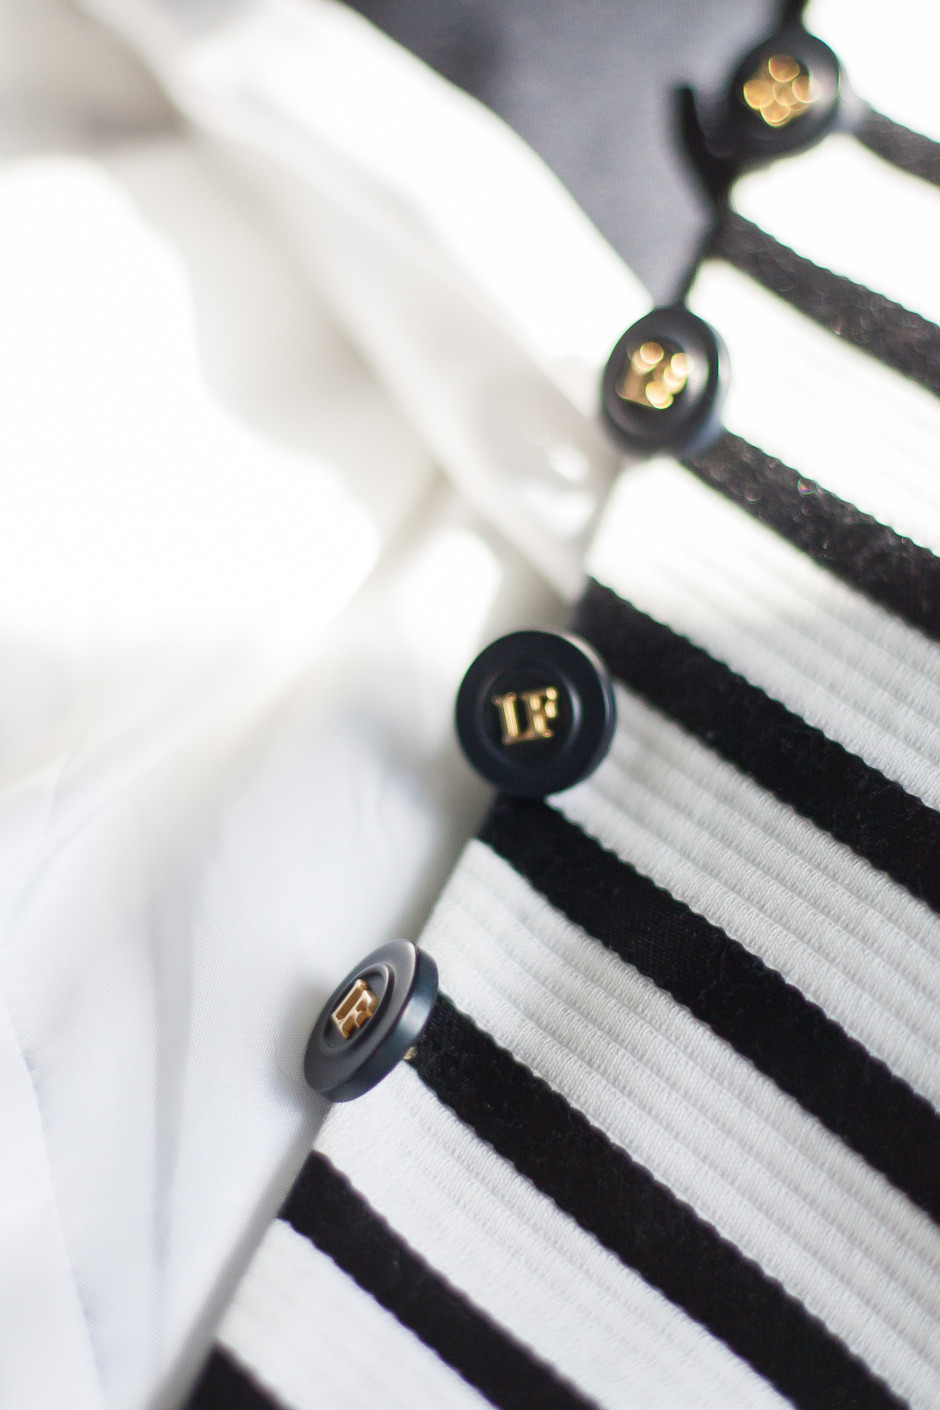
White against stripe

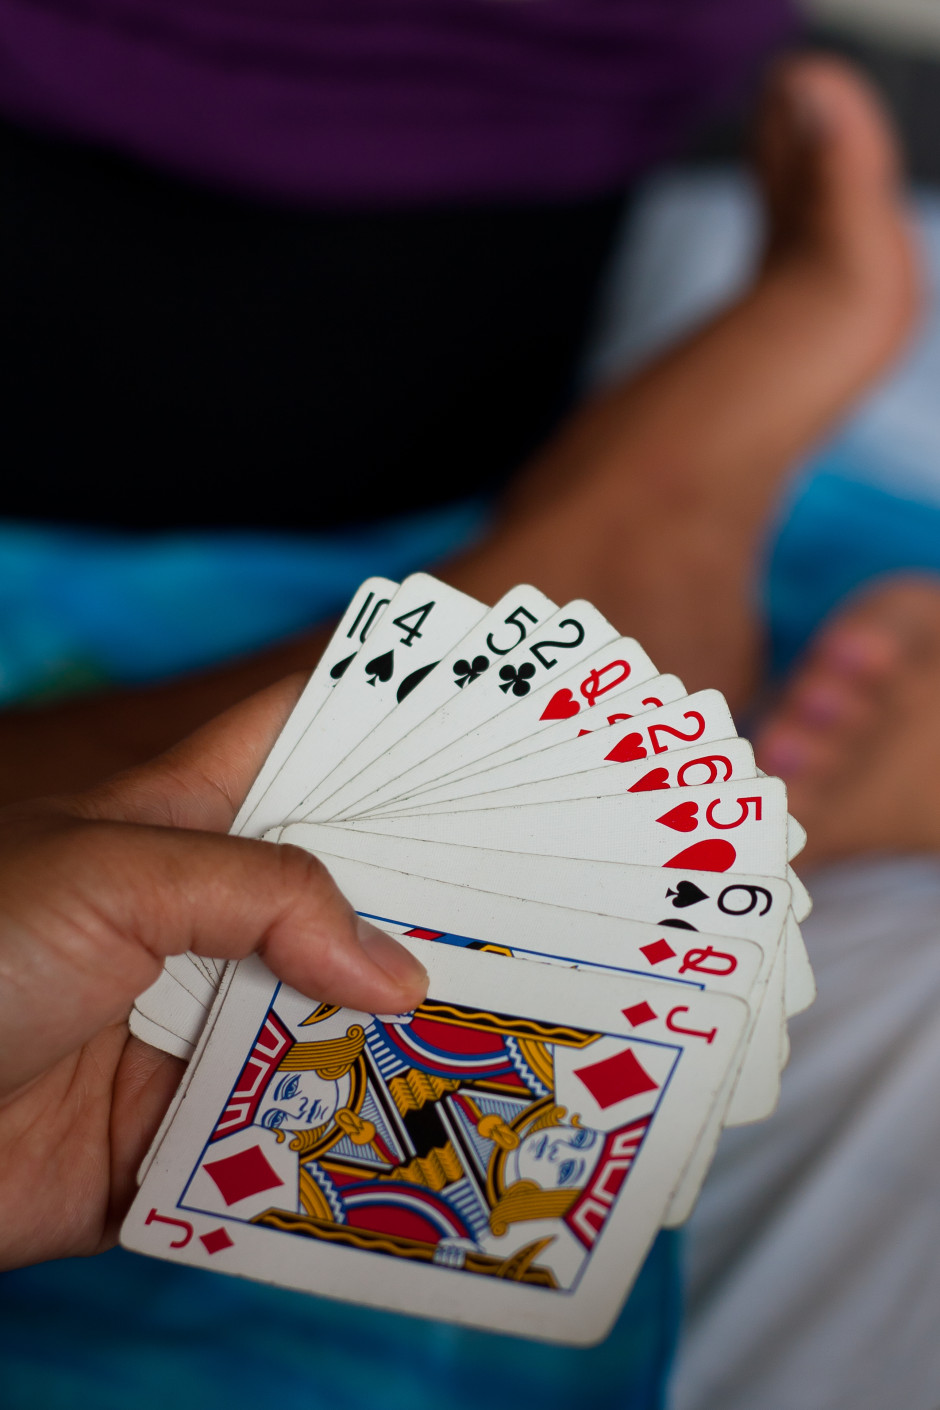
By counter-poising the two points-of-interest against each other, you can enhance the sense of balance in the frame. You get dynamism and balance in one go: brilliant.

Cards balanced against foot

Putting it into practice

It's all very well knowing the theory - what about the practice? Try portraits with your subject leaning into the frame and the eyes on a point-of-interest. Use the rule to place bridges in your frame, and have the eye travel along them to a focal point. Just give it a try - you never know!

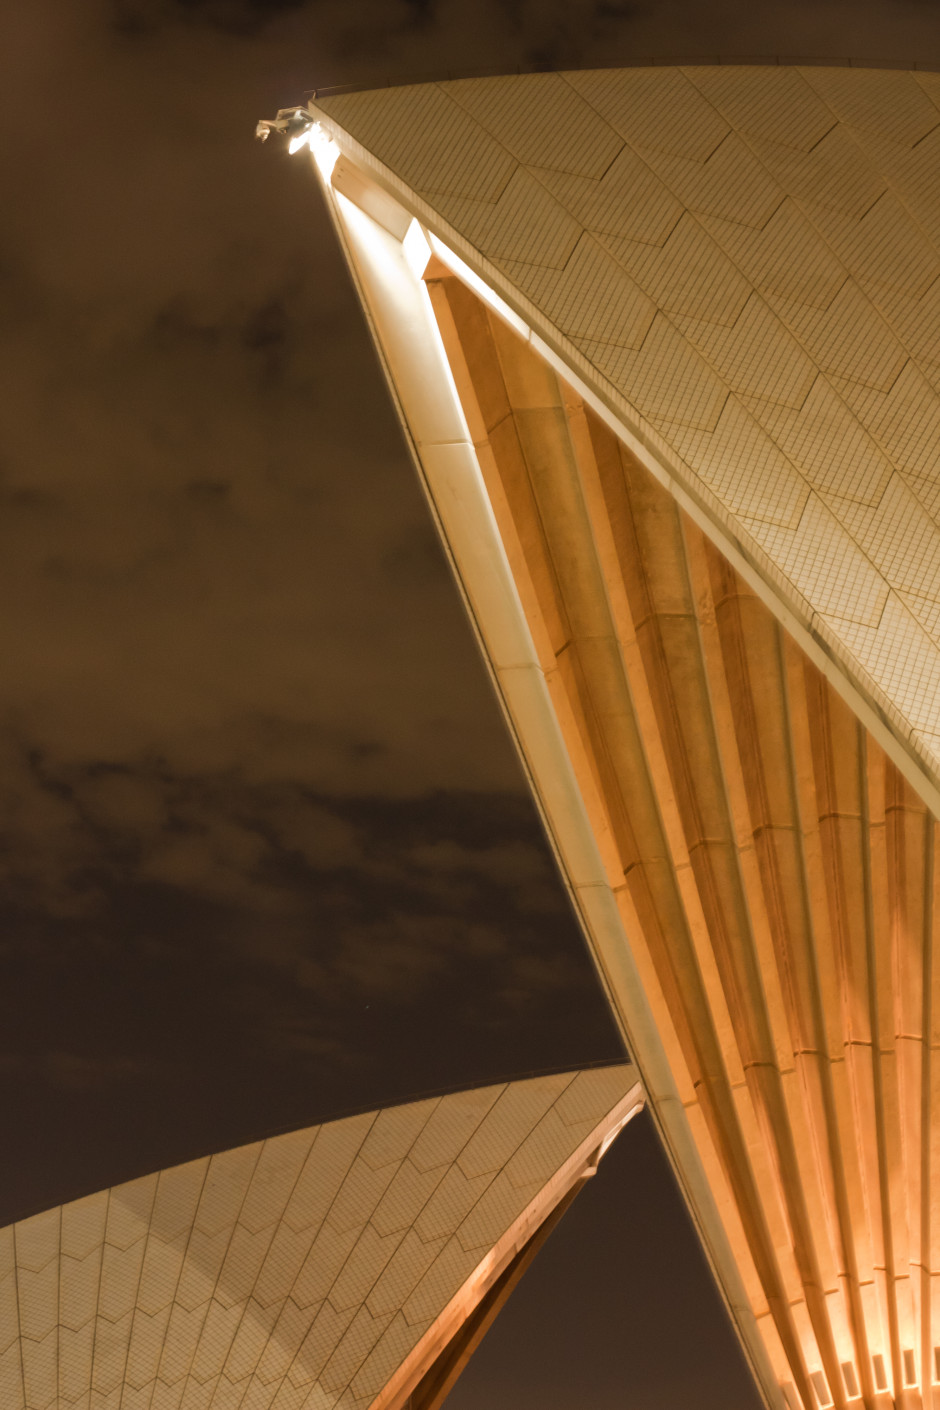
Triangles galore!

Making a Pringles Can Obscura

I spent Saturday at the Cambridge Festival of Science and Royal Photographic Society's photography day, listening to talks on megapixels and watching videos of caesium react with water in slow-motion. It was mostly a fun and informative experience, but apart from the caesium videos, the best bit was sitting inside Fotonow's Camper Obscura. That, just as its name suggests, is a camper van that has been transformed into a camera obscura. A camera obscura is the basis of any photographic camera, from a pinhole to a dSLR. A camera obscura is literally a dark (obscura) room (camera) with a hole poked into it, through which light can pass to create an image of the outside world on a screen. There are room-sized camerae obscurae in Bristol and Edinburgh, but they don't have to be walk-in activities. It's easy enough to scale them down and make something portable. I was aiming for something more along these lines when I decided to devise my own.

Of course, if you replace the screen with photo-sensitive paper you have a pinhole camera and by steadily improving the light-gathering and focusing abilities of the hole, with lenses, you end up with a camera more akin to those we use every day. But that's another project for another day.

Undeterred, I looked around for some DIY camera obscura instructions and found the perfect example on Exploratorium, which used a Pringles can. Seeing as Haje has already used a Pringles can to create a cheap macro extension tube, it seemed entirely appropriate to transform the snack container into a portable camera obscura. A Pringles Can Obscura.

1. Take one Pringles can

After securing a can of Pringles either from a nearby shop or your pantry, you'll need to divest it of its contents—whether you eat them all or transfer them to a new container is up to you—and then wipe it clean and keep the lid.

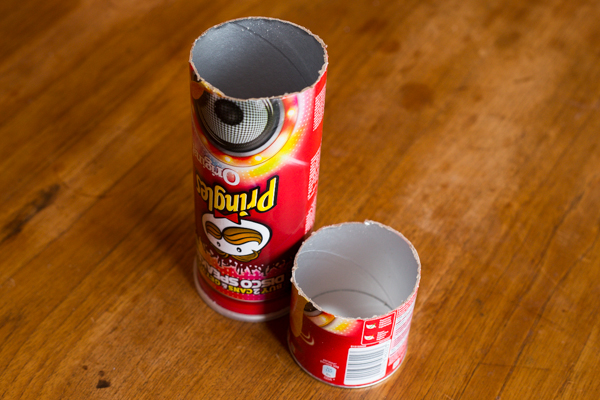
One Pringles can, two pieces

Draw a line around the tube, about 6cm or 2½" up from the base. Using a craft knife, or in my case, a bread knife, cut through the tube so that you're left with two pieces. The shorter section will be from the bottom of the can, and the longer section from the top.

2. Make a screen

You need to make a screen onto which your image will be projected inside the can. The cheapest and most readily available means to make one is from tracing paper.

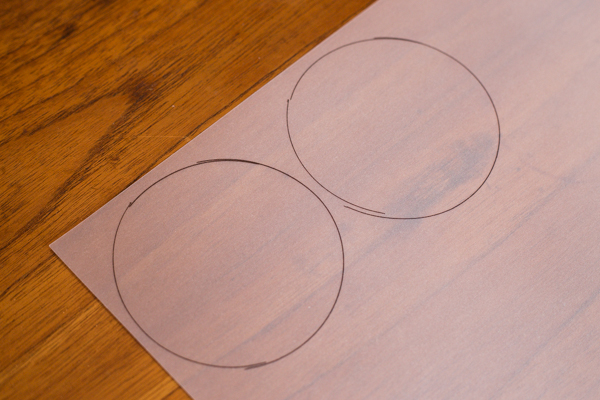
I drew a spare, just in case.

Place the lid of the Pringles can on a sheet of tracing paper, draw around it, and then cut it out. Secure the tracing paper on to the top of the tube using the lid.

3. Put the can back together

Rather than reconstruct the can with the two cut ends meeting again, you want the cut end from the bottom section of the can meeting the lidded, tracing-papered end from the upper section. Secure them in place using gaffer tape or electrical tape. No light should be able to pass through the join.

I got so carried away sticking it together that I forgot to take a photo. I'm sorry.

4. Pierce a hole

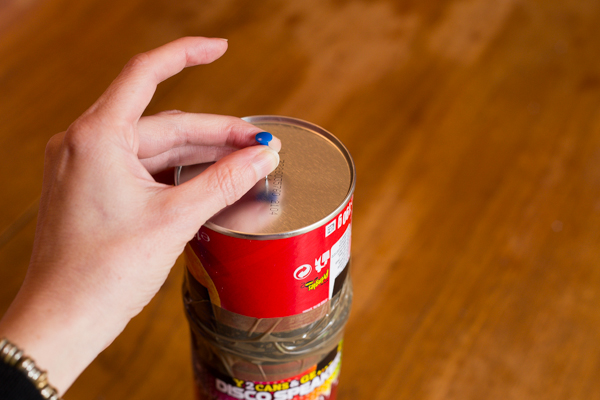
In order for the light to pass into the can and create an image, pierce a hole using a drawing pin in the base of the can.

Wanton assault with a drawing pin

5. Finish off your Pringles Can Obscura

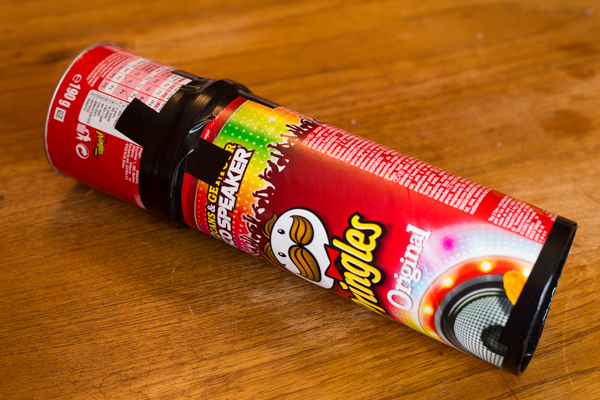
To make sure that you don't end up with spurs of cardboard poking into your face when you hold your Pringles Can Obscura to your eye, tape up the cut surface with some electrical tape. And if you don't want it to resemble a Pringles can that you've hacked up, wrap some coloured paper around it.

A Pringles Can Obscura!

6. Head out into the light

The brighter the day, the better the image you'll be able to render on your screen. Just remember that everything will appear upside down. And then it will be a case of moving nearer and farther away from your subject to get it in focus.

It's a great tool to remind you just how simple the principles of photography are, and to get you back in touch with moving subjects into and out of focus.

(And don't go getting any ideas about the gorgeous image of the tree. That's obviously, from the Camper Obscura.)