
From matrix to spot to centre-weighted, we have you covered
When it comes to properly exposing your images, your first step is to understand and use the exposure triangle, and learn how to balance aperture against shutter speed against ISO. Then getting to grips with exposure compensation, and understanding when you might need to deliberately over- or under-expose a scene is next. After that, you need to get to grips with the different metering modes that your camera offers you.
We've covered the exposure triangle in plenty of different articles here on Photocritic, and we've looked at exposure compensation. We have, however, been remiss when it comes to metering modes. Until now.
How a camera's light meter works
Whenever you take a picture and expose your sensor to light, your camera has to determine what this exposure should be, or advise you on the exposure in manual mode, by taking a light reading. It does this, unsurprisingly, with a light meter, which reads how much light has been reflected back by the scene; dark scenes will require a longer exposure and lighter scenes a shorter one. This is entirely logical, and mostly very effective.
But have you noticed that sometimes it doesn't come out right? Your image might be under- or over-exposed, despite you being sure that you've exposed according to the meter. This is because the camera's light meter works on the assumption that all subjects reflect light equally and uniformly, when somewhat inconveniently, they don't. Our cameras' light meters are making a best guess. Usually it's a pretty good best guess, although sometimes it isn't quite right.
This best guess assumes that everything shares the same luminosity as mid-grey (the same tone that you use for white-balancing). Unfortunately, not everything does share the same degree of luminosity as mid-grey. A perfect blue sky at midday does, but a white wedding dress is brighter and a black dinner suit is darker.
As a consequence, when your camera is presented with a scene that is primarily lighter in tone than mid-grey, it will under-expose it; conversely, it will over-expose predominantly darker scenes. In both cases, white and black will come out decidedly greyish looking. When you have a scene that includes steep variations in contrast, you might find that your subject is over- or under-exposed, too, as the light meter tries to average out the reading.
More than one way to meter
Your camera comes with a variety of metering options. Depending on what you're photographing and the conditions, it might pay to move away from the default setting and choose one of the specialised options. When your light meter gives you the appropriate reading, you can set the exposure accordingly if you're shooting in manual mode or trust that it will get it right in automatic mode. It might also be necessary to dial in an exposure compensation, too, but we'll get to that in a moment.
Evaluative metering
The official term used for evaluative metering varies according to camera manufacturers: Canon uses evaluative; Nikon prefers matrix; Pentax and Sony opt for segmented. It means the same thing, however, the light meter assesses the light at numerous points across the scene and produces an exposure that accommodates its average.
Even light means no need to venture away from evaluative metering
Most of the time, this 'intelligent metering' will produce an accurate exposure, so it's hardly surprising that it's the default metering option on most cameras, and will serve you very well.
Spot metering
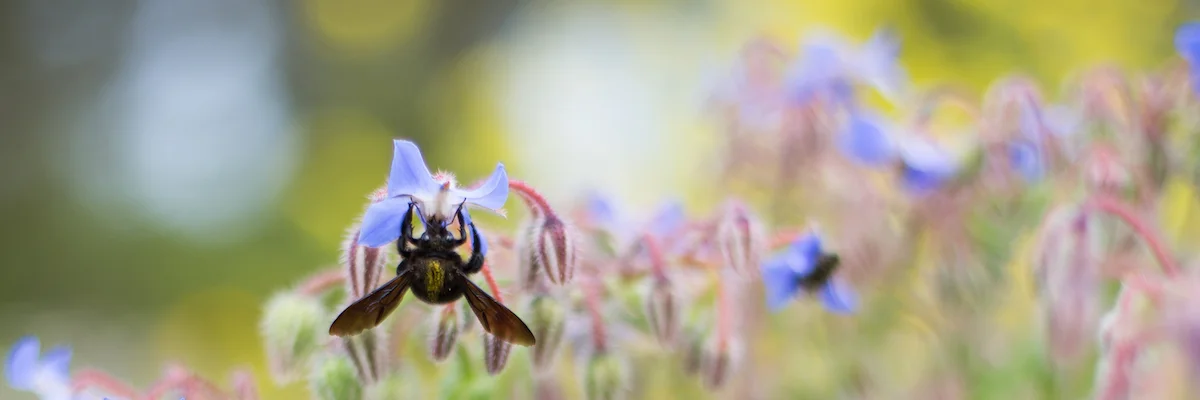
Spot metering pin-points one tiny area of the scene, usually between 1 and 3% of it, correlating with the point of focus, and assesses the light that fraction of the scene reflects in order to recommend an exposure. Being so specific, it can be hard to get spot-metering right, but it's useful all the same.
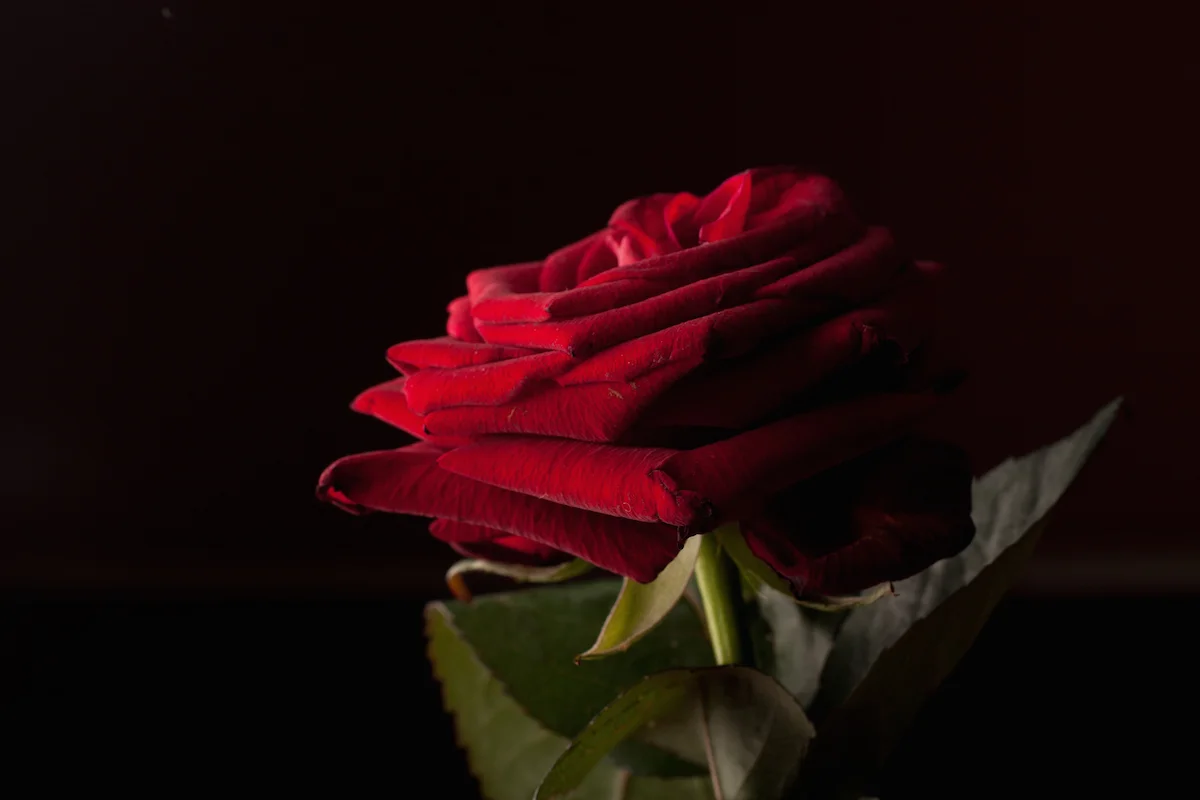
Spot metering helped to expose for the rose, rather than the background
You might want to try spot metering if you're trying to expose the inside of a cave or tunnel instead of what lies beyond it; spot metering will help you to obtain an accurate exposure where evaluative metering wouldn't. It's good for theatrical performances or concerts, too, when you might have a well-lit focal point but a dim or dark background.
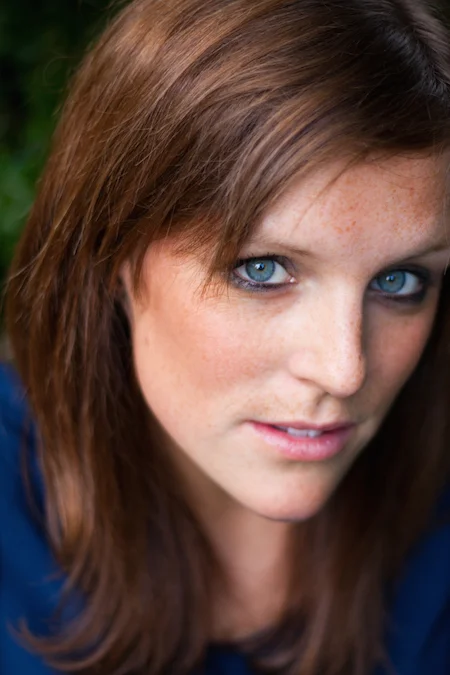
Partial metering
Partial metering assesses an area larger than spot-metering to determine an exposure, perhaps between 10 and 15% of the scene, again based around the point of focus.
If you have a back-lit subject and you want to expose it, rather than capture it as a silhouette or for it to be under-exposed, partial metering is what you want. By using partial metering it will meter for a subject's face in a portrait, and correctly expose that, rather than the brighter background.
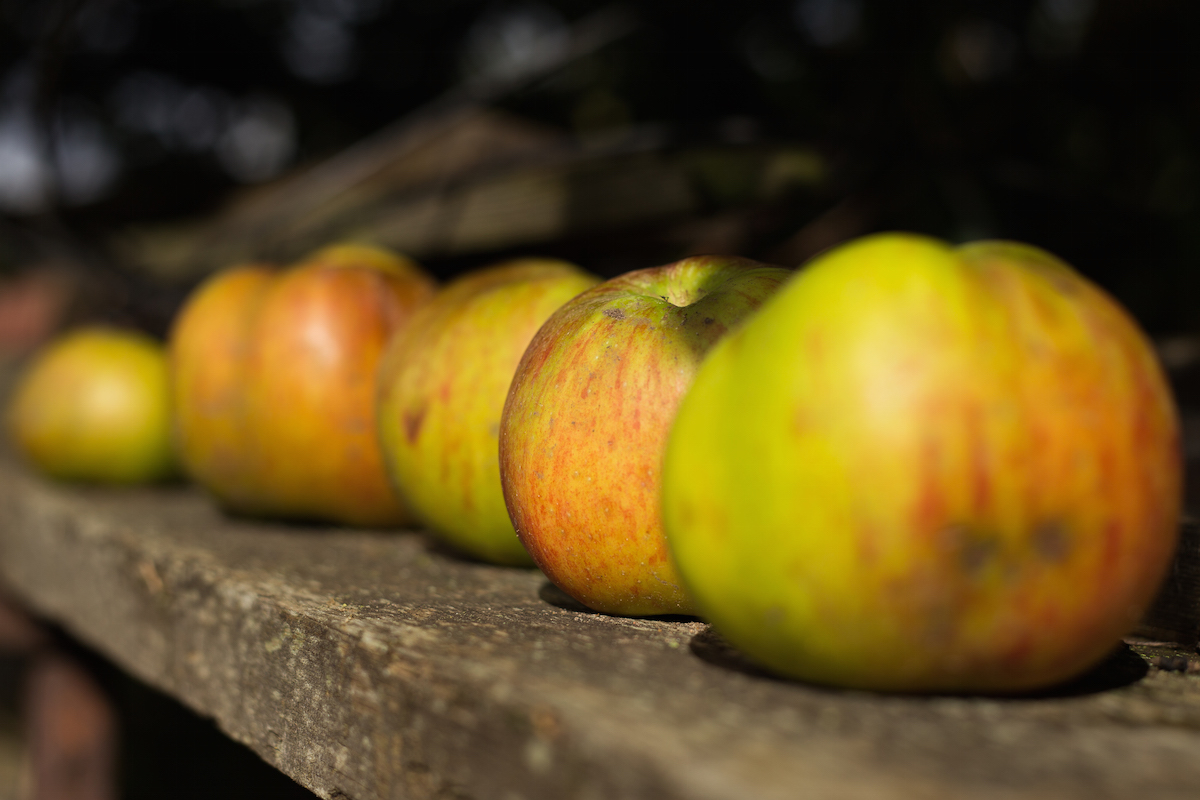
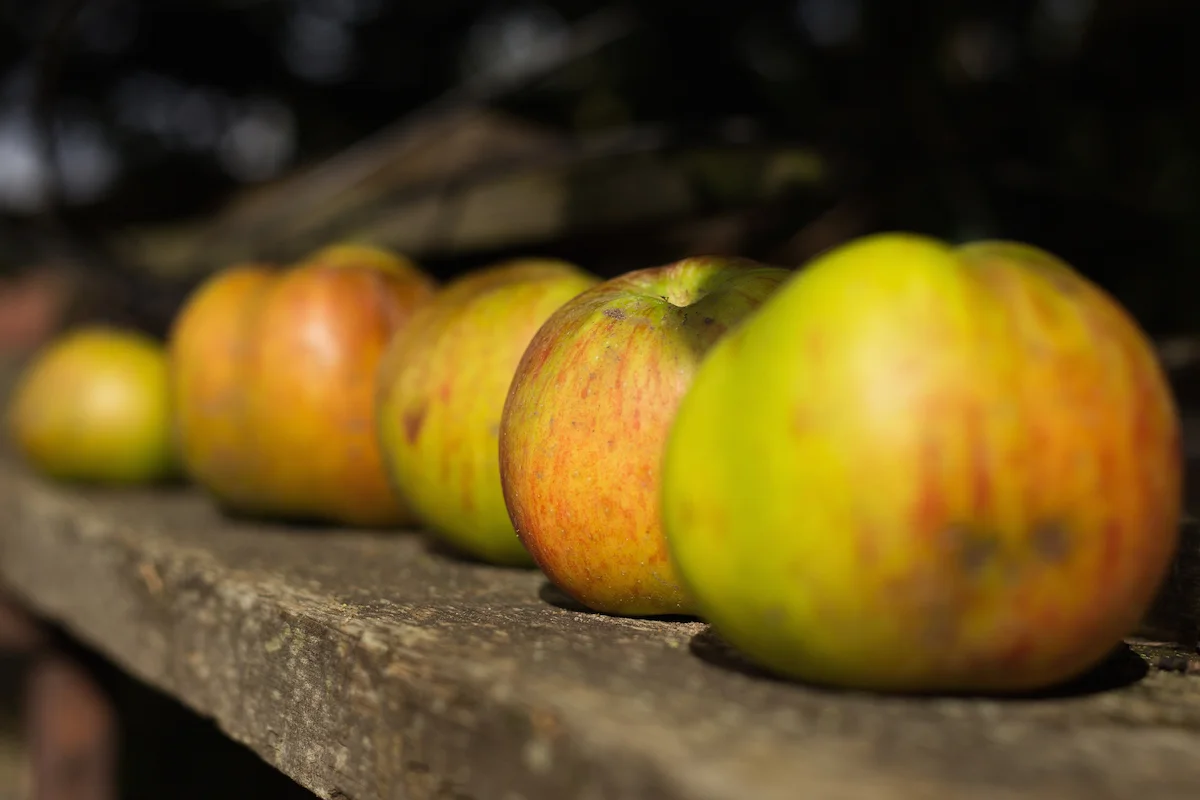
Centre-weighted metering
Back in the days of film, centre-weighted metering was the standard in-camera metering setting. It assesses the light across the entirety of the scene but pays more attention to the middle—hence 'centre-weighted'—and copes well with brighter skies above darker landscapes.

centre-weighted metering paid a little more attention to the sanguinello, rather than the background
It has mostly been surpassed by the flexibility of evaluative metering, but it does have the advantage of being highly predictable. If you find that you're not getting on with evaluative metering, or want to try a different default setting, why not give it a try?
Experimenting
The easiest means to understand the metering modes in your camera is to try them out. I do recommend always switching your camera back to evaluative metering, or whatever you choose to be your default mode, after each foray into a different mode, though. Spot-metered portraits can give you a nasty shock if you manage to meter straight off of your subject's pupil.