

All the feels

When you read around the Intergoogles there's a lot written about adding textures to your photos in post-processing, or how to shoot your own textures to use in post-processing or to sell as stock images, but not that much about how to maintain the feel of textures in your photos. And maintaining the sense of the texture of your subject, and indeed the background, is important to creating a compelling photo. Textures give the eye something to savour and they add to the sense of depth in the photo.
But how do you do it?
1. Side lighting
Perhaps the single most important factor in maintaining a sense of texture in your photos is to get the lighting right. Blasting your subject with light from behind you will do a brilliant job of obliterating any sense of texture across your image. Whether you're aiming to capture the undulations and variations in a landscape or need to contrast soft skin against fluffy lambswool, look for light coming from the side. As the rays skim across the subject, they will sink into the crevices and glint off the peaks, emphasising the contrasts and bringing texture into the visual mix.
Direct, but not overly harsh, light from the side
2. Highlights and shadows
The intensity of light that you require to render textures effectively is a balancing act. Very strong, direct light will do nothing to emphasise the subtleties and variations between weft and warp, cotton and silk, skin and hair. It will be far too harsh to emphasise the delicate intricacies that you need to capture to promote the feeling of texture.

Early morning light
But at the same time, very soft, diffuse light won't have sufficient punch to deliver the contrast that conveys texture. Textures are defined by the shadows that they generate, which means that you need light that can give you those shadows, without washing out the scene.

Window light from the side
In summary: you want direct light, but light that isn't overwhelming.
3. Contrasts
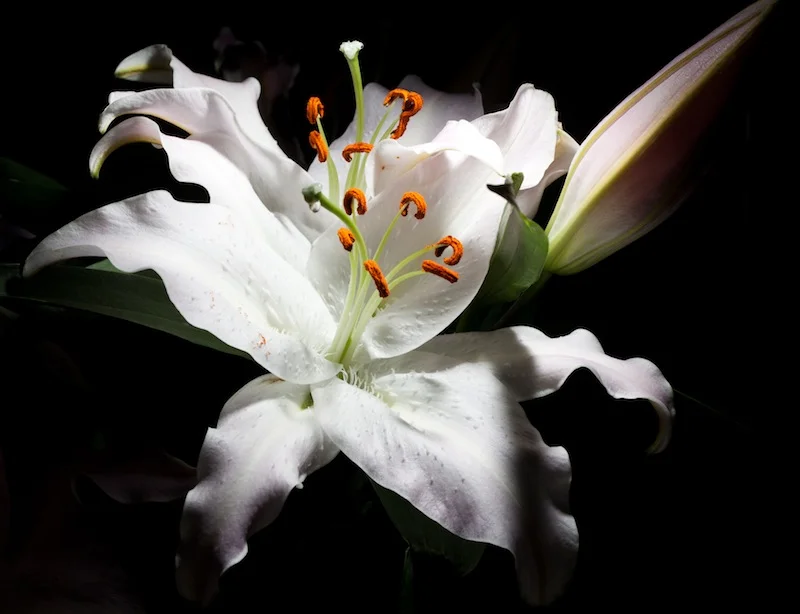
Not only will photos that are full of textures benefit from contrasts in light, they will benefit from contrasts in the textures themselves. Why do sleeping babies look so cute on lambskins? It's the contrast of their soft, smooth skin against the fluffy wool. Water droplets on rose petals work in harmony to emphasise each other's textures. The soft milkiness of a foaming waterfall photographed with a long exposure is amplified by the rigid solidity of the rocks around it.

Baby-soft skin against woven blanket
4. Post-processing?
If you think that your photo needs a little post-processing help to draw out its textures, Lightroom's clarity slider is the tool that will be of most use. We've written about the clarity slider before, but you can use it locally to smooth skin and to enhance weave or grain or roughness. Just nudge it negatively to smooth and positively to enhance. But do remember to keep it light. Over-smoothed skin is unpleasantly artificial and over-roughened stones are uninviting.

Up the clarity, up the texture
5. Angles and sharpness
Finally, if your photo is all about the textures within it, as opposed to texture being a tool to contribute to a sense of depth and tactility in an image, you will need to think about the angle from which you take your photo and the aperture you use.
Position yourself so that your angle doesn't flatten and diminish the textures that you want to capture. And remember to keep as much of your scene sharp and in focus as possible. Blur negates texture, so if your photo is all about the feels, look to keep it in-focus.