

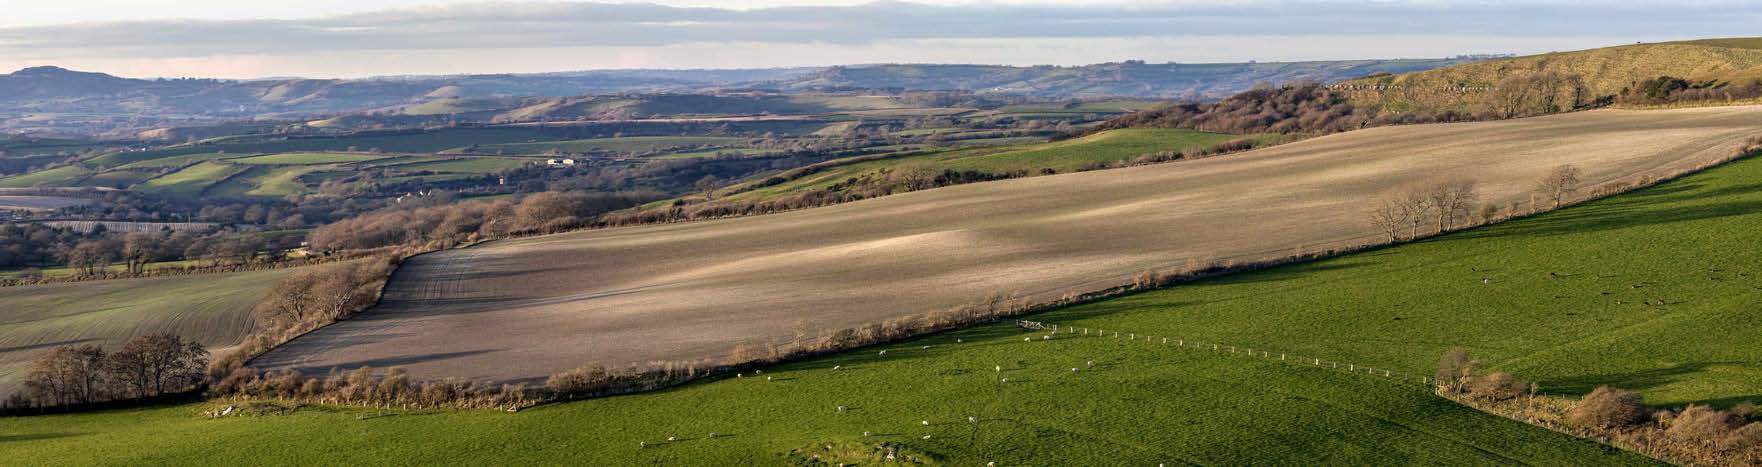
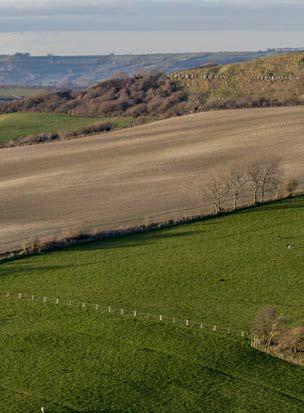
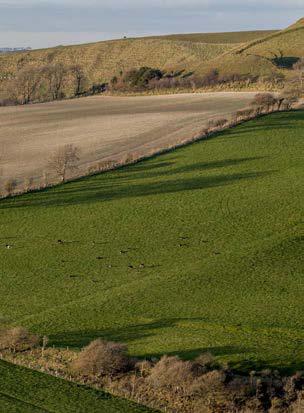
Stunning landscapes don't have to be so hard to photograph
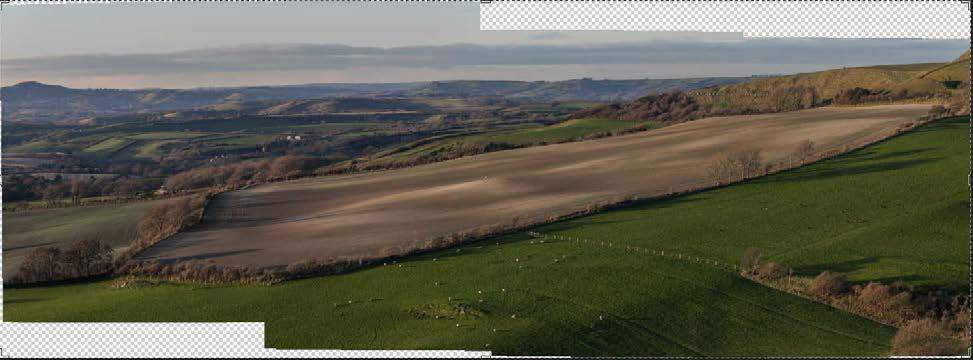
In days of old, before the advent of digital photography, creating panoramas was beyond the capabilities of your average photographer. I seem to recall my father spreading out sequences of prints of impressive landscapes on the kitchen table in complicated patchwork approximations, but that was as close as it got. The equipment required to create a 'proper' panorama was prohibitively expensive.
Today, it's all a bit different. An increasing number of cameras have a dedicated panorama mode. You select it and then pan across (or down) your chosen panoramic scene to create one seamless image. It's convenient, but often the images are JPEGs. For the ultimate in control, you want to be shooting in Raw, and stitching together the scene yourself. Don't be deterred by the prospect of building your own panorama: many image-editing programmes make it a relatively painless task now.
1. Select your frame orientation
For horizontal panoramas, shoot in portrait format in order to get as much foreground and sky into the scene. The reverse is true for vertical panoramas. Shoot your frames horizontally.
'Vertical panoramas?' you say. Yes. We associate panoramas with horizontal scenes, but they work wonderfully for anything impressively tall, such as waterfalls and skyscrapers.
2. Use a tripod
For ultimate sharpness, shoot using a tripod as you would when shooting any landscape. However, you can still achieve good quality results shooting handheld, as long as you make sure the shutter speed is fast enough to avoid camera shake.
3. Go manual
You might wish to ensure that you get your exposure right by taking a reading in aperture priority mode, but shoot in manual. This will ensure that your exposure is consistent across the entire sweep.
Similarly, use manual focus. You don't want the points changing as you take your series of images.
4. Take plenty of photos
You want a good overlap between your frames, so do not be afraid of taking many more photos than you think that you might need. Better too many than too few.
5. Stitch!
Some editing software, such as Photoshop, will automatically merge your Raw files to create the panorama. All you need to do is import the images, navigate to the files, and select Automate > Photomerge. The software will match up the images to create a composite, leaving you to flatten it and make the finishing touches.
6. Edit
Sprinkle a little editing love on the stitched panorama: crop, colour, and contrast. And anything else that you find necessary. I think it's easiest to make these adjustments to the stitched image; if you make them to the individual files you must be consistent in your amendments. When you're done, save it as a JPEG and away you go!
