To ease us into the second half of the week, I thought I’d provide you with a little light relief (and, hopefully, a little entertainment) by writing a shoot report. Now I was perusing my recent shoots in an effort to decide which might provide the most entertainment. One of my corporate headshot gigs? Nah, too dry. Perhaps a published editorial portrait? The last couple ran too smoothly to be exciting (for a change). How about…men in spandex? No, really.
When I have the time and a paying client, I venture into the world of wrestling photography. Usually, this takes the form of busting out the studio lights to provide a series of portraits for use in programs, on flyers, posters and roster pages for websites, as well as photographing the show itself. While I can understand that most people wouldn’t even consider tackling this subject, I would argue that it is a really interesting, unusual challenge to set yourself.
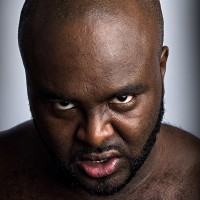
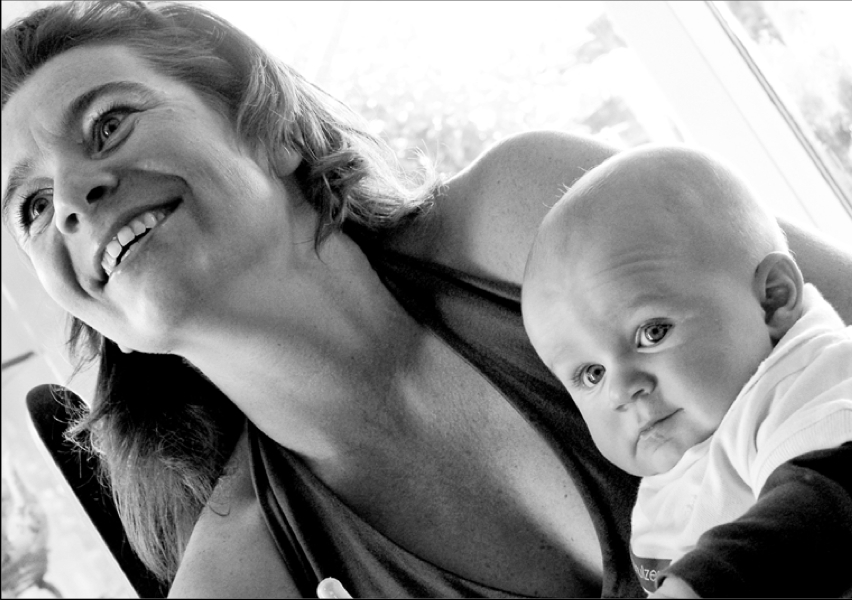
A 50mm prime was used for intense close-up shots
Preparation
After seeing some of my previous work, I was contacted by my client with the request for a full day’s shooting. It was indeed to be a full day: up at 7am, home at midnight. I was commissioned to reshoot the promotional portraits for the entire roster and then shoot the show itself in the evening. I was given pretty much free reign to shoot the portraits as I saw fit, with the only requirement being to shoot them against a white or light background, for ease of cutting out for posters and the like in the future.
I spent the week prior to the shoot communicating with the promoter about each wrestler’s persona. This meant I would have my pose ideas in place beforehand, allowing me to work quickly. I purchased a new paper background in “Arctic White” (surely that’s just white? You can’t have shades of white), which I added to the expenses.
On the day of the shoot, I arrived and set up my background in a nice, big gym hall that was to be the changing room and general hanging-out area for before and after the wrestlers’ matches. I was acutely aware that adjusting lighting would take up a significant portion of my time over the day, so, to minimise that, I set a marker on the floor with a couple of pieces of sticky tape for the wrestlers to stand on, setting up my lighting based around that.
The Shoot
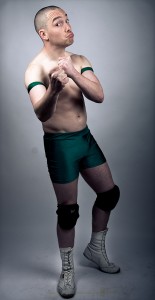
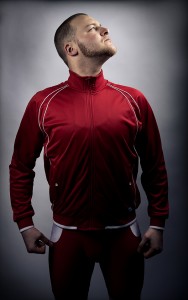
One of the less threatening members of the roster...
So far, so good. Except we hadn’t shot anyone yet. Wrestlers, whilst generally a good bunch of lads and lasses, aren’t models or professional posers, as it were, but generally aren’t nervous of the camera, either. This is both a blessing and a curse. It means they generally take direction fairly well, but if one of them turns up on set with this brilliant idea they have that will definitely look really cool and not at all silly and embarrassing, you have to handle that situation in a certain way.
I bring this up because it can apply to any posed portraiture session. Often, you may find that your subject suggests something that you either know won’t be used, due to the brief you have been given, or is just a horrible, horrible idea (it’s often the latter). It’s important that you indulge your subject at this point, within reason, because you want to keep them open and relaxed. If you listen to and try their ideas, it keeps the flow of the shoot going and makes them happier, even if you don’t use the shot. If you shut them down too often, they will most likely close themselves off to you: why should they try your ideas if you’re not willing to try theirs?
And no, “because I do this for a living” is not a fair point in their opinion.
To be fair, it’s always worth trying an idea your subject brings up: sometimes you can be surprised by how an idea which doesn’t sound so great on paper ends up looking great in practice. Your subject isn’t aware of the ‘rules’ of photography, so when they gleefully break them all without even realising, you sometimes get an unusual shot that actually works. Even if it’s not perfect, you can make suggestions to adjust the idea, explaining why you’re doing so, which will bring you to a great shot that you weren’t expecting to end up with.
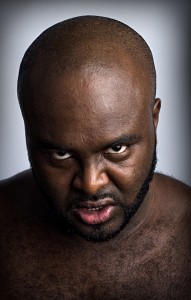
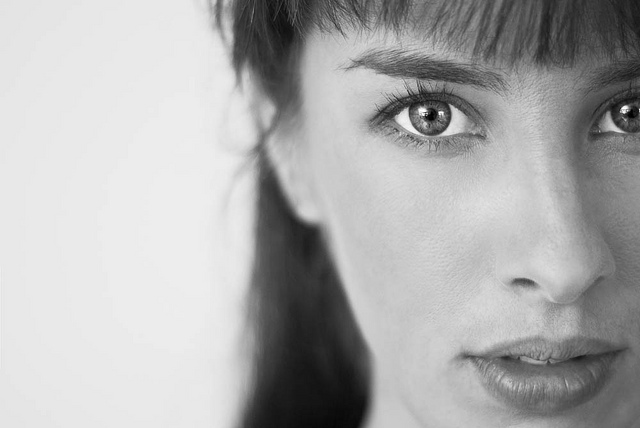
This man is frightening.
For this shoot, my plan was to grab the closest person, get them in front of camera, shoot a range of ideas, adjust the lighting as quickly as possible without compromising the quality, and move on to the next person, keeping a rough “10 minutes per person” time limit in my head.
Although these shoots can be manic, I love seeing the difference in reactions and approaches from person to person. Some come in with their own ideas because they know their own character well. This can go one of two ways – guy turns up, does a variety of entertaining poses, I let them get on with it and make sure the technical side is covered, they’re done in 3 minutes and we have a set of great shots. The other, bad way, is guy turns up, thinks he’s got it down, doesn’t need your help, strikes a series of terrible poses. It’s then down to me to adjust their approach without getting them bent out of shape (emotionally as well as physically), which is a case of dealing with fragile egos to get them a better image without crushing their confidence.
I feel an extreme case of the waffles coming on, so let me fast forward you through the 8 hour shoot with some snippets of choice moments.
Time Lapse of Events
- “Please don’t backflip so close to my lights” *clunk*
- “I don’t want to come across as a cartoon character” (said whilst wearing neon, multicoloured lycra with tassles and facepaint)
- “I don’t need pose suggestions, I’m pretty good at this sort of thing” (guess what happened next)
- “OK now give me a bit of a sneer. You’re a bad guy, so look mean. That’s….not really a sneer – that’s more of a kissy face”
- “Right, really tense up now and snarl right into the camera, as intense as possible. Good, brilliant, more more more…OK stop now. No really, stop. I’m pretty sure you’re about to faint”
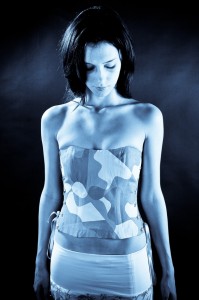
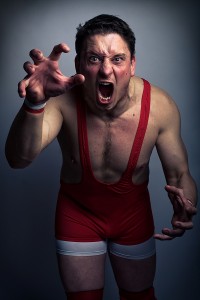
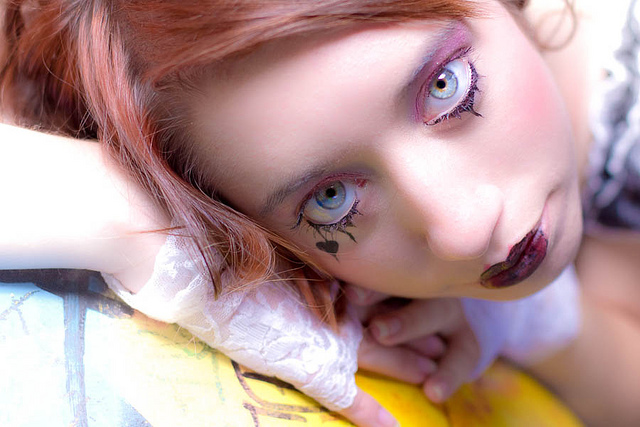
A bit more freedom with lighting and post-prod allows for more dramatic shots.
Wrapping up / Post Work
To finish up with a little technical detail, Lightroom saved me a heck of a lot of time here. I make my own presets based on the general setup of the lighting that day and apply them to a selection of images. The client then chooses their favourites and I run those through Photoshop for the full treatment, carefully editing and tweaking as much detail out of them as possible. With the wrestling promo shots, I tend to do quite a bit of post work, as the wrestlers need to look larger than life, like action heroes, so I’m a little more liberal with curves and sharpening than I usually would be, for that “movie poster” effect.
Finally, it’s a case of adding logos and sending to the client and we’re finished. One camera, one background, two lights and three hundred plus photographs of men in their pants: just another average working day.


 More unusual ways of looking at things, remembering rules, and then breaking those rules, are in my lovely book, The Rules of Photography and When to Break Them. It's available as an e-book and in a dead tree version (UK, US).