


Nobody will ever be able to straight-facedly claim that Fujifilm's X100 is without its flaws, but by jove, is it turning it into one of my fave cameras nonetheless. One problem with this little peach is that the lens is exposed, and non-interchangeable - so if you, like me, tend to throw your camera over your shoulder, there's danger abound if you knock it into something.
 As a double bonus hazard, the camera doesn't have a filter thread, so it's impossible to put an UV filter on the lens for protection. Or is it? It turns out that it does, indeed, have a filter thread, but it's 'backwards' - instead of having the threads facing inwards, like on most cameras, on the X100, the threading is facing out.
"Ah, but that's no problem", I hear you say - "Filters have threading both ways, you can just mount it on the camera backwards!". Well, that's true, but there's a second snag with the X100: Because the inner lens barrel comes quite far out of the camera body, if you simply mount a filter, the lens is liable to get stuck (if you're lucky), or be damaged (if you're less lucky).
So, how to solve this conundrum?
Easy, if a little convoluted.
You need to buy two 49-mm filters, and be prepared to sacrifice one of them to The Cause. What we're going to do, is to stack a couple of 49mm filters, in reverse, on the lens.
Step by step:
Step 1
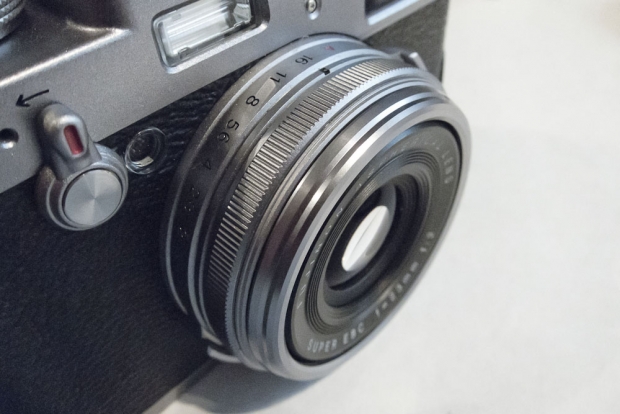
Take off the ornamental ring
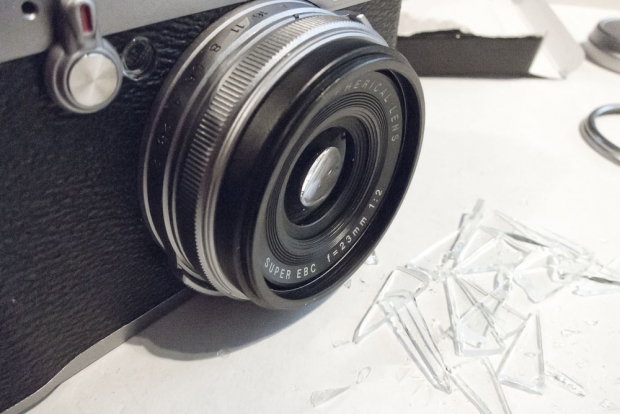
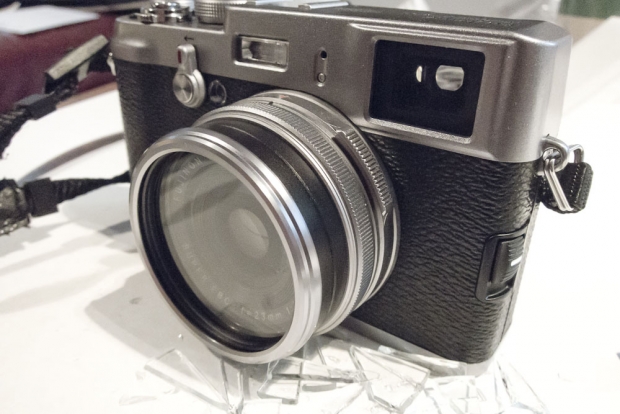
Step 2
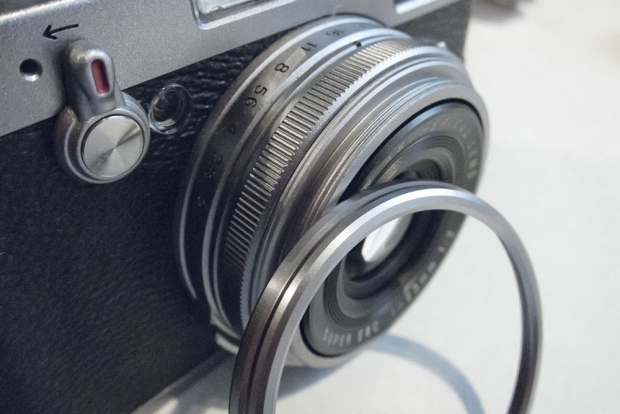
This image shows the problem we are facing: See how far that lens extends? Just attaching a filter would cause trouble...
Step 3
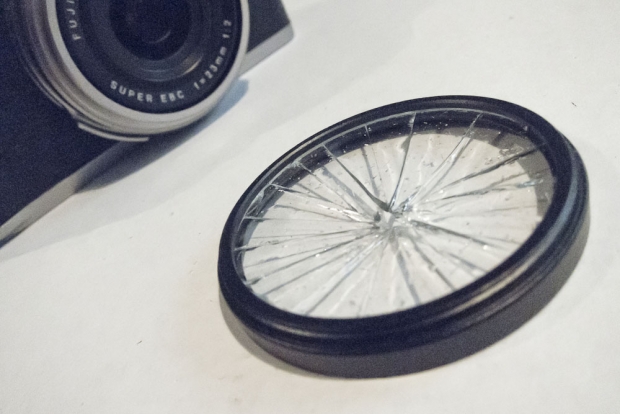
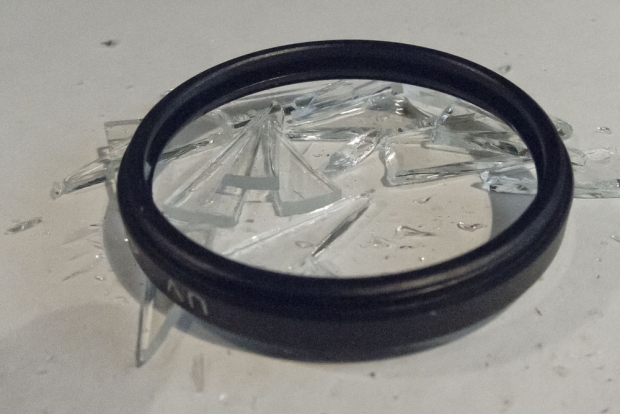
Now, the easiest way to take the glass out of a filter would be to unscrew the retaining ring in the filter. However, these can often be extremely well-attached; if you don't have a special tool, they can be very difficult to loosen. I got frustrated with my filter, and took a violent approach.
Step 4
By giving the filter a sharp blow with a screwdriver, and then carefully removing the shards, I was able to take most of the glass out
Step 5
Of course, with most of the glass removed, it was possible to take the retaining ring out. I took out the rest of the glass, and made sure there weren't any fragments left.
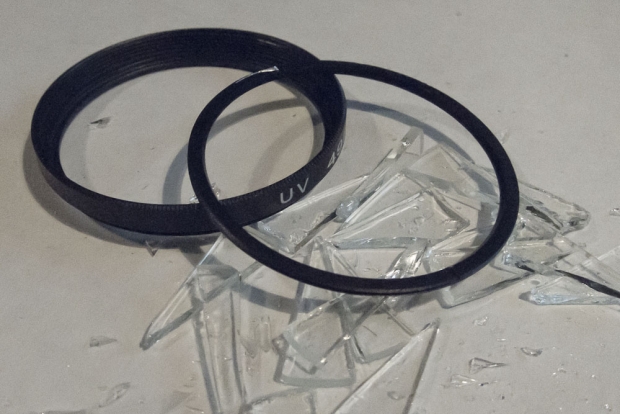
Step 6
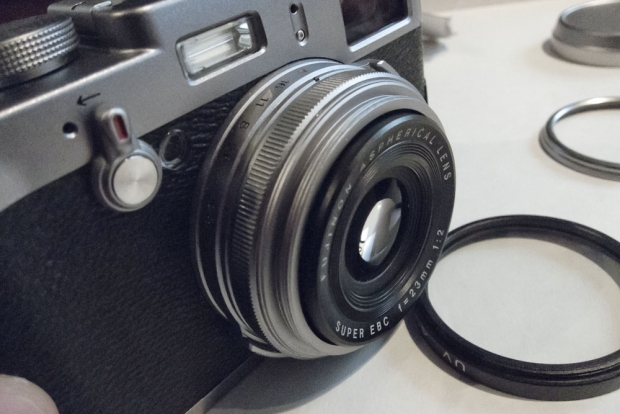
Mount the empty filter threading on your lens
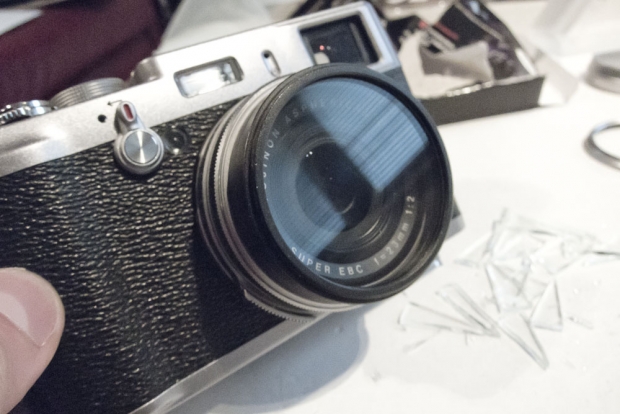
Step 7
Loosely attach the second filter to the first filter. Then, operate the camera. See how close the lens gets to the filter. Slowly tighten the filter little by little, and keep experimenting with your lens. Be aware that some low-profile filters may not be thick enough to give you enough distance, so being careful at this step is a very good idea indeed.
Step 8
Remember the ornamental ring we took off in step 1? Put it back on, if you like!
That's it!
So, that's how you can mount a filter on your X100 camera. Easy once you know how!