


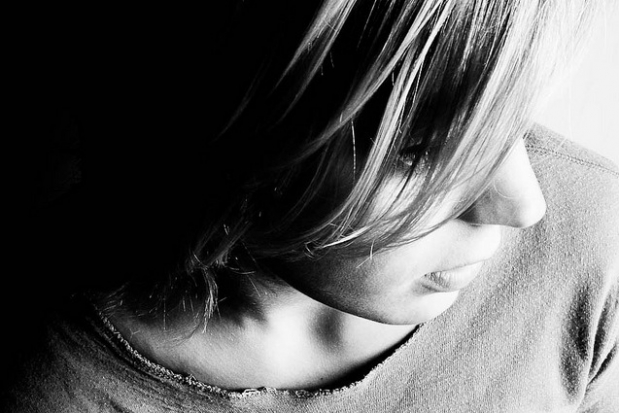
This image has extensive burning (at the back of her head) and dodging (top right) done to it - with remarkable effect!
If you've spent any time in Photoshop editing your images, you'll have noticed a "dodging" and "burning" tools. They are used for making an image lighter and darker respectively, but why the odd icons? Why is there a lollypop and a fist as part of your Photoshop tool palette?
As you may have guessed, it's a hangover from the darkroom days - and it's a technique that is great fun to play with if you're ever printing your own images.
How a darkroom enlarger works
 with the elevation button. You focus with the focus knob. The enlarger head has a light bulb in it.")
A darkroom enlarger is sort of like a camera, but 'backwards'. In a camera, you have a lens that gathers light and projects it onto a film plane. A darkroom enlarger also has a lens, and the film is pretty much in the same place as in a camera, but a light bulb is placed on the opposite side of the lens. By turning the light bulb on, the lens 'projects' an enlargement of the image onto photographic paper.
You can 'focus' the lens so your image is sharply in focus on the paper, you can choose a more or less sensitive paper (analogous to picking a higher or lower ISO film), and you can choose a longer or shorter exposure (which turns the lamp on for longer / shorter). You can also select a different aperture on the projection lens, which has much the same effect as on your camera: A smaller aperture requires a longer exposure, etc.
To determine how light or dark your print is going to be, you choose an 'exposure' by choosing how sensitive the paper is you are using, you choose an aperture, and a 'shutter speed'. Just like with your camera, it's possible to over- or under-expose your image at this point.
Its worth keeping in mind that your photographic film will be negative, and the paper is negative as well - the dark portions of the film will become light on the final print, and the light areas on the film will be dark on the print.
Dodging in the darkroom

To dodge means to avoid something by a sudden quick movement, or to move quickly to one side or out of the way. It's a pretty good description of how you would dodge something in the darkroom. In the darkroom, you would use a piece of black paper on a thin stick - which, when seen in silhouette, looks a little bit like a lollypop.
When dodging in the darkroom, you would traditionally select a slightly longer exposure (it gives you a bit of time to work). Then, when your paper is being exposed by the light, you could make some portions of the image lighter by moving the dodge tool between the lens and the paper. Because some parts of the paper get less light, they are lighter on the final print.
Burning in the darkroom
Burning is, as you might have guessed, the exact opposite; When burning, you would traditionally do 'half an exposure' normally (or whilst dodging, as above), followed by another exposure of the same paper. Because the enlarger head is firmly fixed and the paper doesn't move between exposures, 'stacking' exposures like this is no problem.
When burning, you would use a tool that would block some light, but let some light through.The areas you are 'burning' will come out darker: more light on the paper causes the print to be darker.
For the burning process, it is useful to have a tool where you can easily change the aperture (i.e. the size of the hole that lets the light through) - and it turns out that your hand is the perfect tool. By changing the shape of your hand, you can make a small hole for the light to pass through for fine work, or you can create quite a big hole, for darkening larger parts of the image. Hence the hand icon in Photoshop!