


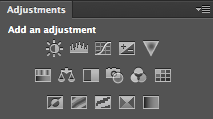
The sheer scope of Photoshop means that when you first open it up, and indeed for a good long while thereafter, it can be a little—or even a lot—overwhelming. It offers you so many possibilities that deciding where to start can be an agony of choice. Whatever bells and whistles Photoshop might offer you, one of its biggest boons is most certainly layers, making them one of the first things with which you should experiment.
A brief explanation
Layers are what allow you to edit non-destructively, so that any adjustment that you make can be easily amended or even removed altogether without having an impact on your other edits, or your original files. The most common description that you will hear about the layers function is that it resembles a pile of transparencies, each of which contains information comprising the final image and can be altered individually. How many layers can each image have? As many as your operating system can support.
Some layers might contain images, effects—for example shadowing—or text. Other layers, however, could appear devoid of content. These are adjustment layers, and they hold the information that governs the edits made to the image as a whole, or to given areas of it. This way, you can alter how something looks without destroying the original image.
You can name layers individually, so rather than trying to remember that Layer 23 adjusts the luminosity of the unicorn’s coat, you can call it ‘Unicorn coat luminosity.’
Layer masks
If you want to create composite images, layer masks will be essential to your work. A layer mask will allow you to place one image over another and mask selected areas of the upper layer from view. Effectively, this allows you to see through it to the image below, thereby creating a montage. Of course, you’re not restricted to just two layers when it comes to compositing; you can include as many as you need.
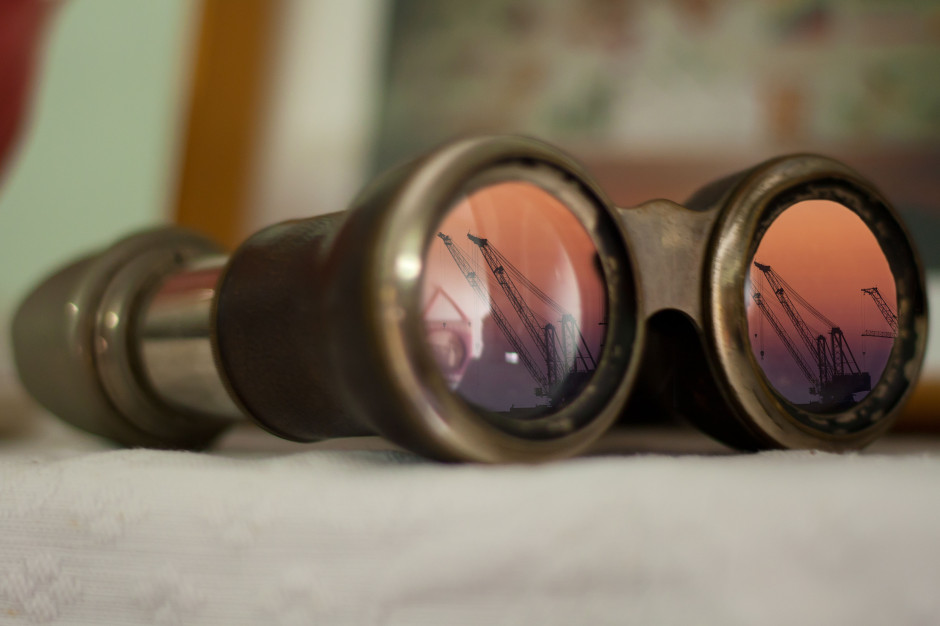
Going to the Industrial Opera
To give you some idea of what layer masks can achieve and how you can use them, I created an incongruous scene of an industrial sunset reflected in the lenses of a genteel pair of antique opera glasses.
[gallery columns="2" ids="7012,7013"]
Choosing your story
Having a clear idea of the story that I wanted to tell with the image was the first step. It meant that I didn't have to engage in too many changes and I was able to line up the images and accoutrements I needed. Of course things will evolve as you create them, but I would advise starting out with at least a basic 'recipe'.
Deciding on the light
As contradictory as it might sound, surreal images need to be grounded in reality to ensure that they're believable. Unless you're creating a Peter Pan-type figure, objects need shadows, for example. In this case, I needed to check that how my image reflected in the glasses was accurate, even if it were several degrees from reality. I did this using a pair of sunglasses and a torch to look for reflections.
How many layers?
My torch experimentations determined that I couldn't use one copy of the sunset scene to cover both lenses; the angles were wrong. It needed to be positioned separately over each lens of the opera glass. That meant importing the sunset image twice, onto two different layers.
Background and Layer 1
I started by making the opera glasses my background layer and then imported the first sunset layer and then added a layer mask by clicking on the Create new layer mask button at the bottom of the Layers panel.
I decreased the sunset layer’s opacity to about 40% to help me to scale it down to the size that I wanted and shift it into place over the opera glasses' lens.
Scale images at Edit>Transform>Scale; hold down the shift key to maintain proportions when adjusting the size.
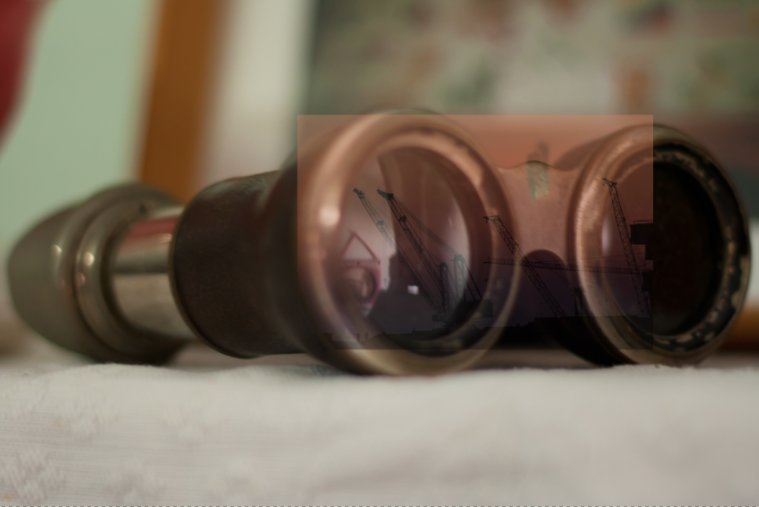
Brushing away the excess
Happy that my sunset layer was in the right place, it was time to mask the parts of it that interfered with the image of the opera glasses. I did this by using the brush tool and the layer mask to 'paint away' the areas of the sunset scene that I didn't want visible.

When you're choosing what to show and what to hide in a layer mask, you paint with black to hide anything extraneous. If you paint away something and change your mind, switch the brush colour to white and it will reveal it.
[gallery columns="2" ids="7021,7022"]
I zoomed in close and used a relatively small brush with a mid-size feather to get the edge that I wanted.
Blending layers
When I was satisfied with my handiwork, I played around with the opacity and blending mode options to determine how the layers meshed together over each other to finalise the effect I wanted. Opacity and blending modes are the subject of a whole other article, but in this instance I set the opacity to 100% and opted for a screen blend.
Sunset over the second lens
With the second lens, it was a very similar process, except that I positioned the image of the sunset differently across the lens.
[gallery columns="2" ids="7018,7019"]
I selected the screen blend again, and adjusted the opacity until I was happy with the result.
Flattening and saving
Happy with my handiwork, I saved the image as a PSD file before flattening the layers and saving it as a JPEG file.
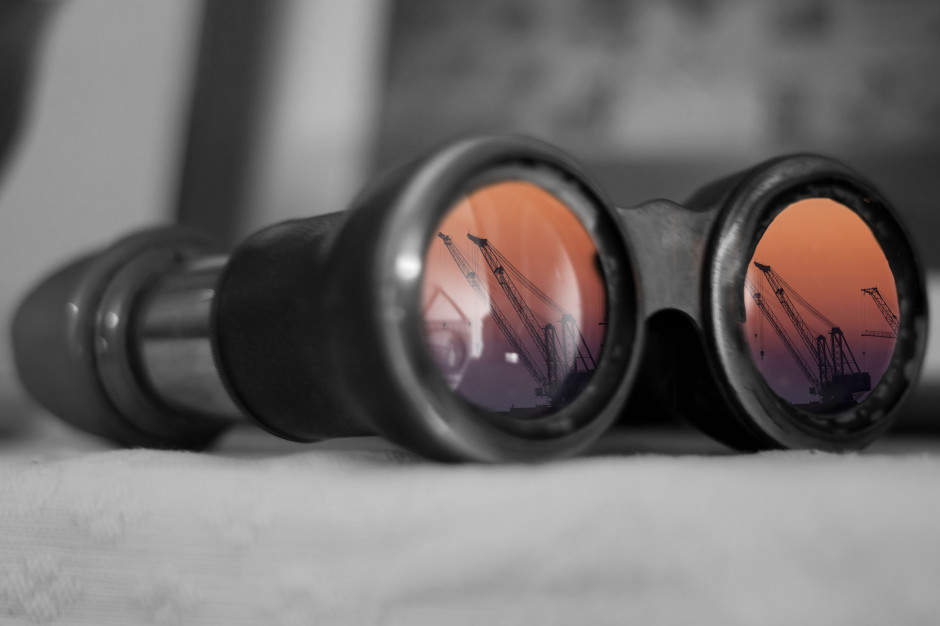
Alternative views
Having saved my 'finished' version as a PSD file meant that I was able to return to it for adjustments, or to try other looks having laid the ground work. One of the alternative views I created of it was to insert a black & white adjustment layer above the background layer to create black-and-white opera glasses with coloured lenses.
More where this came from!
 This image, together with lots of advice on creating surreal images through in-camera and compositing techniques as well as examples from surreal masters such as Miss Aniela, can be found in my book Surreal Photography: Creating the Impossible. Right now it has been selected by the fickle finger of Amazon super-deals and is available for the bargain price of 1 penny or 2 cents; there's no telling how long it might last, so why not give it a try? Even if you don't own a Kindle, you can download a Kindle reading app for free to use on your smartphone or tablet.