
Flowers can be beautiful. Photos of flowers should be just as beautiful.
I have a fairly healthy collection of flower photos in my archive. I've always been drawn to them but when I was in the process of writing my first book it occurred to me that flowers were pleasingly attractive, pleasingly cheap, and pleasingly compliant models. When you're trying to illustrate a concept or learn a new technique, flowers can be very forgiving. We readily recommend them as subjects for students in our photography school.
My father is also a keen gardener with a well-established allotment. Many of my flora photos chart the life-cycle of the fruits and vegetables that he grows and I cook. They're not just pretty; they tell delicious stories, too.
Seeing as this week is the Royal Horticultural Society's Chelsea Flower Show, we thought that it was as good a time as any to share some of our favourite flower photography tips. And photos.
Before we go anywhere, however, remember that your photos need to say something, even if the subject is a beautiful flower.
1. Light and lighting
Natural and artificial light both work brilliantly for floral photography, but it helps to understand it so that you can manipulate it to your advantage.
a. Time of day
If you're photographing flowers outside, try to avoid harsh, overhead midday sun. It will cast deep shadows and can be difficult to work with. Golden light from the hours around sunrise and sunset is gorgeous, but diffused light on cloudy days can work wonders, too.
Taken first thing in the morning
b. Direction of light
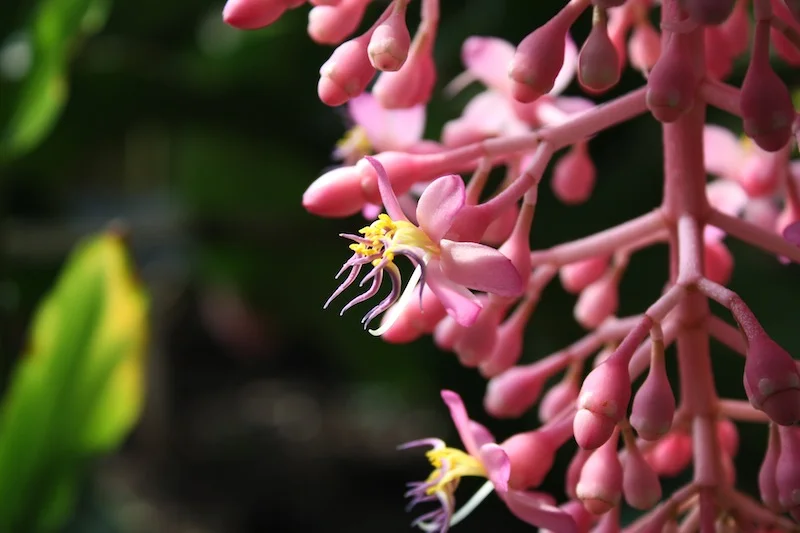
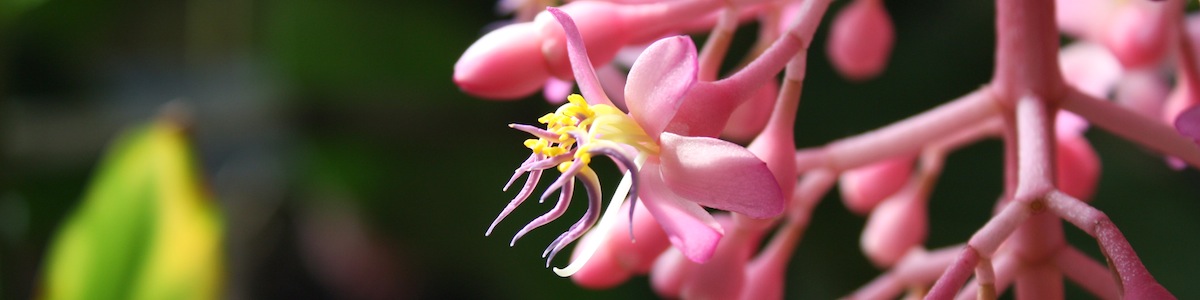
Backlit flowers look stunning, as their transparent petals appear to glow, but if you want to take in their texture, then think about side-lighting for its moulding and highlighting properties.
Side-lighting highlights the rose's gorgeous velvety texture
c. Diffusers and reflectors
Don't be afraid to manipulate light in order to get the photo that you want. Soften harsh light with a diffuser and bounce light back onto your subject with a reflector.
d. Flash
I can't remember how many artificial lighting techniques I've practised on flowers, but perhaps my favourite is floating space flowers. By using flash to illuminate the flower more brightly than the ambient light, you can make it appear as if it is emerging from the darkness.
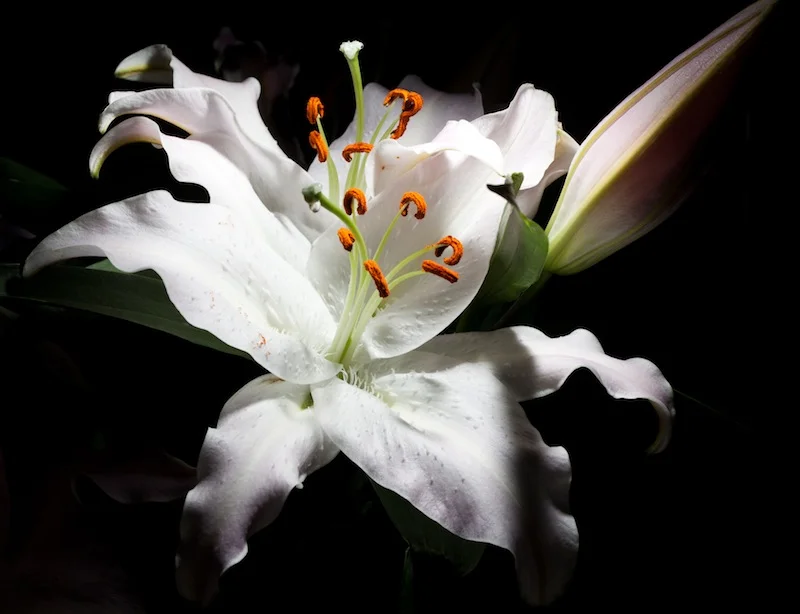
A lily emerging from the darkness
Low-key lighting can be fun, too. As can high-key.
2. Set-up
When you've identified your subject and decided on a rough outline of how you'd like to photograph it, it's time to set up your kit.
a. Macro lens
You can use any lens you want to photograph flowers–wide-angle lenses can present you with the most cracking immersive shots, for example–but in order to bring out the detail in your flower photos, think about using a macro lens.
b. Tripod
To make the most of your macro lens, you'll need to set your camera on a tripod. Camera-shake is the enemy of closely focused photos with slender depths-of-field. Two legs are good, but three legs are better.
c. Live view
I've never been a fan of live view; I'm far too attached to my optical viewfinder. But even I can be dragged kicking and screaming into the 21st century to realise the benefits of manually focusing using live view.
d. Remote release
If you've gone to the trouble of setting up a macro lens on a tripod, don't ruin your perfectly composed shot with camera shake. Add a remote release to prevent yourself from introducing blur when you depress the shutter button. We'd recommend Triggertrap, but then, we would.

A lily-of-the-valley, shot early in the morning, using a 100mm macro lens, a tripod, and a Triggertrap remote release, with my camera on live view
3. Manual mode
Go on! Do it! If you're in the least bit hesitant of switching your camera off of an automatic or semi-automatic mode and going the full manual hog, when you're photographing a flower is the time to try it. It will give you the flexibility to adjust for the conditions and the nature of the flower as well as experiment with what your camera can do.
4. Composition
a. Depth-of-field
If you're using a macro lens, you'll notice that your depth-of-field is far narrower than it would be at similar apertures with a different lens. A great deal more will be thrown out-of-focus, which is perfect for isolating your subject, but sometimes a little tricky to get right.
Possibly one of my favourite flower photos
Don't feel that you have to opt for a wide aperture with a restricted depth-of-field, though. A riot of flowers in the background can be precisely the look that you want.
The secret is to envisage what you want from your photo and work to that aim; don't let your camera make creative decisions for you.
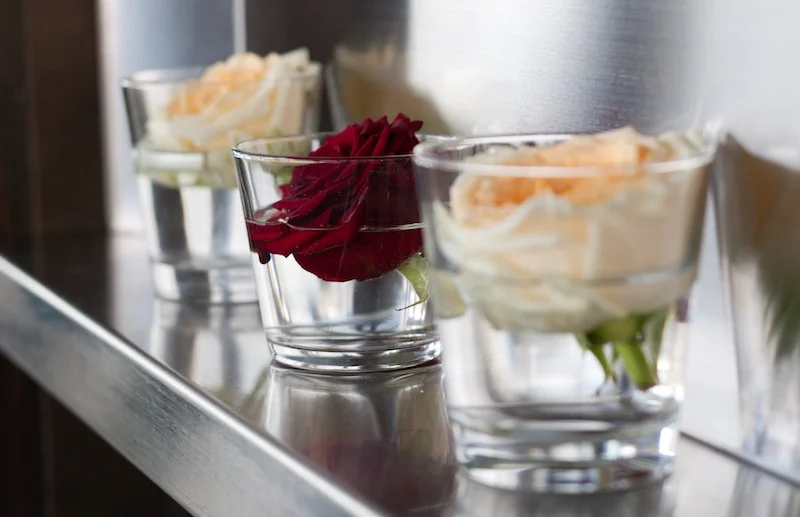
b. Background
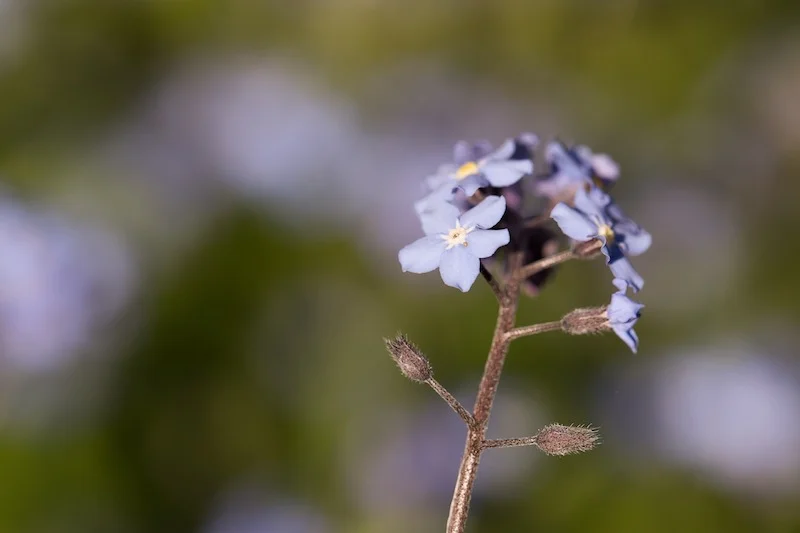
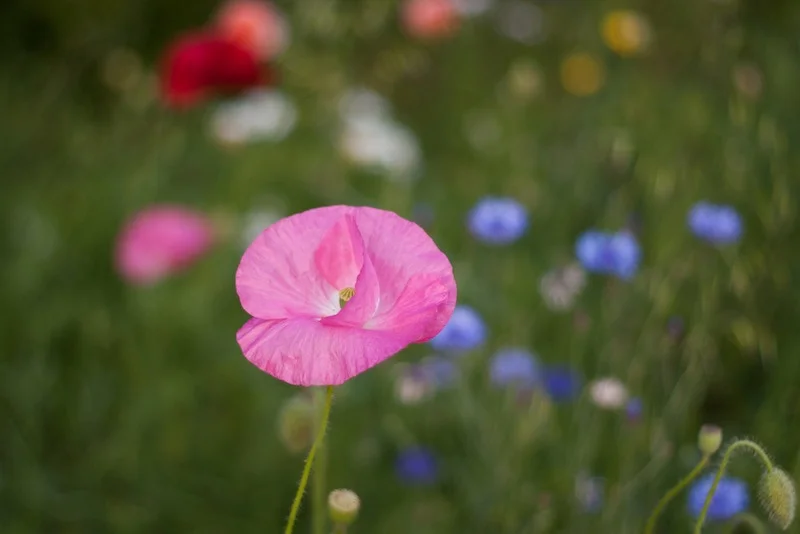
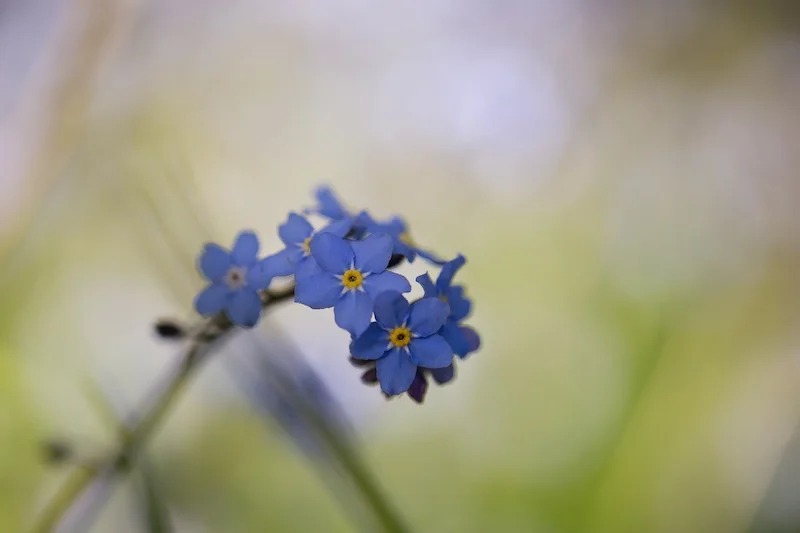
Whether the background is blurred is not, think carefully about how it will have an impact on your image. The contrast of a pink flower on a green background or a blue cornflower in a golden barley field can look tremendous. You might not, however, want different coloured flowers creeping into the scene. And have you thought about isolating a few lavender buds against a purple haze?
A haze of green an purple, not to mention discreet leading lines
Photographing flowers in a vase can require careful positioning so that you're not distracted by wallpaper or table clutter. That said, you probably don't want sheds, bins, or general garden clutter in the background of outdoor shots, either.
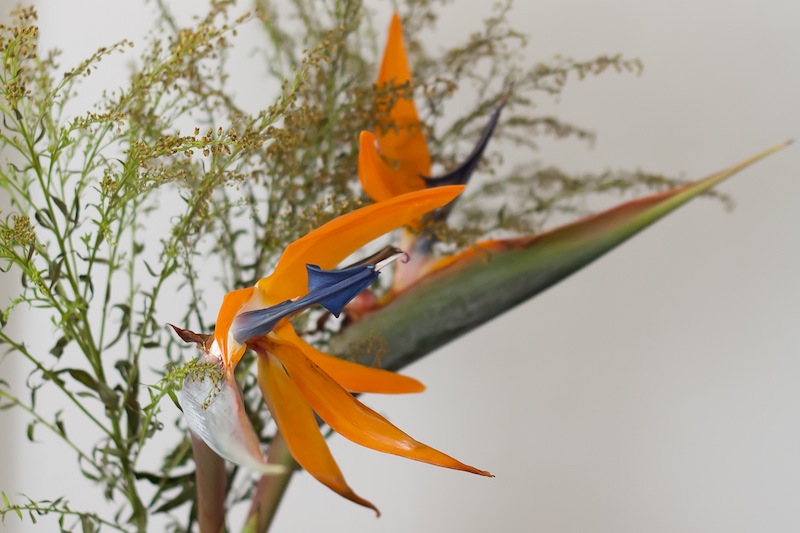
Birds of Paradise carefully positioned against an off-white wall
c. Angles
Flowers are fascinating from any angle, so vary your approach to shooting them. Upwards onto a brilliant azure sky can work just as effectively as downwards into their centres.
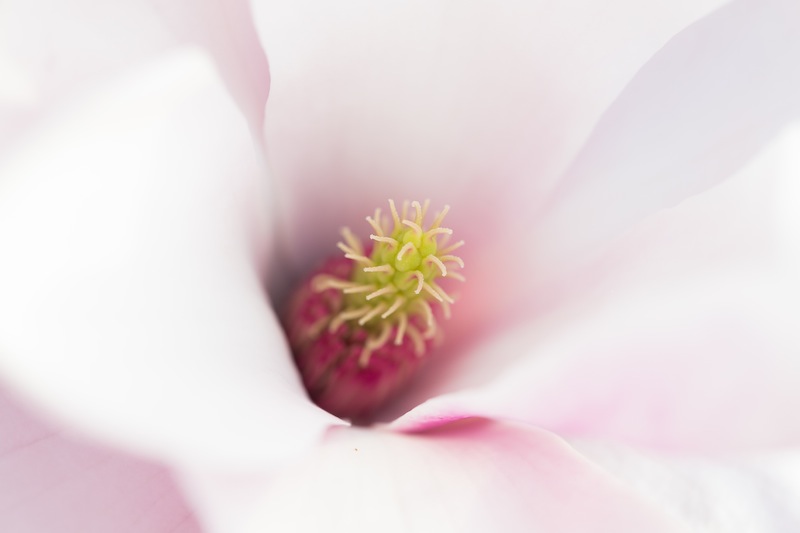
Down into the heart of a magnolia flower. How often do you see that?
d. Subject placement
Where exactly do you want your focal point to be? The rule of thirds is a good starting point, but don't be afraid of a more radical subject placement, especially if you have strong colour contrasts happening in your frame.
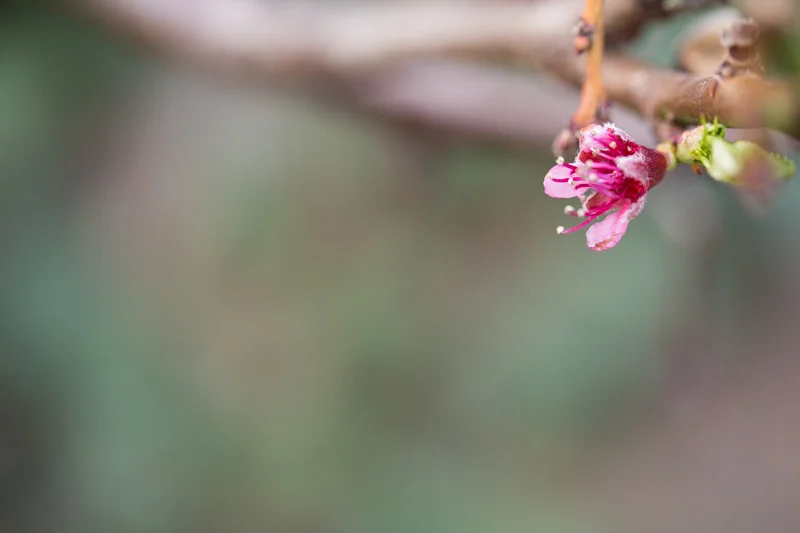
Peach blossom: pink on green
Remember that centre-focusing can be highly effective for symmetrical images and square crops. And break free from the limitations of landscape format, too. Flowers grow upwards!
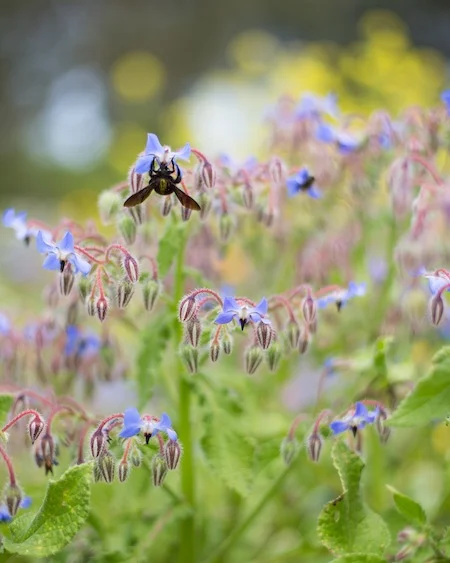
The birds and the bees and the flowers and the trees
5. Story
A good story is at the heart of any photo: it needs to say something. However, do not forget to look for the bigger, or perhaps longer-term, picture when photographing flowers.
a. Bees and insects
Maybe the bee or ladybird will end up being the focal point of your flower photo, but don't discard the insects and other animals that make plants their homes or flowers and leaves their source of food. They're all part of the story, too.
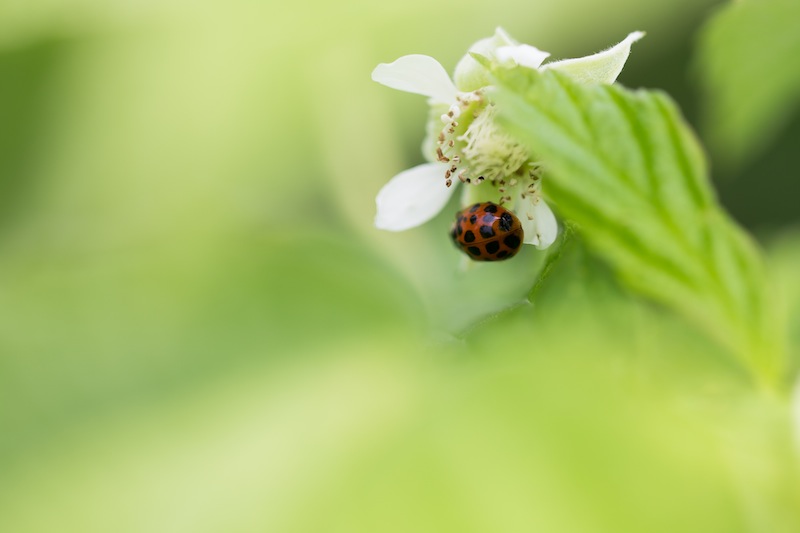
Ladybird meets strawberry flower
b. Life cycles
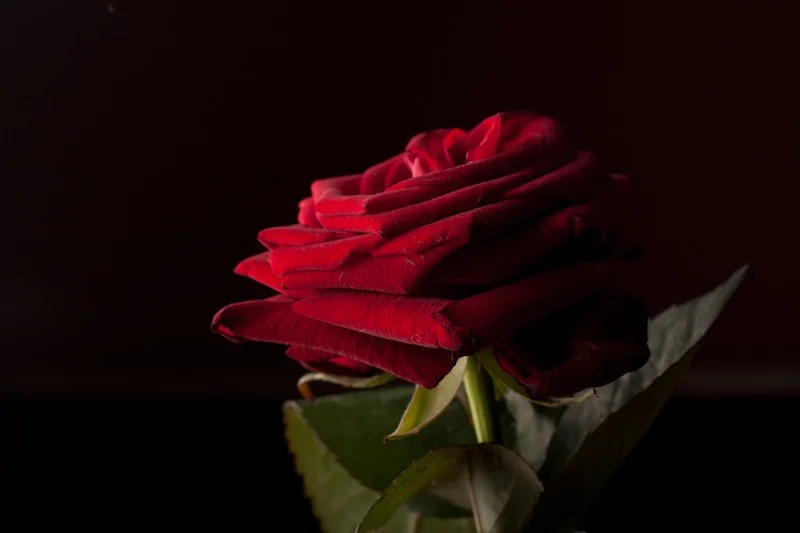
While dead flowers might not be terribly attractive, recording the progress of a plant as it pushes intrepidly through the soil, buds expectantly, blooms beautifully, and then perhaps makes it to your table or retreats into itself for another year is a perfect story. There's more to just the perfect petals!
They'll last how much longer?